
Network as Code (NaC) or Infrastructure as Code (IaC) allows automation, provisioning and management of the technology stack. Manual tasks are translated into reusable, robust, distributable code. IaC relies on practices that have been successfully used for years in software development such as:
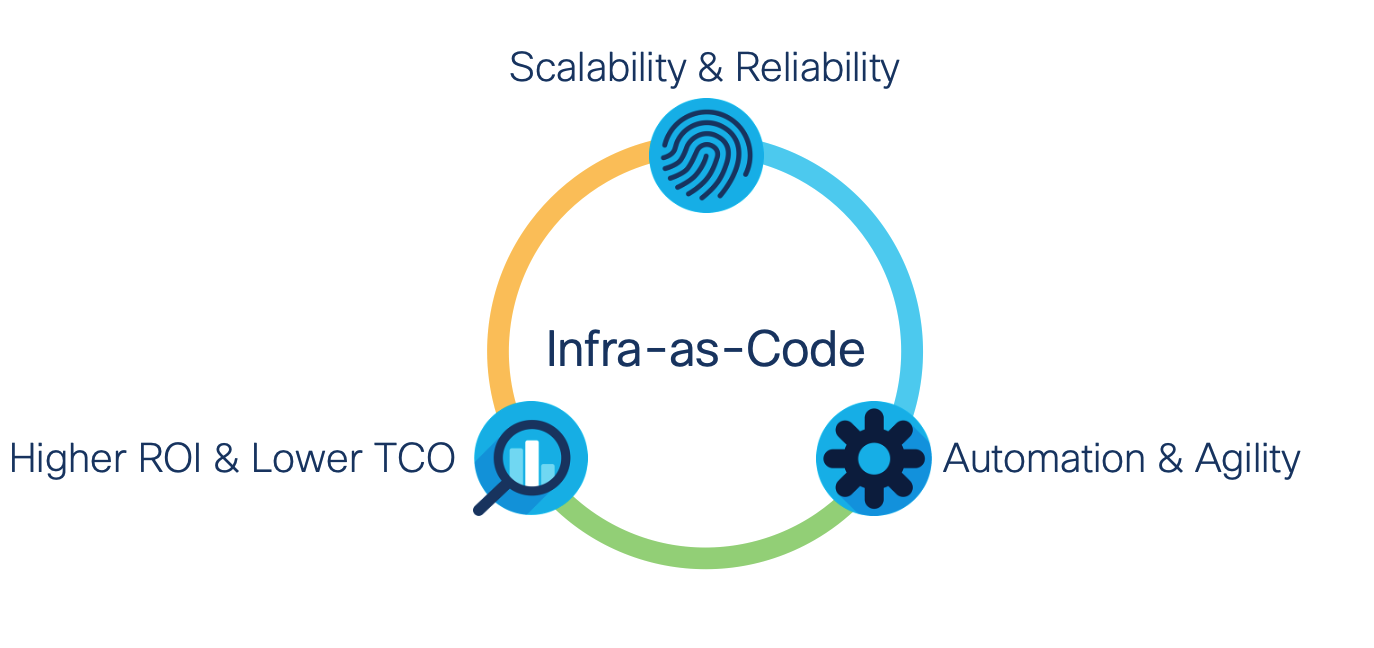
You can replicate the process to scale as quickly as the code executes and resources are provisioned. A core component of IaC is to add tests/validation after each essential step in the workflow.
Reduce human error by embracing automation. Stop building things by hand. Put everything into repeatable code configuration (e.g., YAML for Ansible). Agility comes from the ability to have multiple teams committing code, submitting changes, testing, etc. in multiple places in the pipeline; all of which result in faster delivery and app deployment to meet business requirements.
Invest in automation today to gain time tomorrow. To lower your Total Cost of Ownership (TCO), IaC reduces your downtime (e.g., migrations, testing cycles, maintenance windows, outages, etc.), and consolidates your application development technologies into the minimum number of IaC orchestration tools as possible. This provides a quicker turnaround for catching mistakes using various checks and balances.
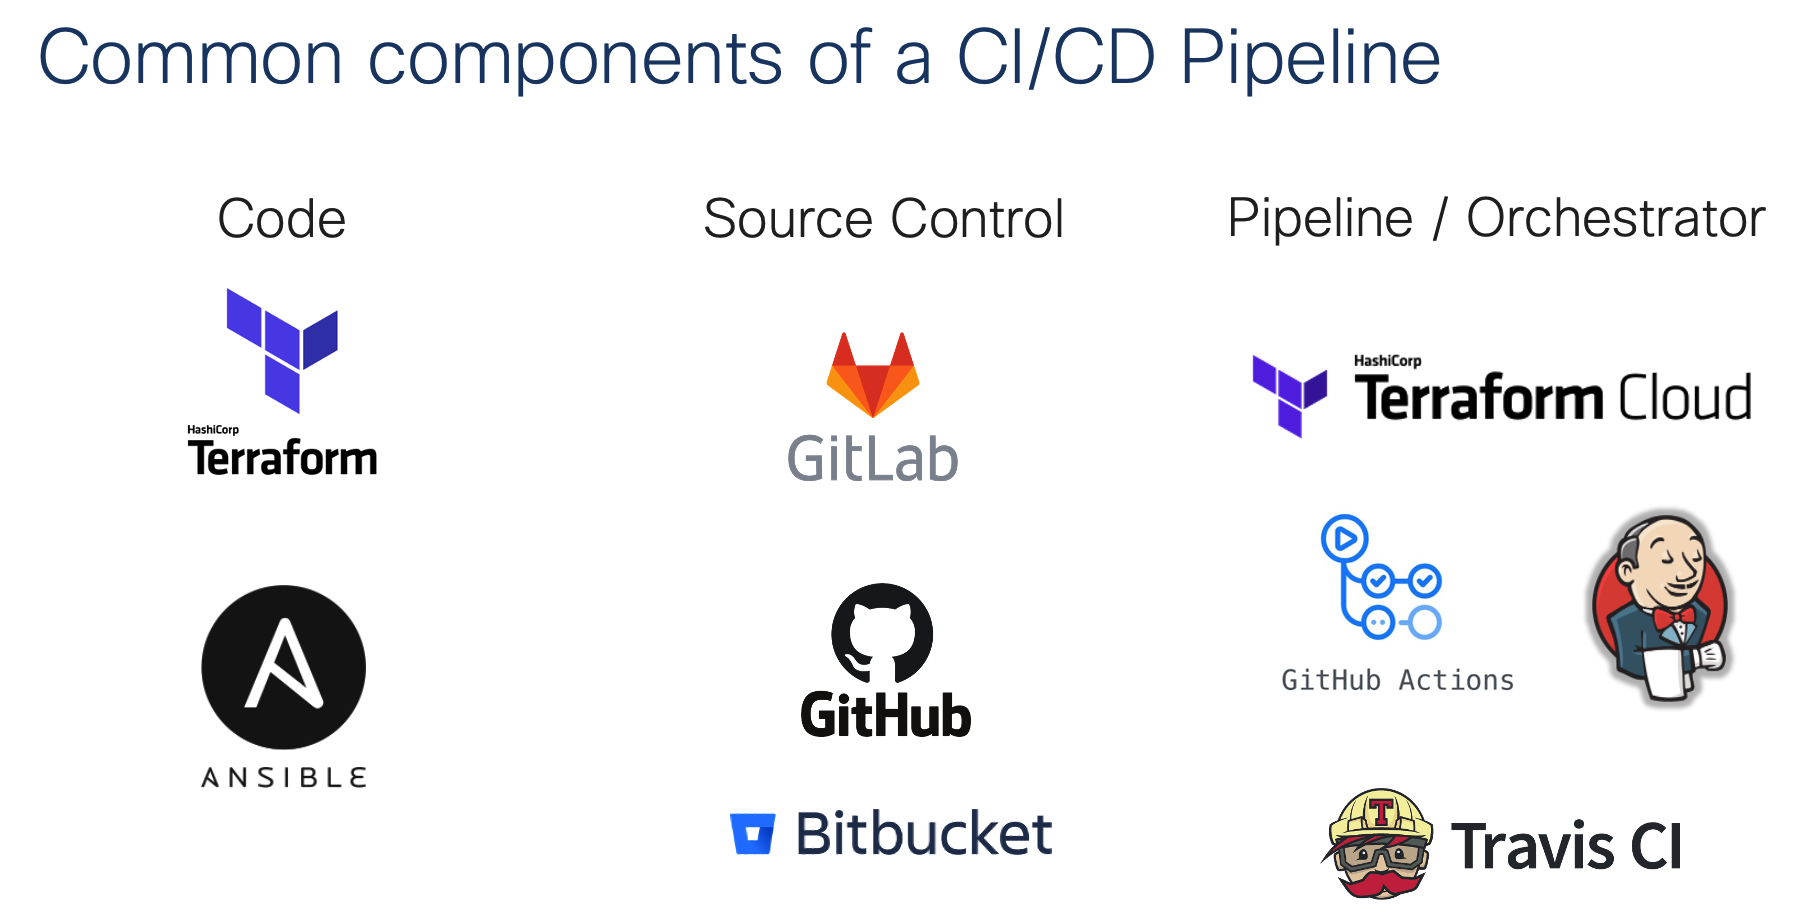
A Version Control System (VCS) like Github/GitLab is a vital part of IaC. It provides a way to track changes and easily merge or revert changes. Most VCSs have CI/CD pipeline systems built-in which can be used to test your code and configuration before deploying it on the production network. There is a wide range of tools available which can be used to serve this purpose. in this lab, we will be using GitLab.
Whenever there is a code or config change it's a good idea to follow these general sets of steps:

NOTE: When using NX-OS, the staging environment can be simulated using Nexus 9000v virtual switches before deploying to your production environment.
Now that you have a high level understanding of CI/CD let's build it out!
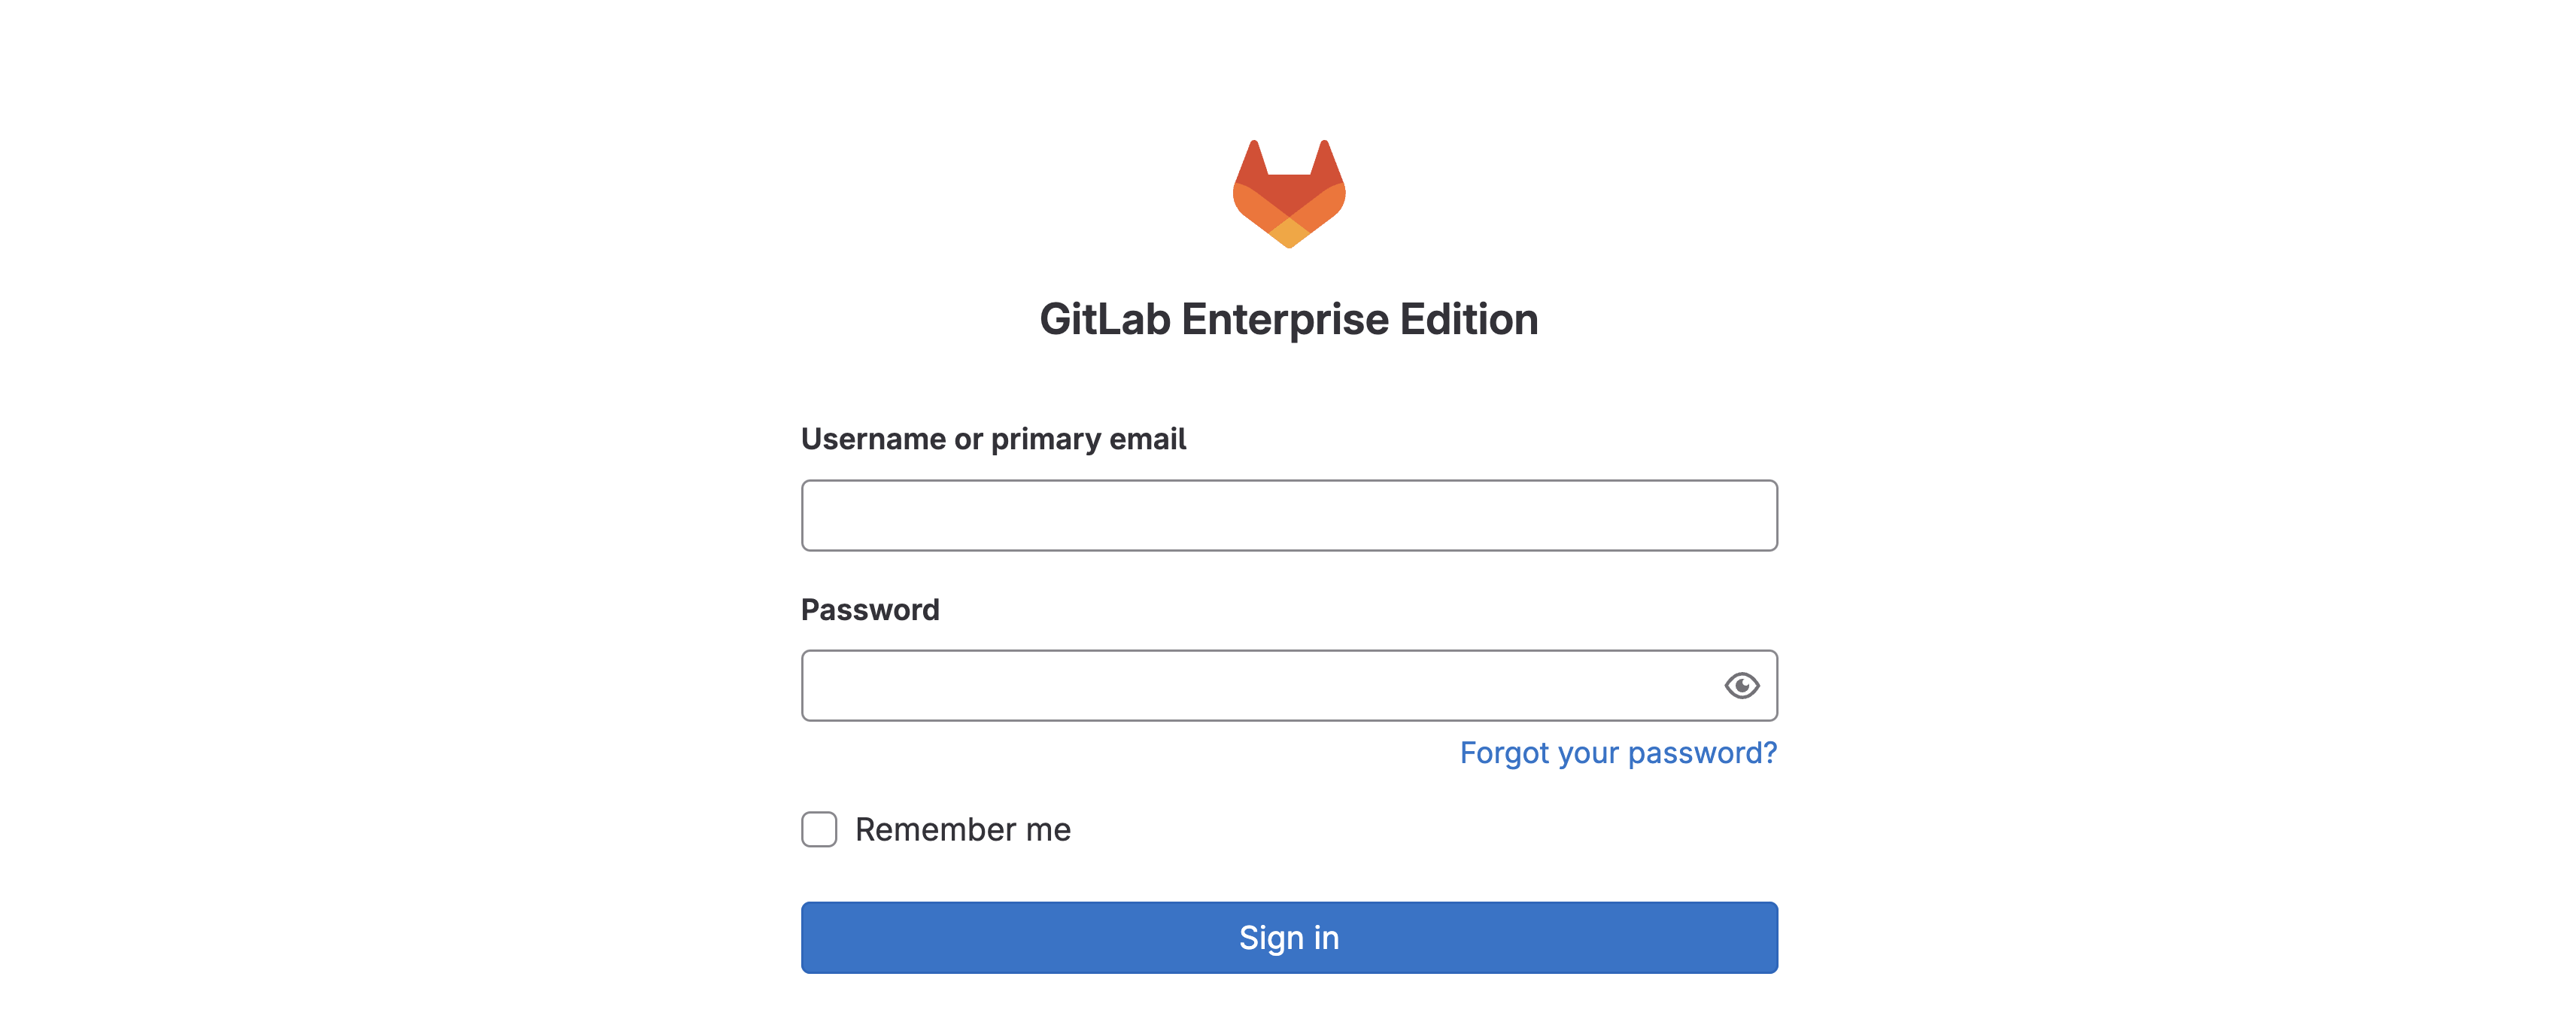
Login to the GitLab instance by clicking the URL below or copying the URL into a new tab in your browser window:
Login using the information below:
Once logged into GitLab, your screen should look similar to the screenshot below. This is what an empty Git repo looks like in GitLab as well as in GitHub if you were to use that for source control. Empty repos provide you the steps and information to initialize and commit code to the repo. This will be the action you perform in the next section.
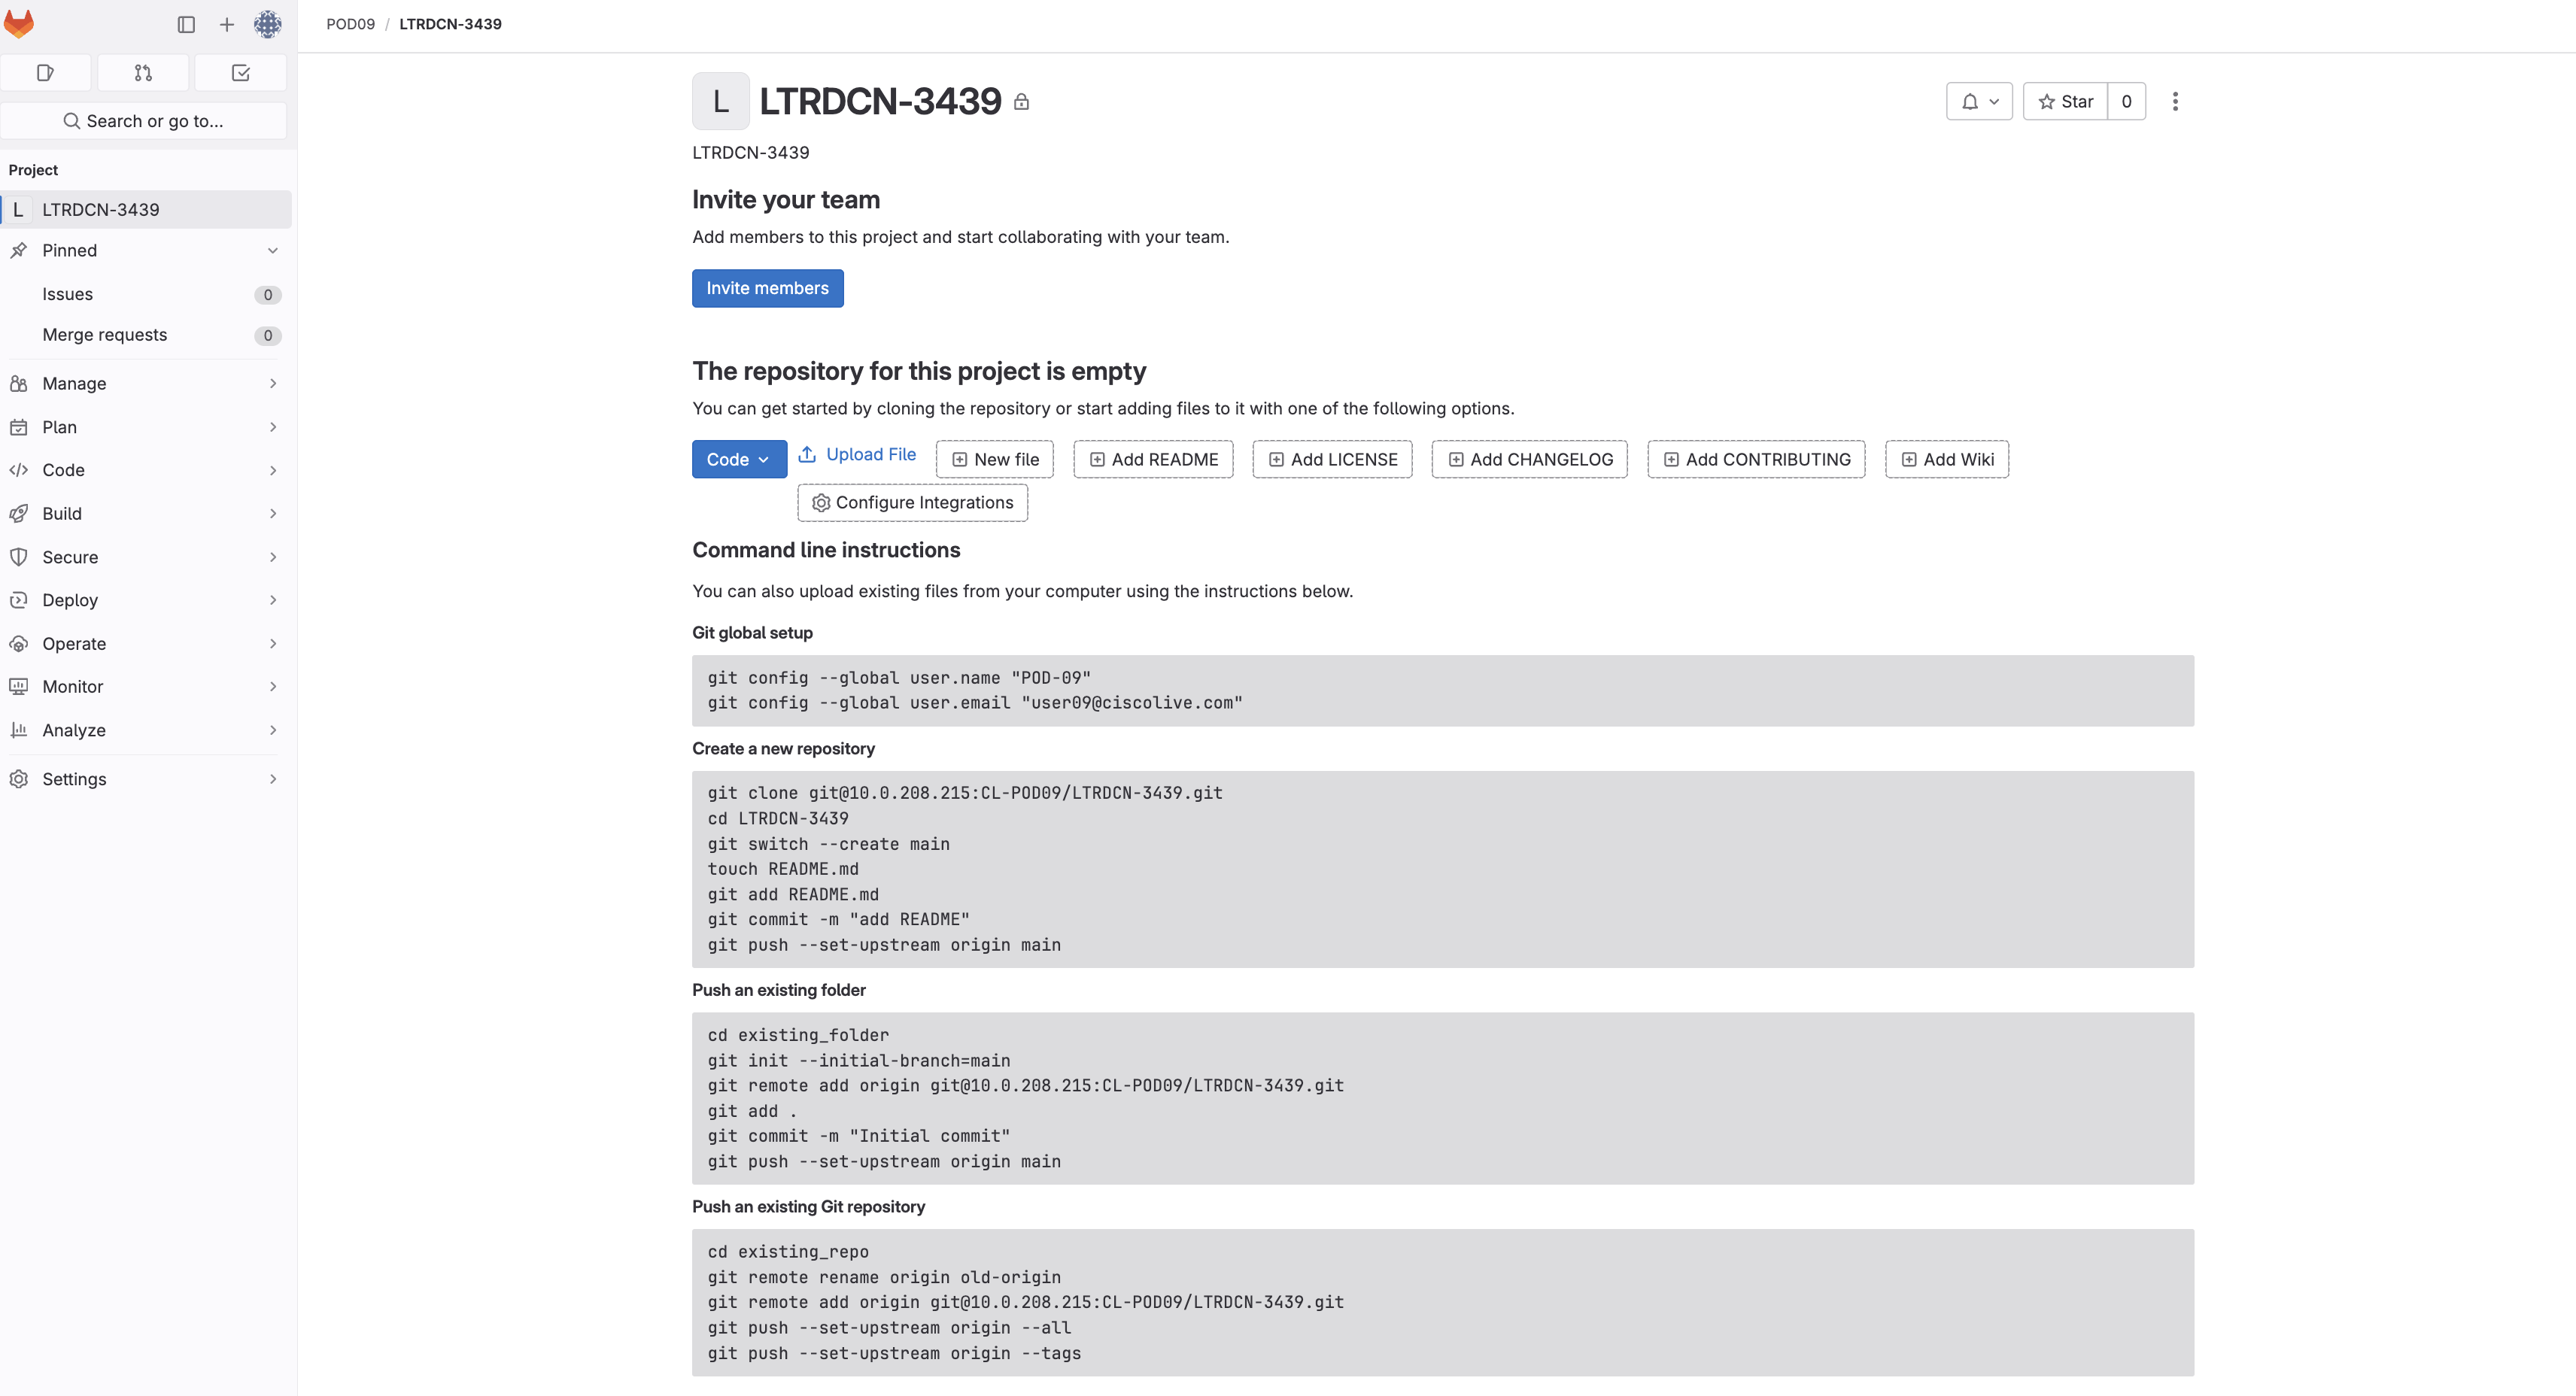
Continue to the next section to initialize your GitLab repo and create files for the CI/CD pipeline to access your production fabric.