At this point, you are ready to execute your command line program to provision new VRF(s) and Network(s) to your NDFC instance as well as perform the attachment to the leaf switches that are defined in your YAML data.
First, let's create a quick shell script to set an environment variable for your ND user's password. Again, your command line
program will first try to leverage an environment variable named ND_PASSWORD for authentication purposes with your
ndfc ndclient object.
touch ~/workspace/ndfclab/scripts/ndfc_access_info.sh
cat <<EOF > ~/workspace/ndfclab/scripts/ndfc_access_info.sh
export ND_PASSWORD=cisco.123

EOF
Source the simple shell script to set the ND_PASSWORD env variable.
source ndfc_access_info.sh
You can check if your env variable is set by issuing the below command in your VSCode terminal window:
env | grep ND_PASSWORD
$ env | grep ND_PASSWORD
ND_PASSWORD=cisco.123
Your code is ready to go and you're ready to authenticate with NDFC. Execute your command line program to get your current VRFs. This should display an empty table since no VRFs have been created yet.
python overlay_script.py --nd 10.15.0.98 --username admin --fabric fabric-stage --get vrfs
Processing VRFs ━━━━━━━━━━━━━━━━━━━━━━━━━━━━━━━━━━━━━━━━
               NDFC VRFs
┏━━━━━┳━━━━━┳━━━━━━┳━━━━━━━━┓
┃ VRF ┃ VNI ┃ VLAN ┃ Status ┃
┡━━━━━╇━━━━━╇━━━━━━╇━━━━━━━━┩
└─────┴─────┴──────┴────────┘
Execute your command line program to get your current Networks. Again, this should display an empty table since no Networks have been created yet.
python overlay_script.py --nd 10.15.0.98 --username admin --fabric fabric-stage --get networks
Processing networks ━━━━━━━━━━━━━━━━━━━━━━━━━━━━━━━━━━━━━━━━
                             NDFC Networks
┏━━━━━━━━━┳━━━━━┳━━━━━━┳━━━━━━━━━━━━┳━━━━━┳━━━━━━━━┓
┃ Network ┃ VNI ┃ VLAN ┃ Anycast Gw ┃ VRF ┃ Status ┃
┡━━━━━━━━━╇━━━━━╇━━━━━━╇━━━━━━━━━━━━╇━━━━━╇━━━━━━━━┩
└─────────┴─────┴──────┴────────────┴─────┴────────┘
Execute your command line program by passing in the YAML data to drive the creation of a new VRF and Networks with attachment to your specified leaf switches.
python overlay_script.py --nd 10.15.0.98 --username admin --fabric fabric-stage --filename overlay_vars.yml
VRF PythonVRF created successfully!
VRF PythonVRF attached successfully!
VRF PythonVRF deployed successfully!
Network PythonNet1 created successfully!
Network PythonNet1 attached successfully!
Network PythonNet1 deployed successfully!
Execute your command line program to get your current VRFs which should display your newly created PythonVRF alongside your NDFC GUI.
python overlay_script.py --nd 10.15.0.98 --username admin --fabric fabric-stage --get vrfs
Processing VRFs ━━━━━━━━━━━━━━━━━━━━━━━━━━━━━━━━━━━━━━━━ 100% 0:00:01
               NDFC VRFs
┏━━━━━━━━━━━┳━━━━━━━┳━━━━━━┳━━━━━━━━━━┓
┃ VRF       ┃ VNI   ┃ VLAN ┃ Status   ┃
┡━━━━━━━━━━━╇━━━━━━━╇━━━━━━╇━━━━━━━━━━┩
│ PythonVRF │ 50002 │ 2002 │ DEPLOYED │
└───────────┴───────┴──────┴──────────┘
Execute your command line program to get your current Networks which should display your newly created PythonNet1 alongside your NDFC GUI.
python overlay_script.py --nd 10.15.0.98 --username admin --fabric fabric-stage --get networks
Processing networks ━━━━━━━━━━━━━━━━━━━━━━━━━━━━━━━━━━━━━━━━ 100% 0:00:01
                             NDFC Networks
┏━━━━━━━━━━━━┳━━━━━━━┳━━━━━━┳━━━━━━━━━━━━━━━┳━━━━━━━━━━━┳━━━━━━━━━━┓
┃ Network    ┃ VNI   ┃ VLAN ┃ Anycast Gw    ┃ VRF       ┃ Status   ┃
┡━━━━━━━━━━━━╇━━━━━━━╇━━━━━━╇━━━━━━━━━━━━━━━╇━━━━━━━━━━━╇━━━━━━━━━━┩
│ PythonNet1 │ 30002 │ 2302 │ 172.16.1.1/24 │ PythonVRF │ DEPLOYED │
└────────────┴───────┴──────┴───────────────┴───────────┴──────────┘
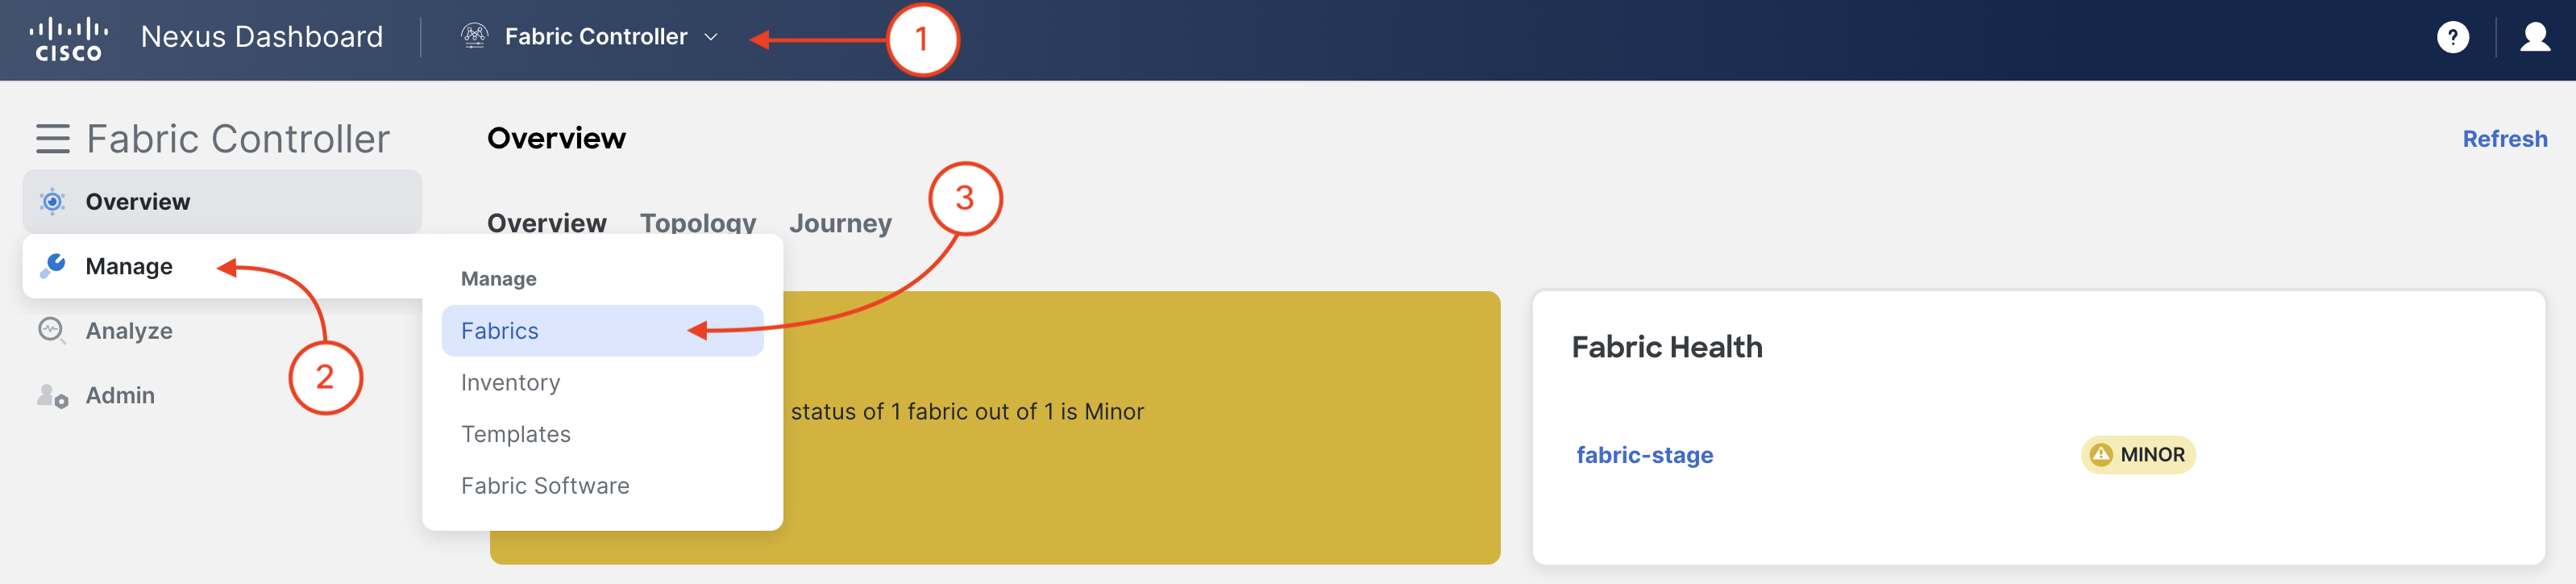
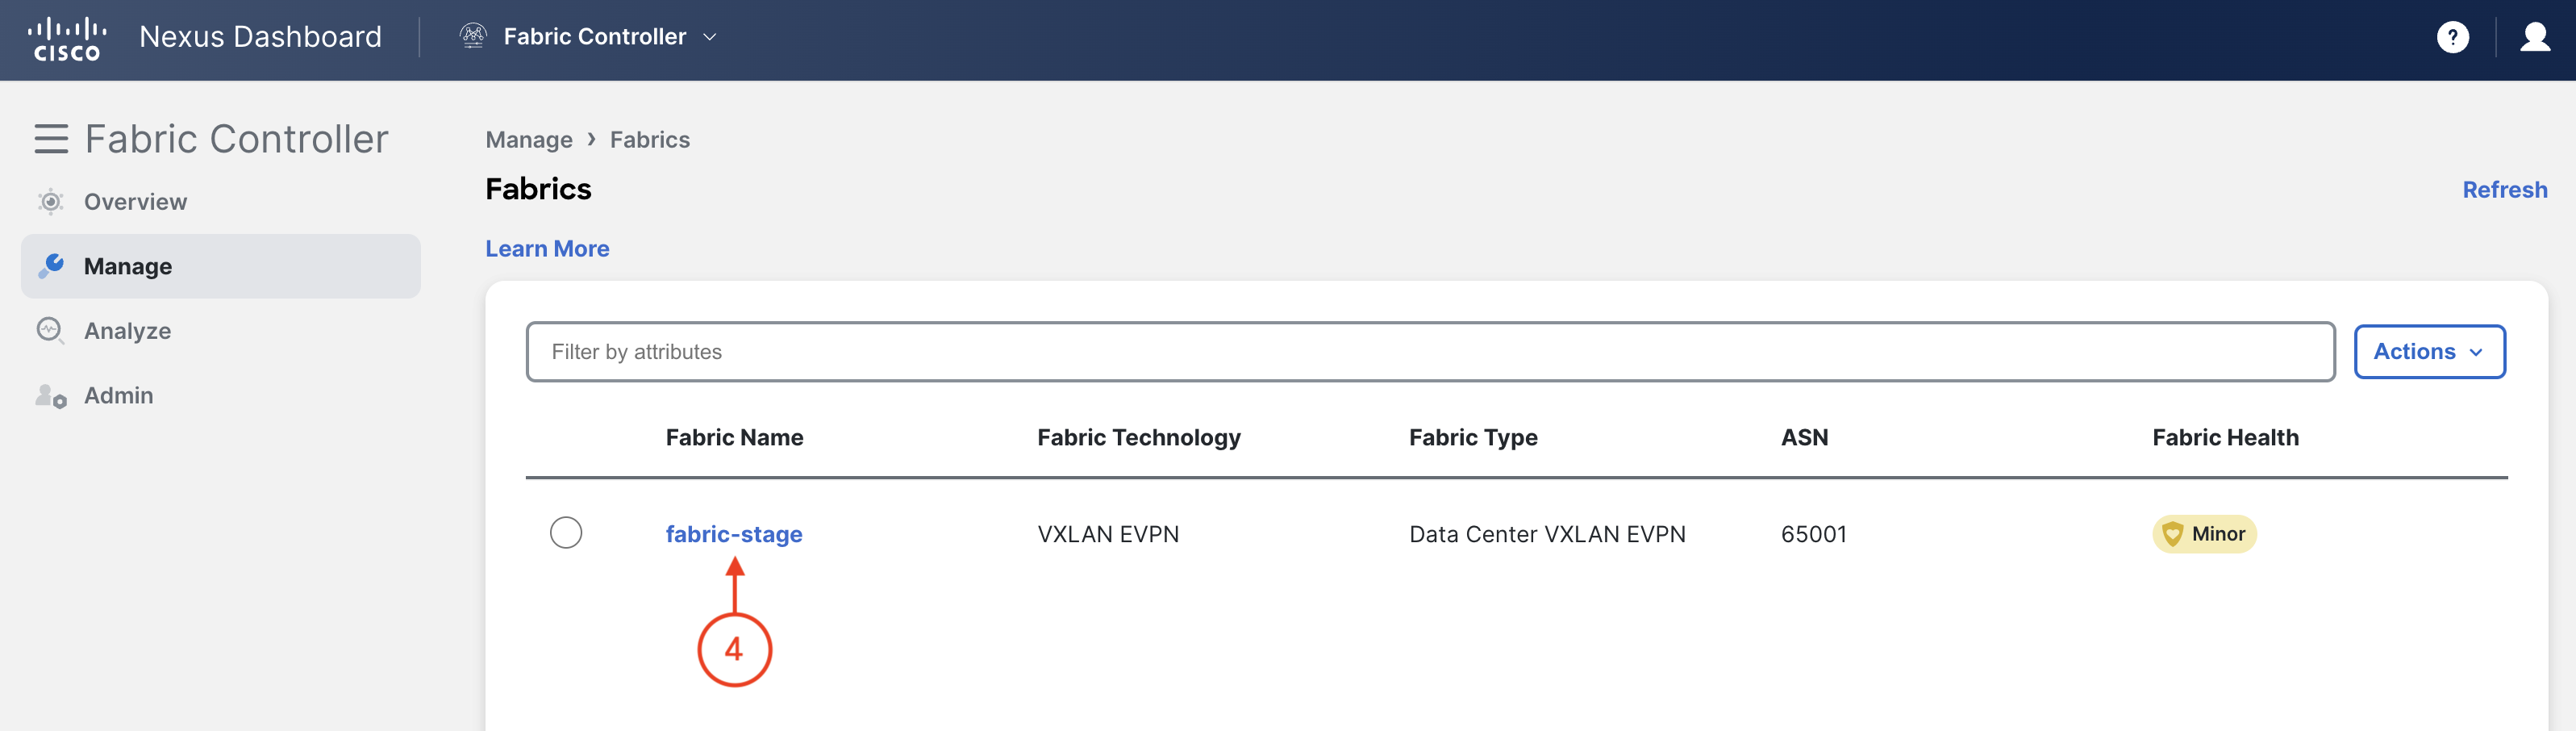
Navigate back to your browser tab where NDFC is located and log back in if needed.
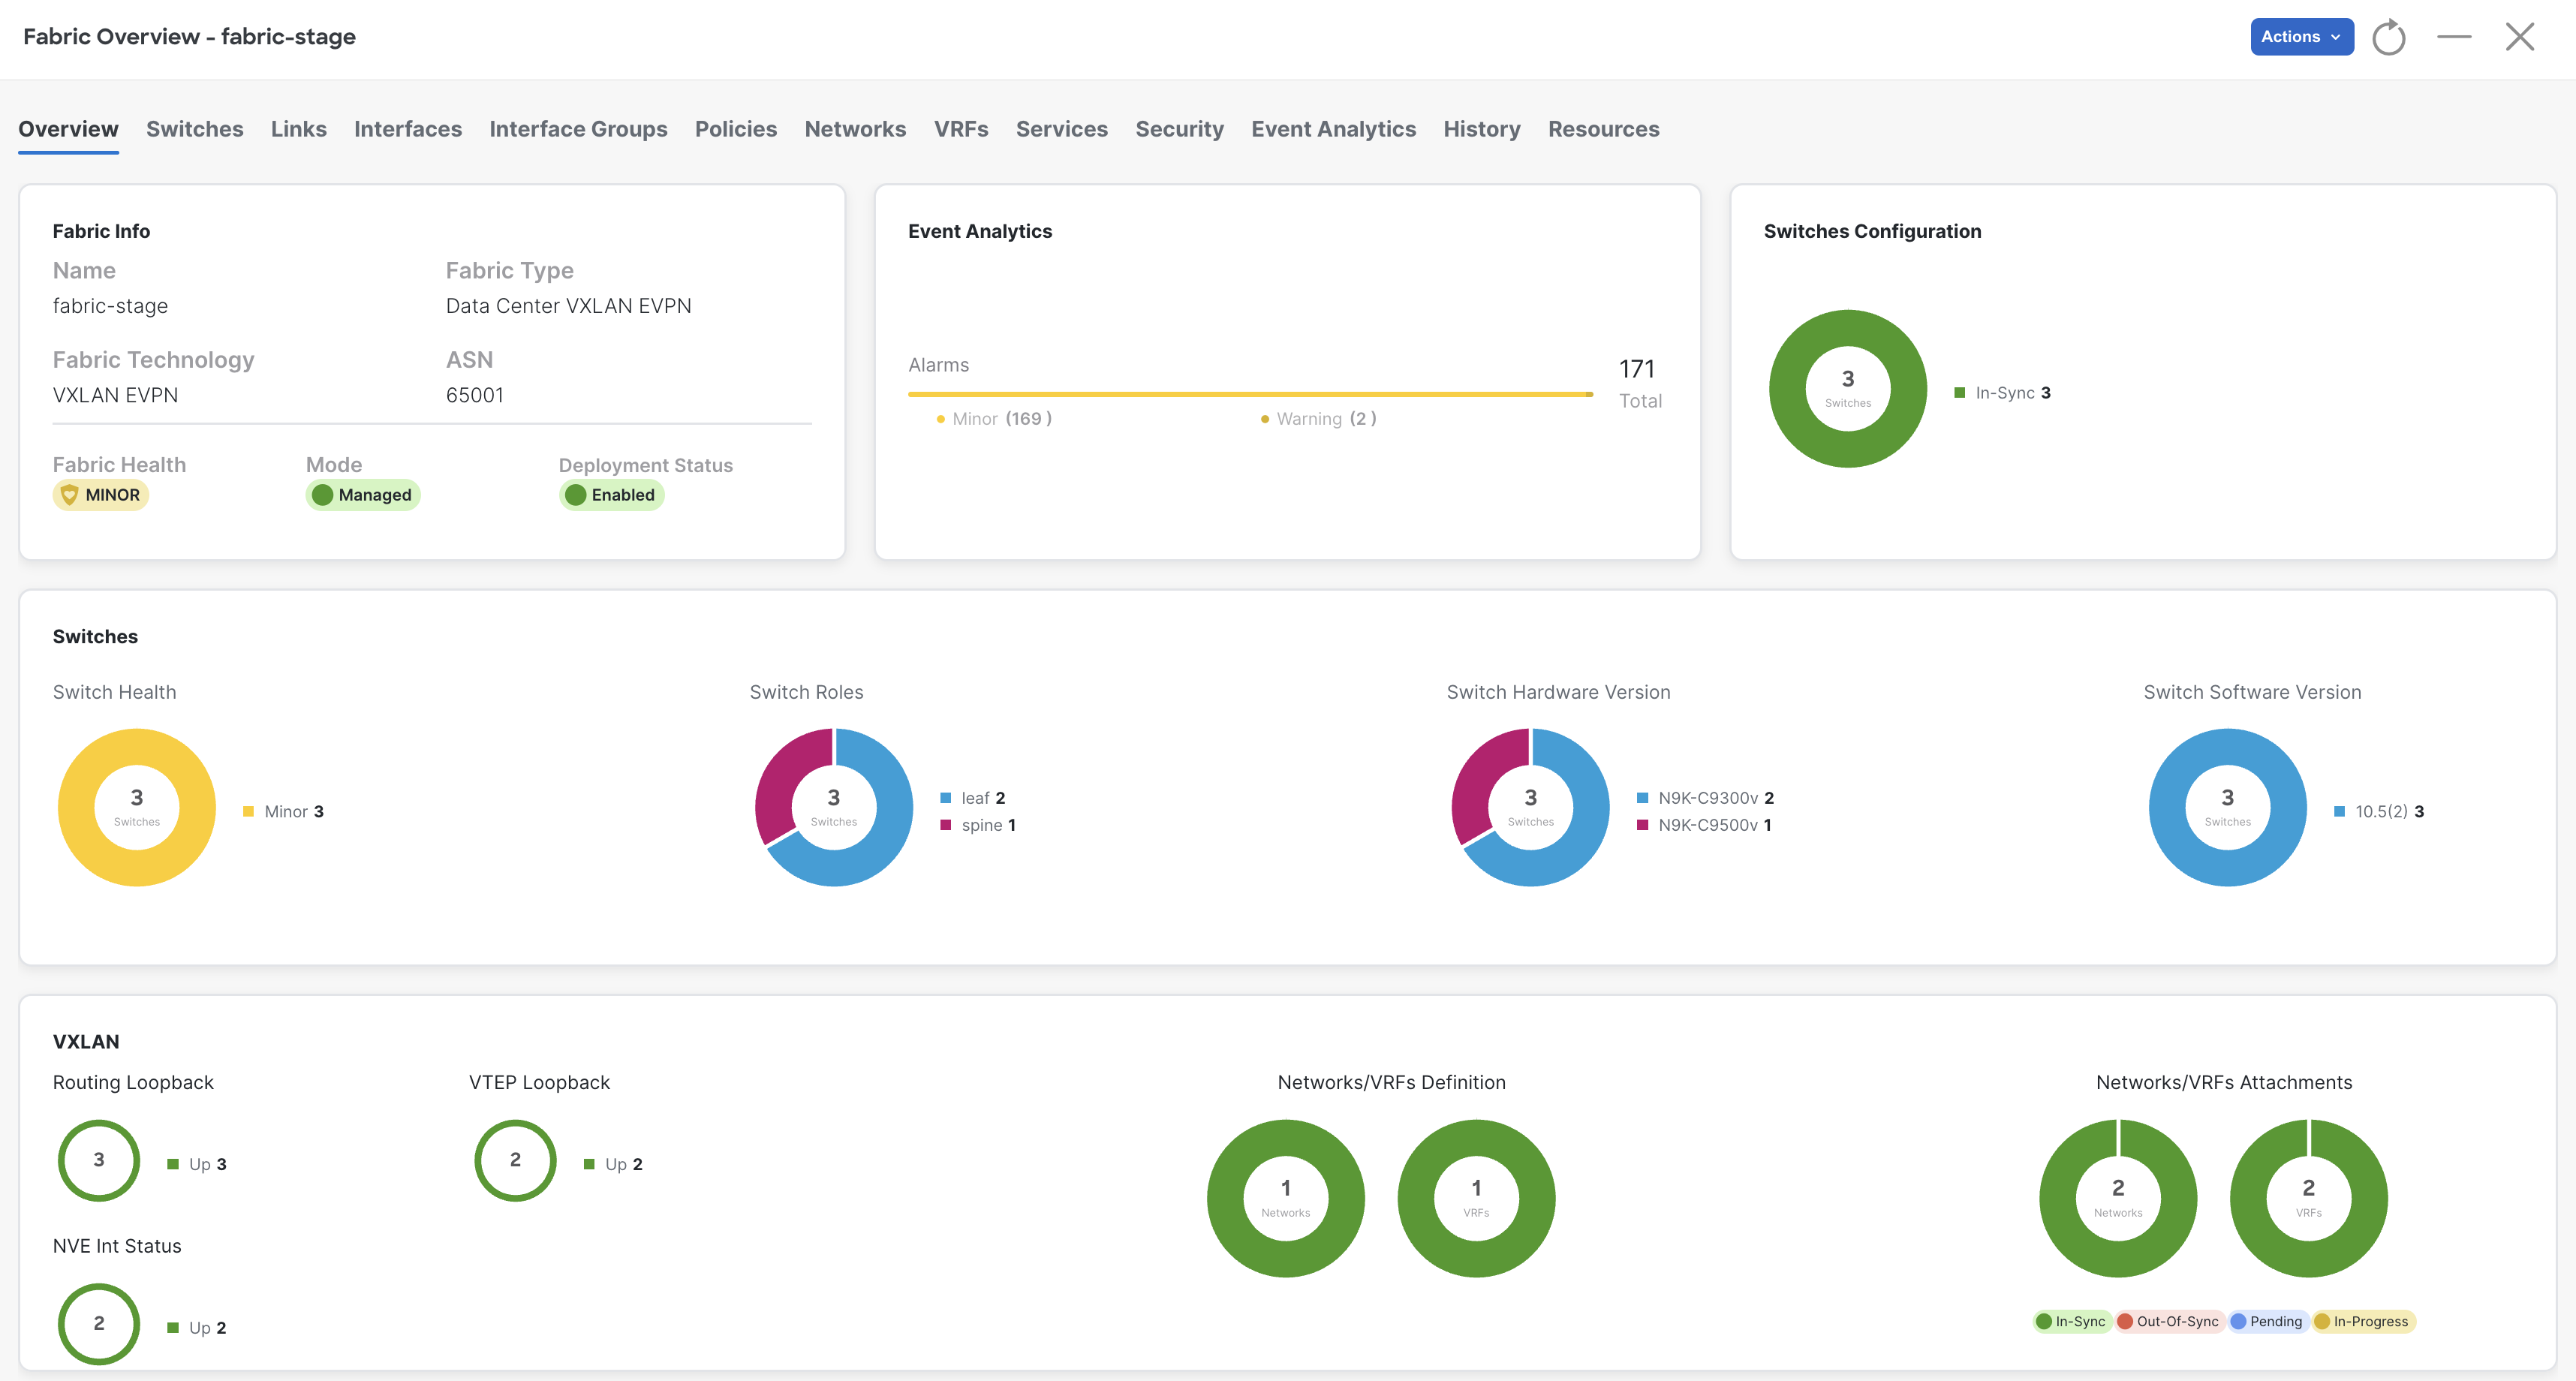
Review your updated fabric dashboard that now shows 1 VRF (L3VNIs) and 1 Network (L2VNIs) each.
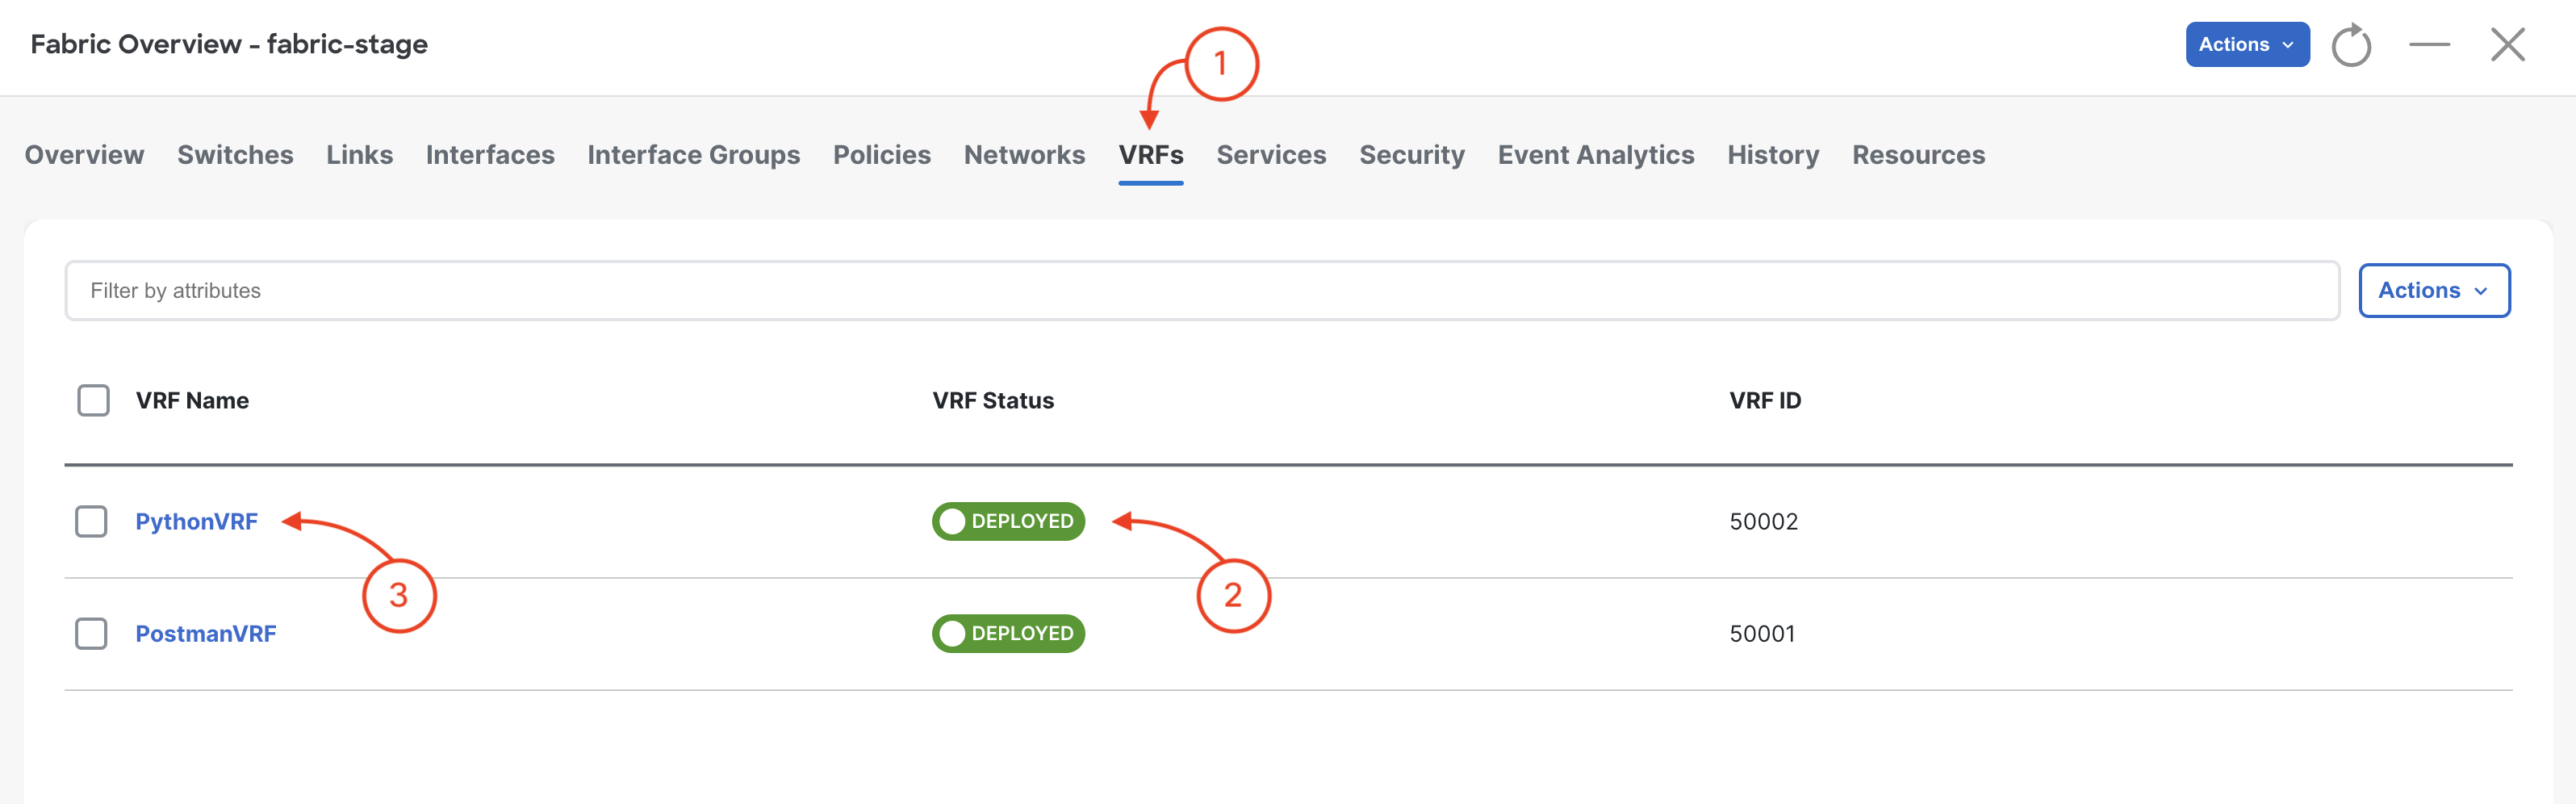
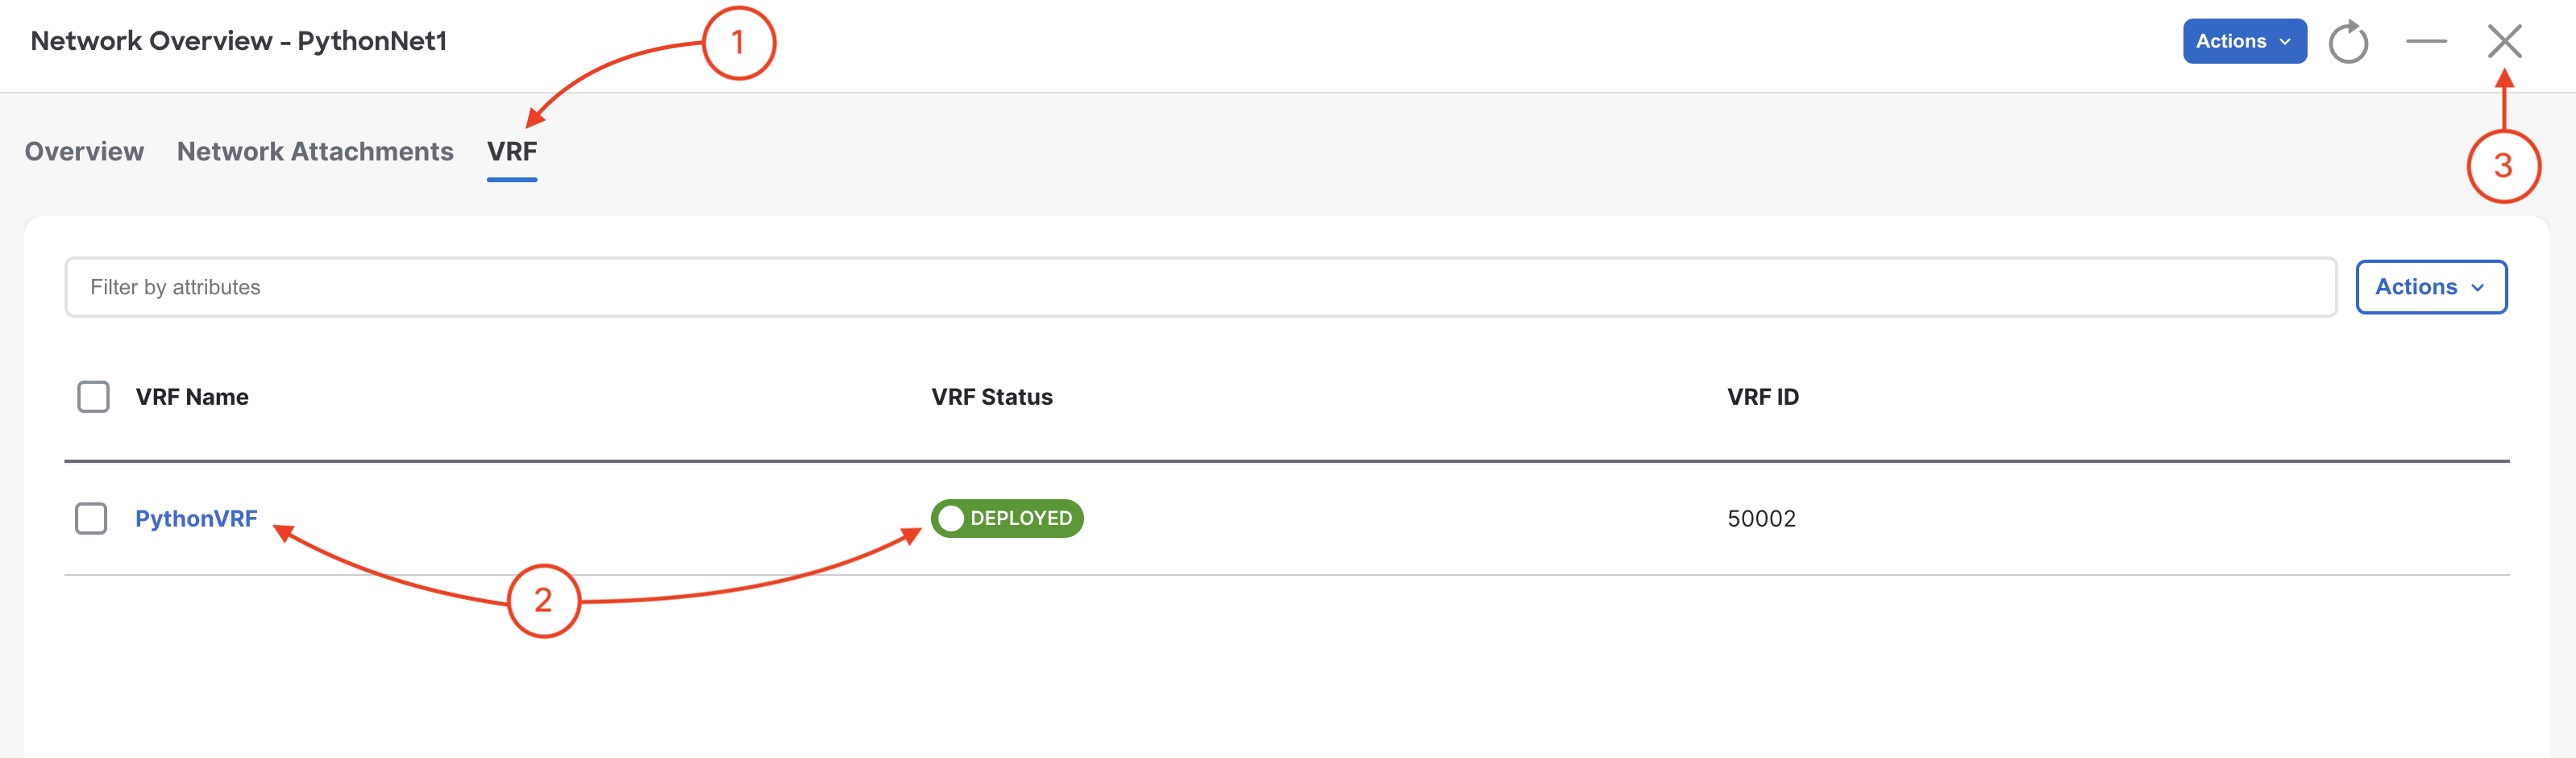
Navigate to VRFs and review VRF:
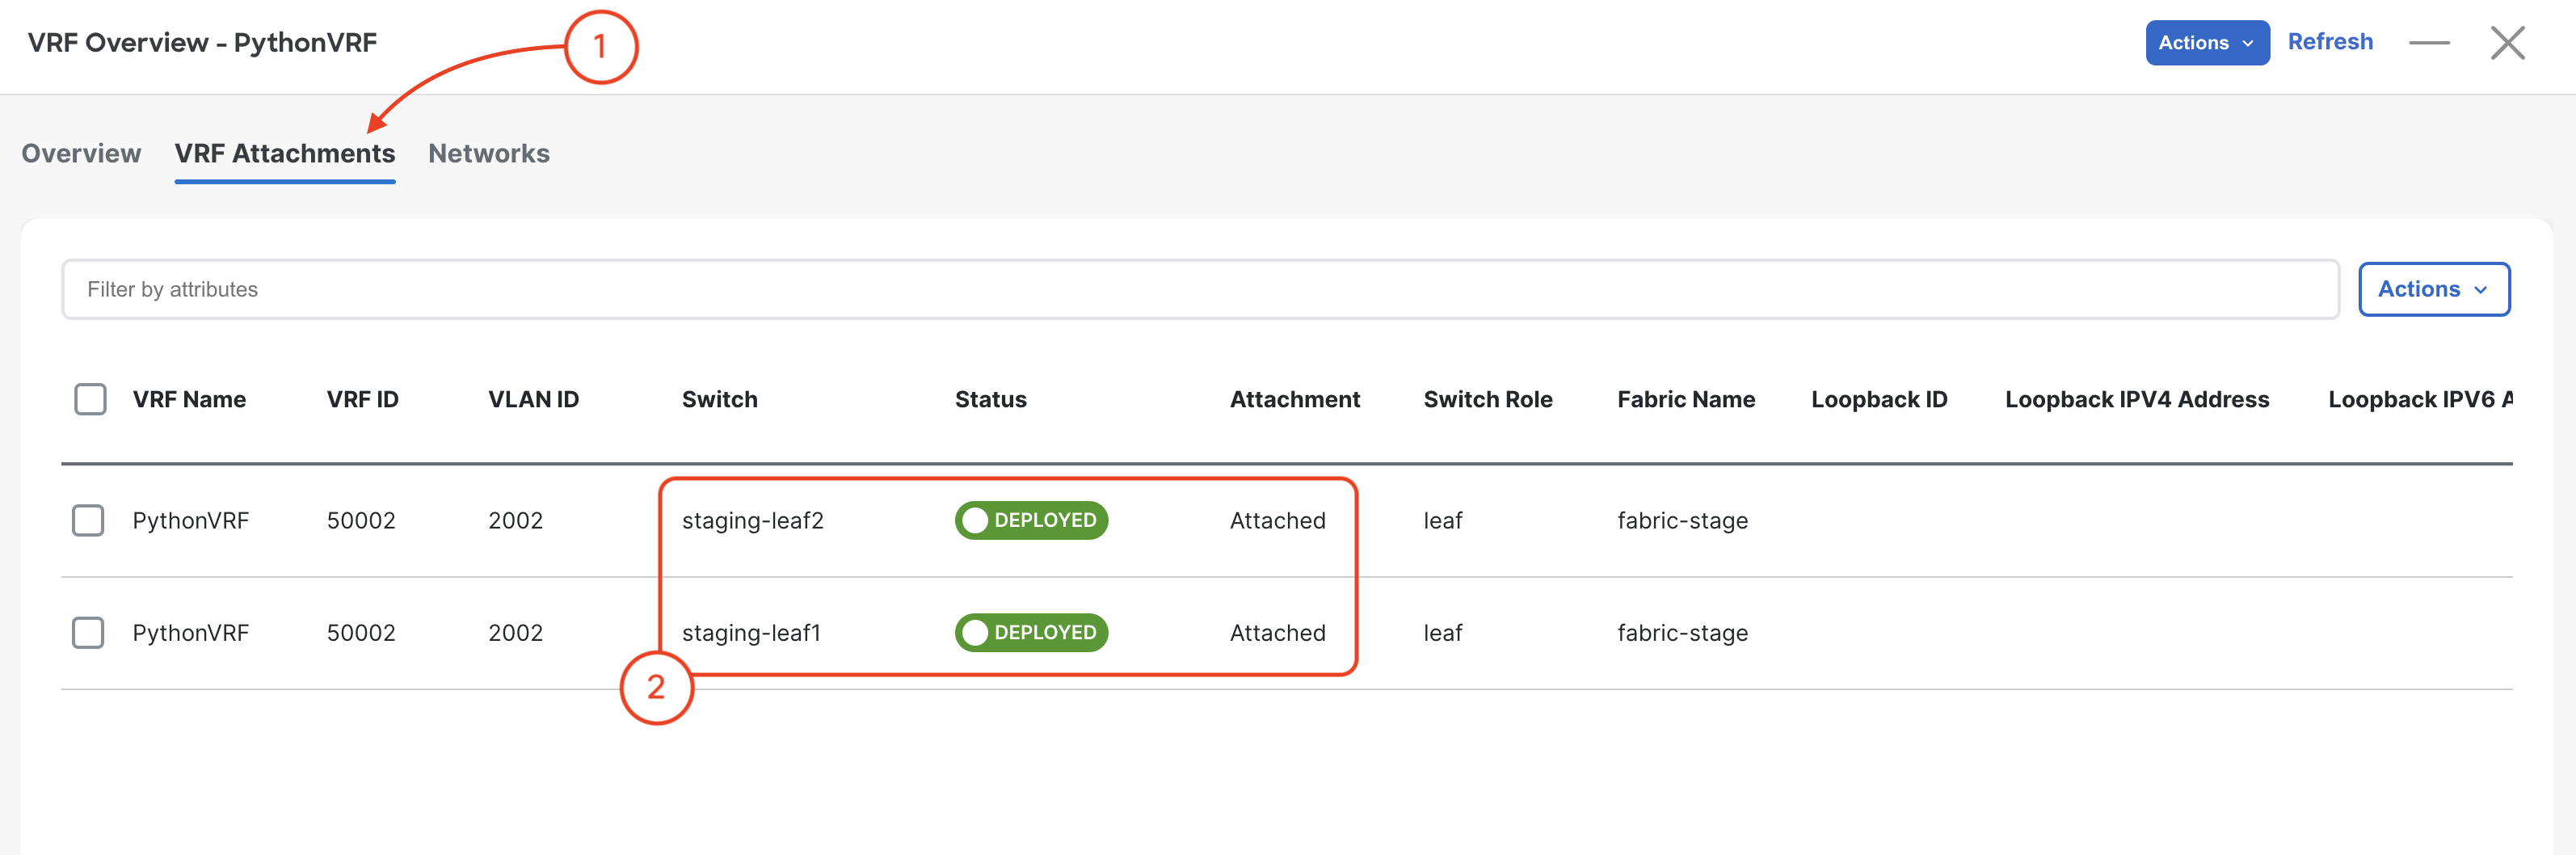
Navigate to VRF Attachments:
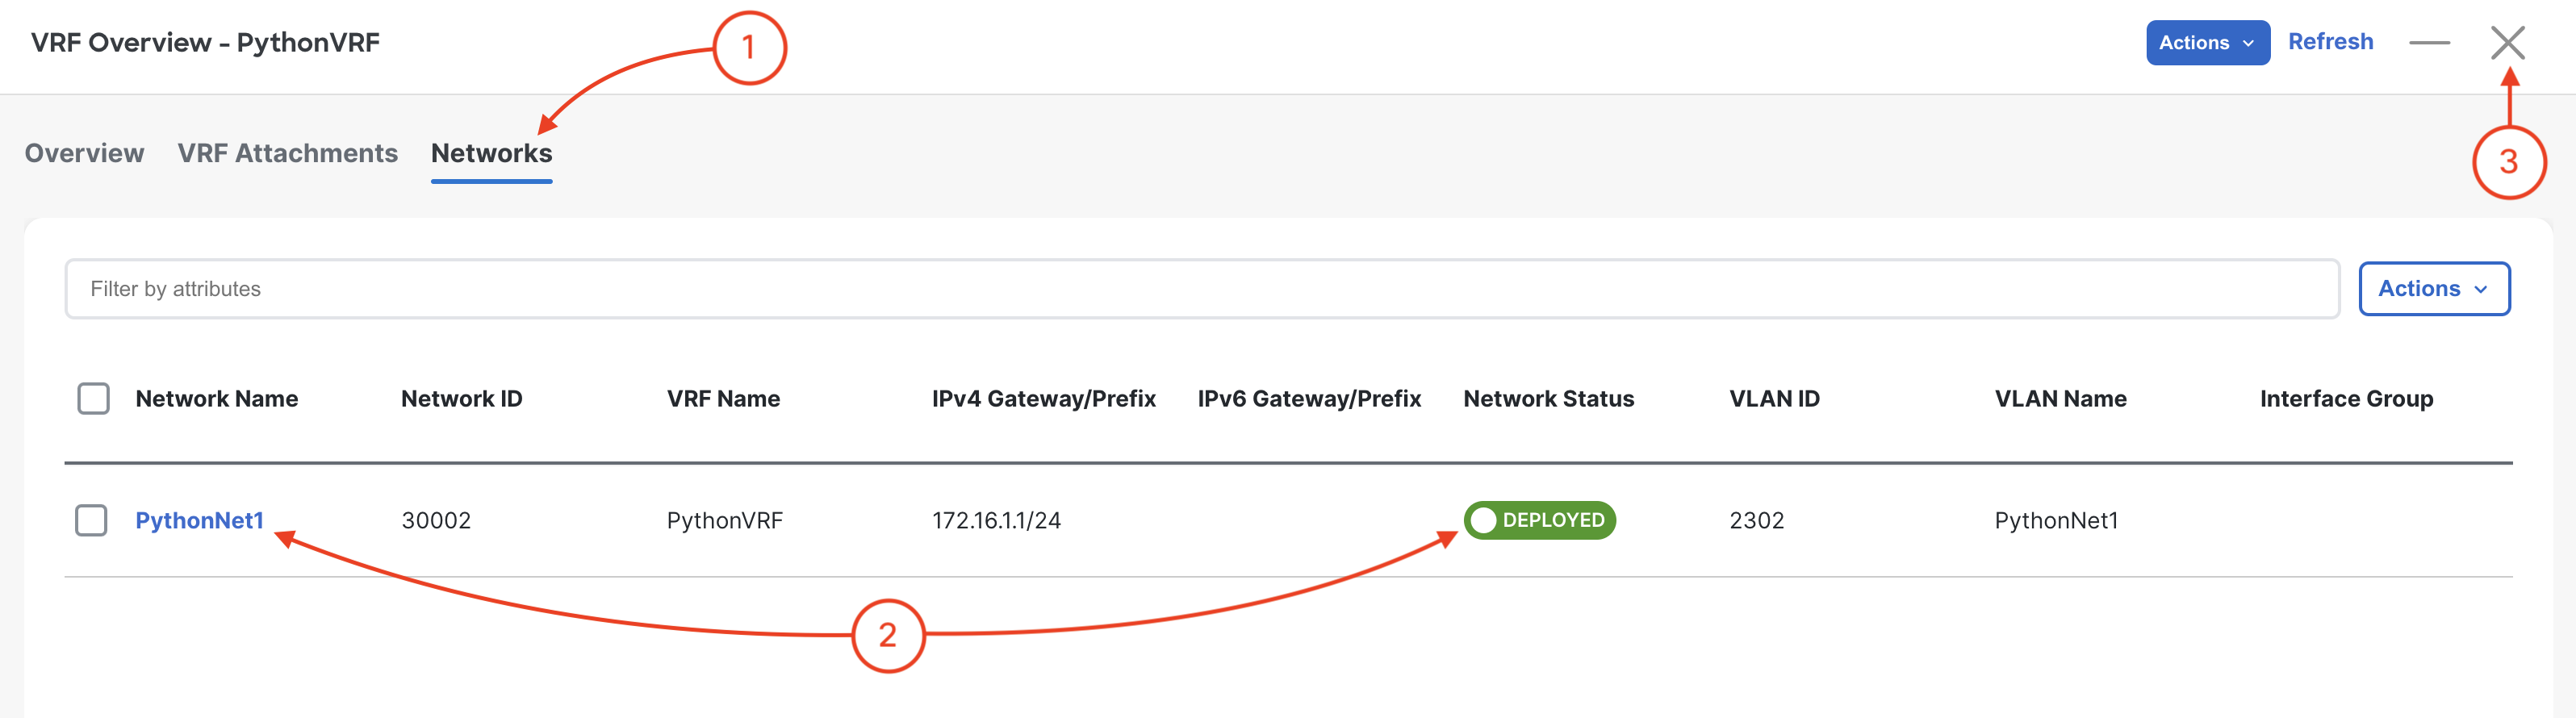
Navigate to Networks:
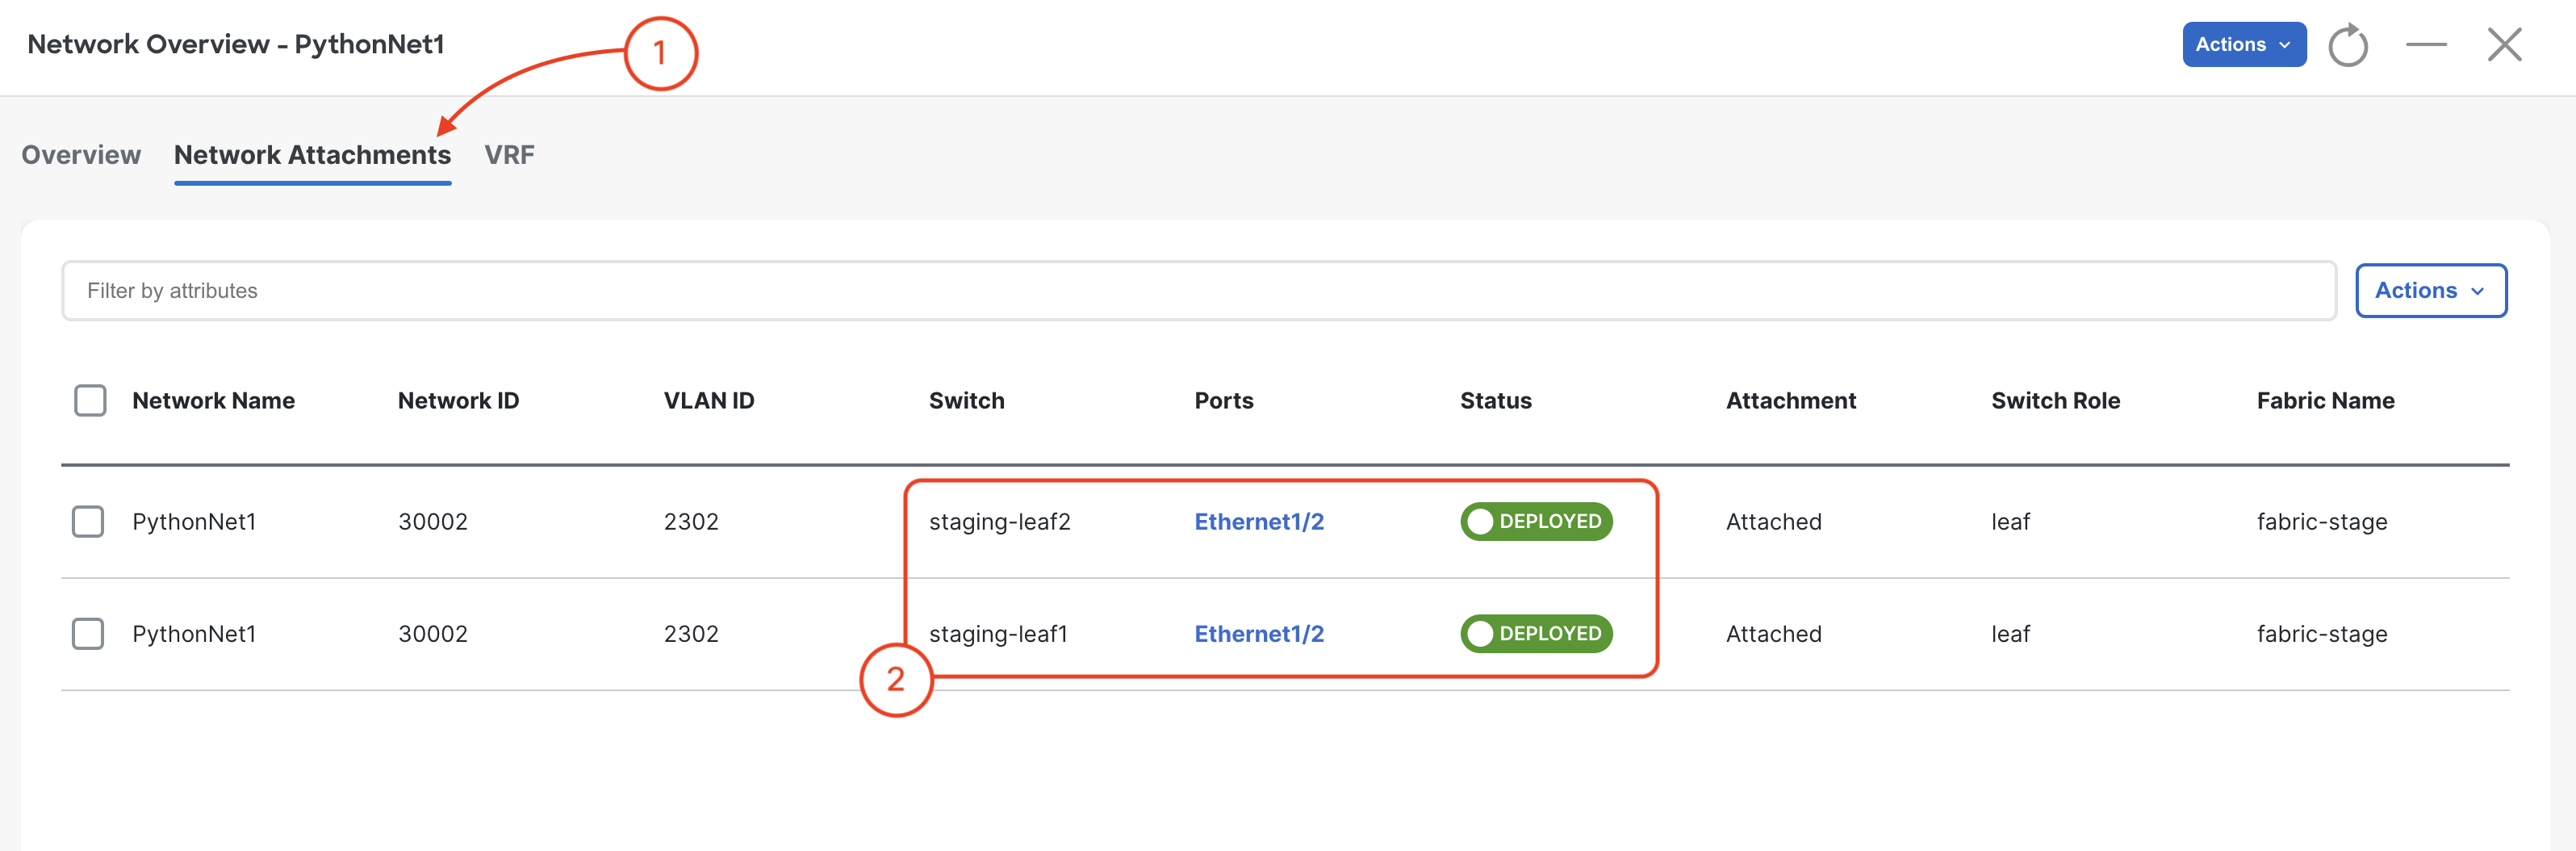
Navigate to Networks and review Networks and attachments:
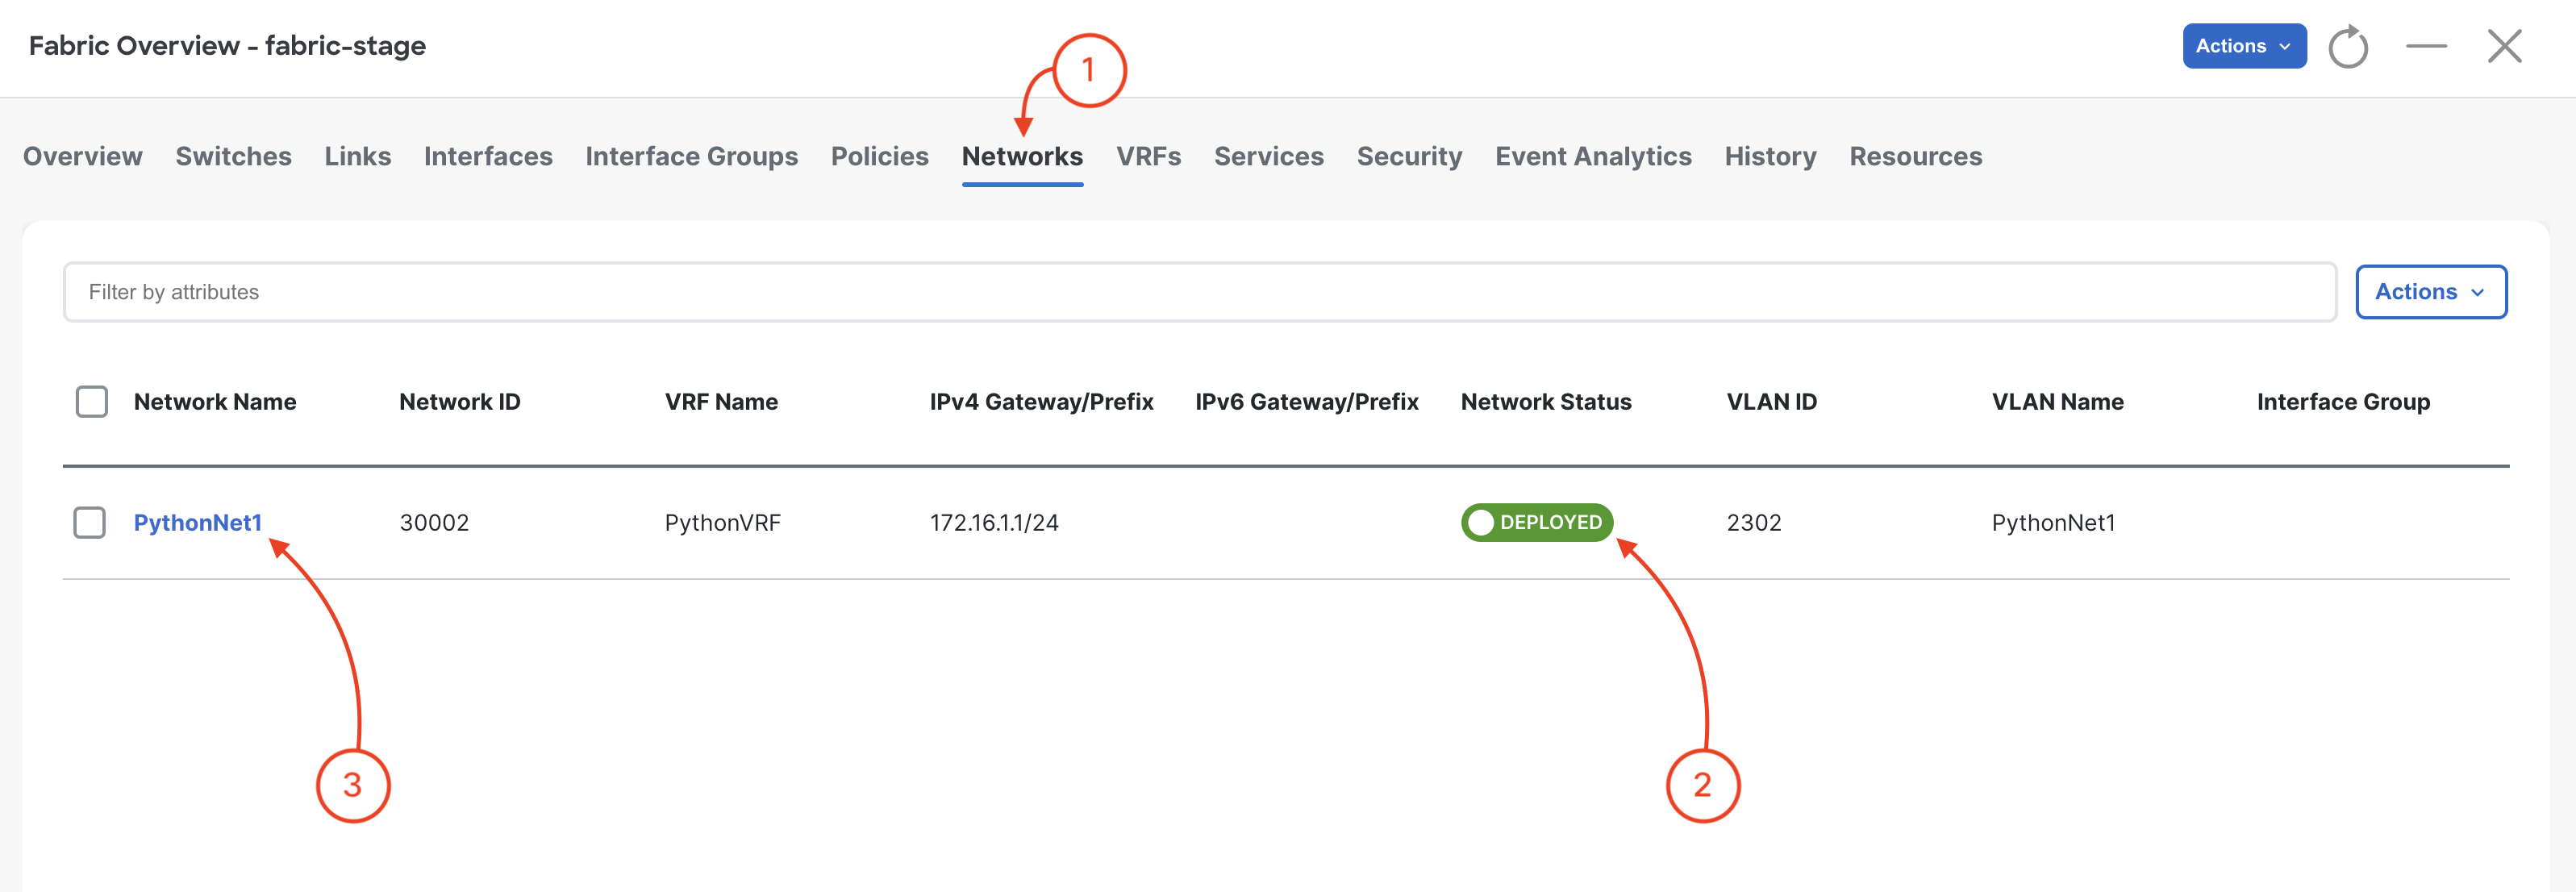
Navigate to Networks and review Networks and attachments:
Navigate to VRFs:
Navigate back to your VSCode application. On the keyword press Ctrl + K + W. This should close all open tabs to clear your workspace for the next section, Ansible!
As you can see by writing this code, there are quite a bit of packages to manage, classes and functions to define in architecting your Python objects and manage your variables to drive your automation. This lab is only showing a simple, mix of ways to achieve this to expose you to various things and aspects in Python. In going down this path with Python, you're essentially starting to define, architect, and create your own framework. This is something you can definitely tackle. However, this is also where something like Ansible is very convenient, powerful, and ready to go - it's a framework that handles all this today, with a simplified, low-coding approach.
Continue to the next section to get started with Ansible for NDFC!