While a complete discussion around Terraform is outside the scope of this Lab, this section provides some basic background information to ensure that you understand Terraform operations and functions.
Unlike Ansible, Terraform is a precompiled, single binary application. However, this binary does not include any built-in ability to apply configuration to or read configuration from any device. This functionality is given through the installation of a provider, a set of resource and data source declarations that instruct Terraform how to interact with a device's REST APIs. Terraform has no ability to interact with any device via SSH, so any provider operates solely using APIs.
Providers are not hosted within Hashicorp's infrastructure. A provider owner places it within their own repository and registers the provider to the Terraform Registry. The registry enables anyone to use the provider through a declaration at the top of any HCL file. You can also reference a provider that is not registered within the public registry, either in an organization's VCS or using a private Terraform registry.
A provider declaration for NDFC is as follows:
terraform {
  required_providers {
    ndfc = {
      source  = "CiscoDevNet/ndfc"
      version = "0.1.0"
    }
  }
}

provider "ndfc" {
  username = "admin"
  password = "cisco.123"
  url      = "https://10.15.0.26""
  insecure = true
}
After the declaration, you place the HCL configuration that is required to move the end device to the desired state. The provider is not downloaded and installed, however, until a terraform init process is executed.
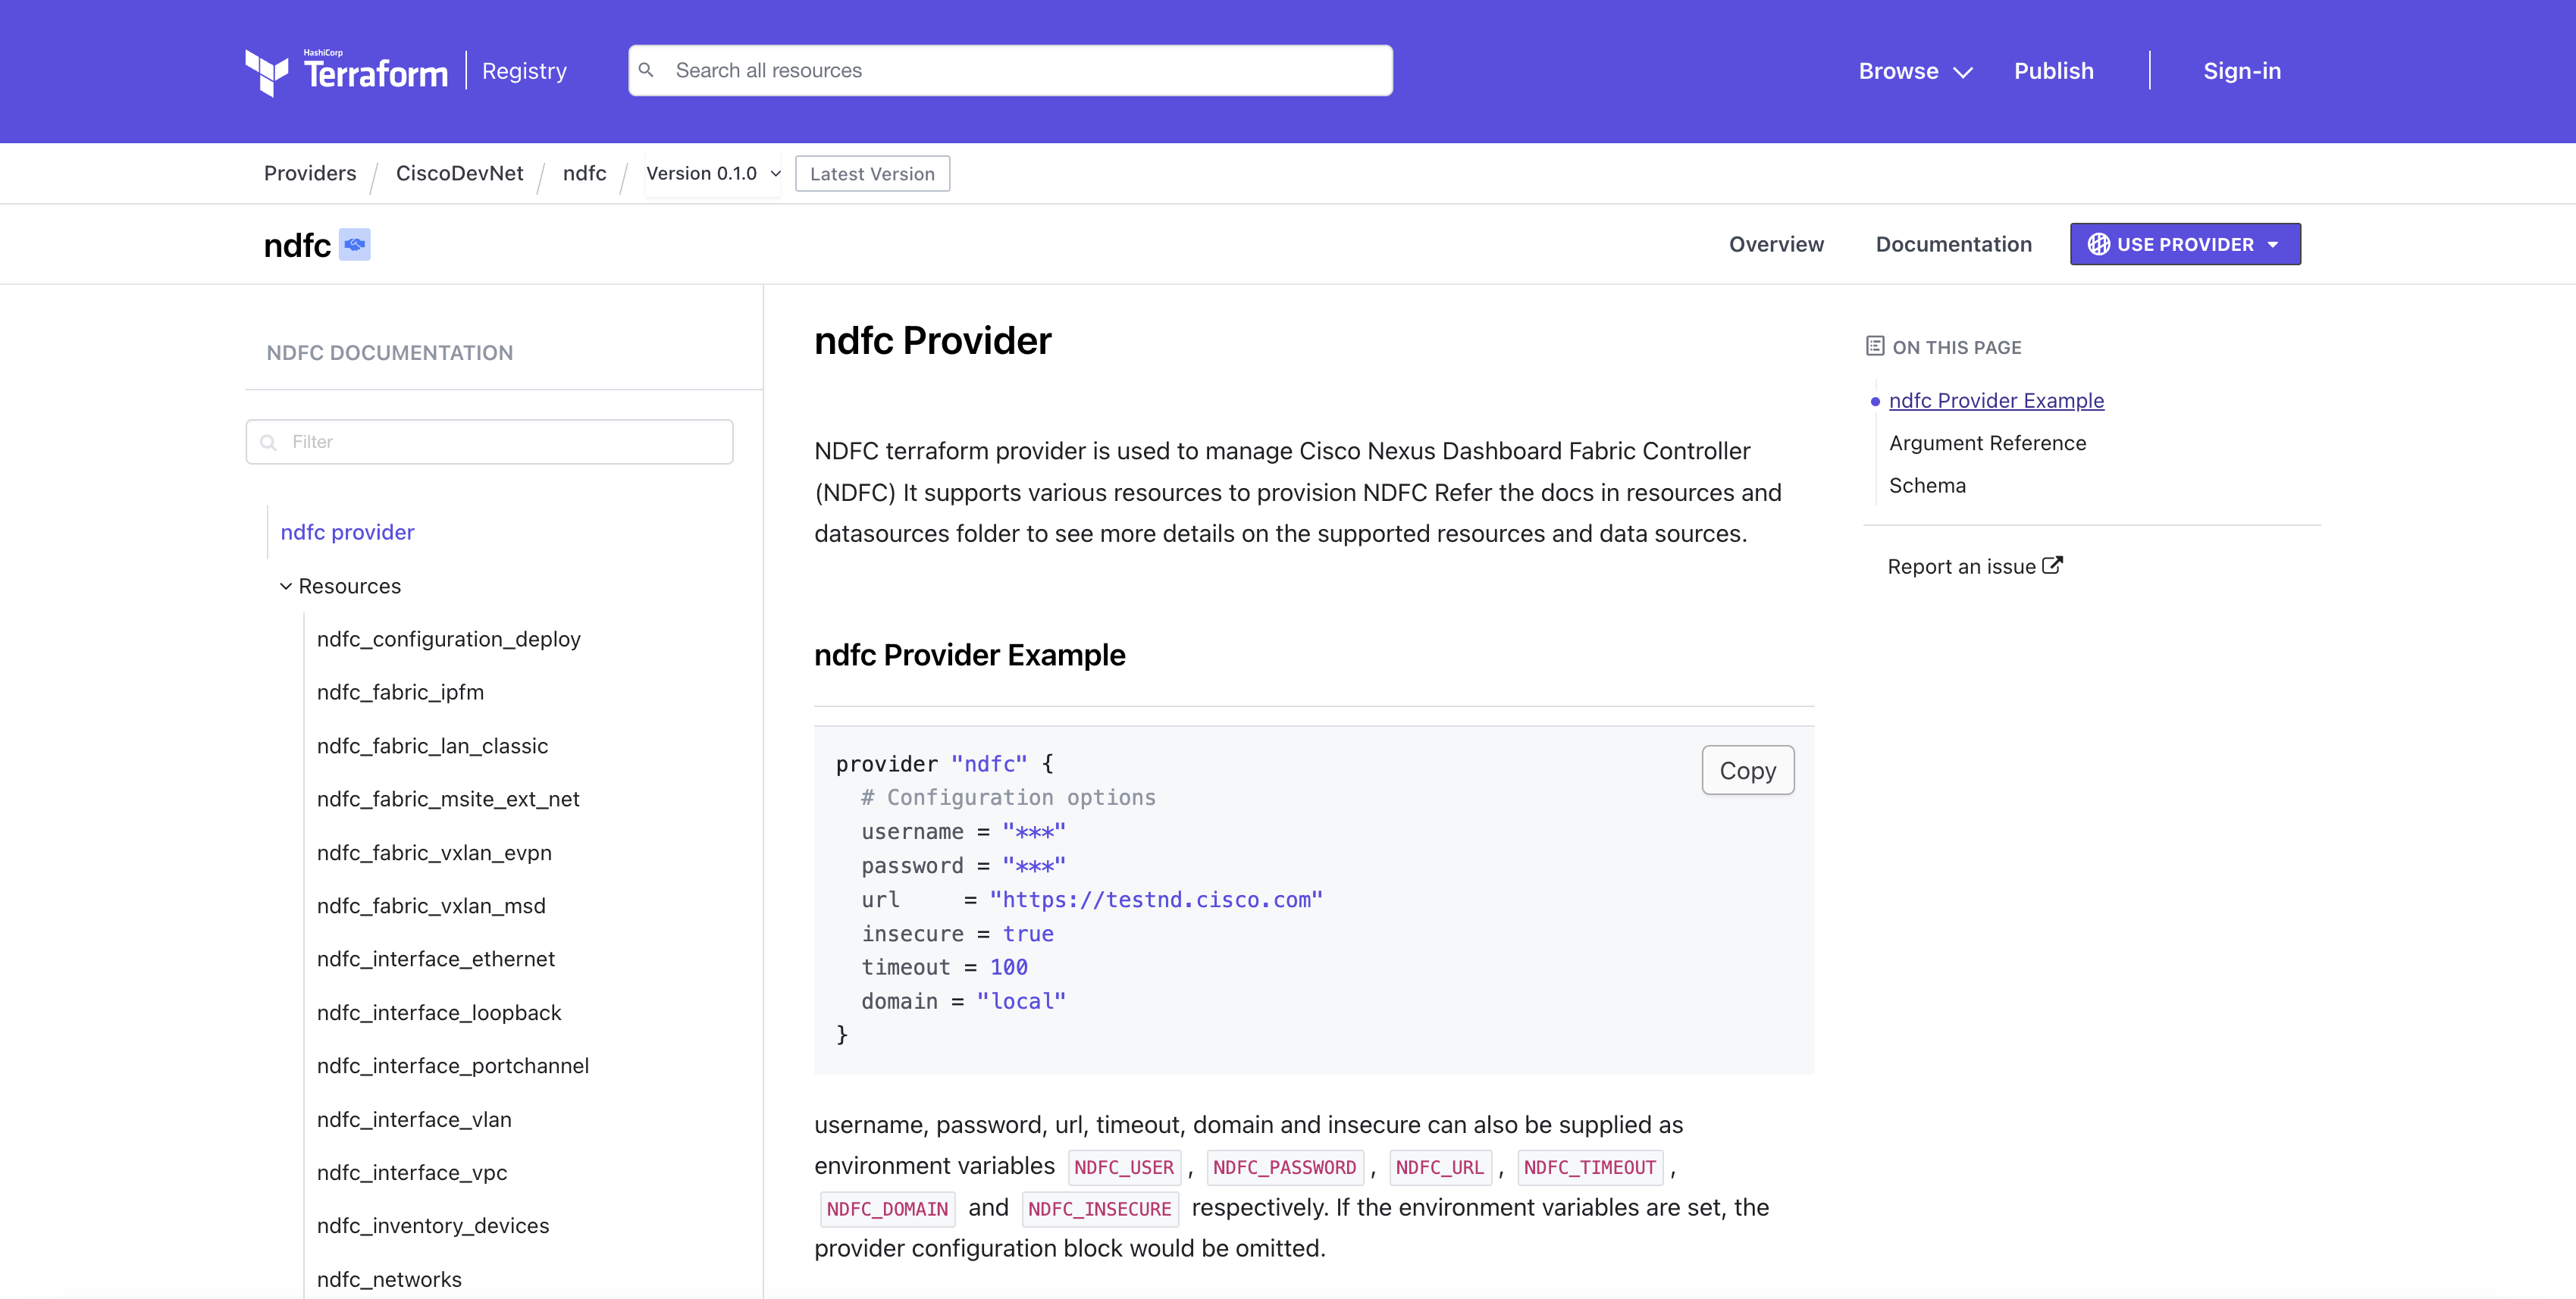
All documentation for each (public) provider can be found through the Terraform Registry. Each provider listing has information about the general use of the provider, as well as the specific resources (items to which configuration can be applied) and data sources (items from which configuration can be read).
This will remove all of the fabrics we setup in previous sections so that we can start fresh with Terraform.
From the root ansible project directory execute the following command.
cd ~/workspace/ndfclab/ansible
ansible-playbook -i hosts.stage.yml reset.yml
Return to your Visual Studio Code Terminal window
Create a directory called terraform under the /home/cisco/Documents/ndfclab project directory.
mkdir -p ~/workspace/ndfclab/terraform
cd ~/workspace/ndfclab/terraform
~/workspace/ndfclab/terraform project directory, create directory modulesThis is the directory where all the terraform modules will be created:
mkdir -p ~/workspace/ndfclab/terraform/modules
There are several steps required to install Terraform which were taken care of already to conserve time. If you are interested in the complete steps, please refer to the Hashicorp Terraform Install Guide. For now, to complete the Terraform installation execute the following command in your Visual Studio Code Terminal:
sudo apt-get install terraform
If you are prompted for a password, use the password
cisco.123
to continue.
terraform version
    Terraform v1.12.1
    on linux_amd64