Up to this point, all of the Switch, Interface, VRF, and Network configurations have been pushed to ND. However, their Config Status shows as Pending since you have not yet deployed this configuration.
In this step, you will deploy the fabric configuration from the ND controller to the devices in the fabric.
Make sure you are in your root Ansible directory.
cd ~/workspace/ndlab/nac
From the root Ansible project directory, execute the following command:
ansible-playbook -i hosts.site1.yml vxlan.yml -t role_deploy
Upon a successful run of the playbook your output should look as follows:
  <... SNIP ...>

  PLAY RECAP **************************************************************************************************************************************************************************
  site1-fabric               : ok=41   changed=3    unreachable=0    failed=0    skipped=16   rescued=0    ignored=0


  PLAYBOOK RECAP ******************************************************************************************
  Playbook run took 0 days, 0 hours, 3 minutes, 30 seconds


  TASKS RECAP *********************************************************************************************
  Tuesday 02 June 2026  22:05:27 +0000 (0:00:00.073)       0:03:30.638 **********
  ===============================================================================
  cisco.nac_dc_vxlan.deploy : Execute Deploy of Resources ---------------------------------------- 194.58s
  cisco.nac_dc_vxlan.common : Build Resources ------------------------------------------------------ 3.50s
  cisco.nac_dc_vxlan.connectivity_check : Get Cisco Nexus Dashboard Fabric Controller Version ------ 1.68s
  cisco.nac_dc_vxlan.deploy : Execute Deploy of Resources ------------------------------------------ 1.32s
  cisco.nac_dc_vxlan.validate : Copy Service Model Data to Host ------------------------------------ 0.78s
  cisco.nac_dc_vxlan.connectivity_check : Verify Authorization to Nexus Dashboard ------------------ 0.71s
  cisco.nac_dc_vxlan.validate : Copy Extended Service Model Data to Host --------------------------- 0.60s
  cisco.nac_dc_vxlan.connectivity_check : Verify Connection to Nexus Dashboard --------------------- 0.54s
  cisco.nac_dc_vxlan.validate : Stat Factory Defaults ---------------------------------------------- 0.51s
  cisco.nac_dc_vxlan.validate : Move Golden Service Model Data Previous ---------------------------- 0.49s
  cisco.nac_dc_vxlan.connectivity_check : Get Cisco Nexus Dashboard Version ------------------------ 0.43s
  cisco.nac_dc_vxlan.validate : Stat the Extended Service Model Data ------------------------------- 0.36s
  cisco.nac_dc_vxlan.validate : Move Extended Service Model Data Previous -------------------------- 0.35s
  cisco.nac_dc_vxlan.validate : Stat the Golden Service Model Data --------------------------------- 0.35s
  cisco.nac_dc_vxlan.common : Display Change Flag Values ------------------------------------------- 0.28s
  cisco.nac_dc_vxlan.common : Display Resource Build Summary --------------------------------------- 0.23s
  cisco.nac_dc_vxlan.common : Create Fact To Store Common Role Path -------------------------------- 0.21s
  cisco.nac_dc_vxlan.validate : Prepare Service Model ---------------------------------------------- 0.21s
  cisco.nac_dc_vxlan.validate : Role Entry Point - [cisco.nac_dc_vxlan.validate] ------------------- 0.21s
  cisco.nac_dc_vxlan.connectivity_check : Set Cisco Nexus Dashboard Version Var -------------------- 0.21s

  ROLES RECAP *********************************************************************************************
  Tuesday 02 June 2026  22:05:27 +0000 (0:00:00.073)       0:03:30.637 **********
  ===============================================================================
  deploy ---------------------------------------------------------------- 196.04s
  validate ---------------------------------------------------------------- 6.12s
  common ------------------------------------------------------------------ 4.35s
  connectivity_check ------------------------------------------------------ 3.77s
  common_global ----------------------------------------------------------- 0.05s
  ~~~~~~~~~~~~~~~~~~~~~~~~~~~~~~~~~~~~~~~~~~~~~~~~~~~~~~~~~~~~~~~~~~~~~~~~~~~~~~~
  total ----------------------------------------------------------------- 210.33s
This is the initial deploy of everything staged up to this point, thus it will take some time to complete.
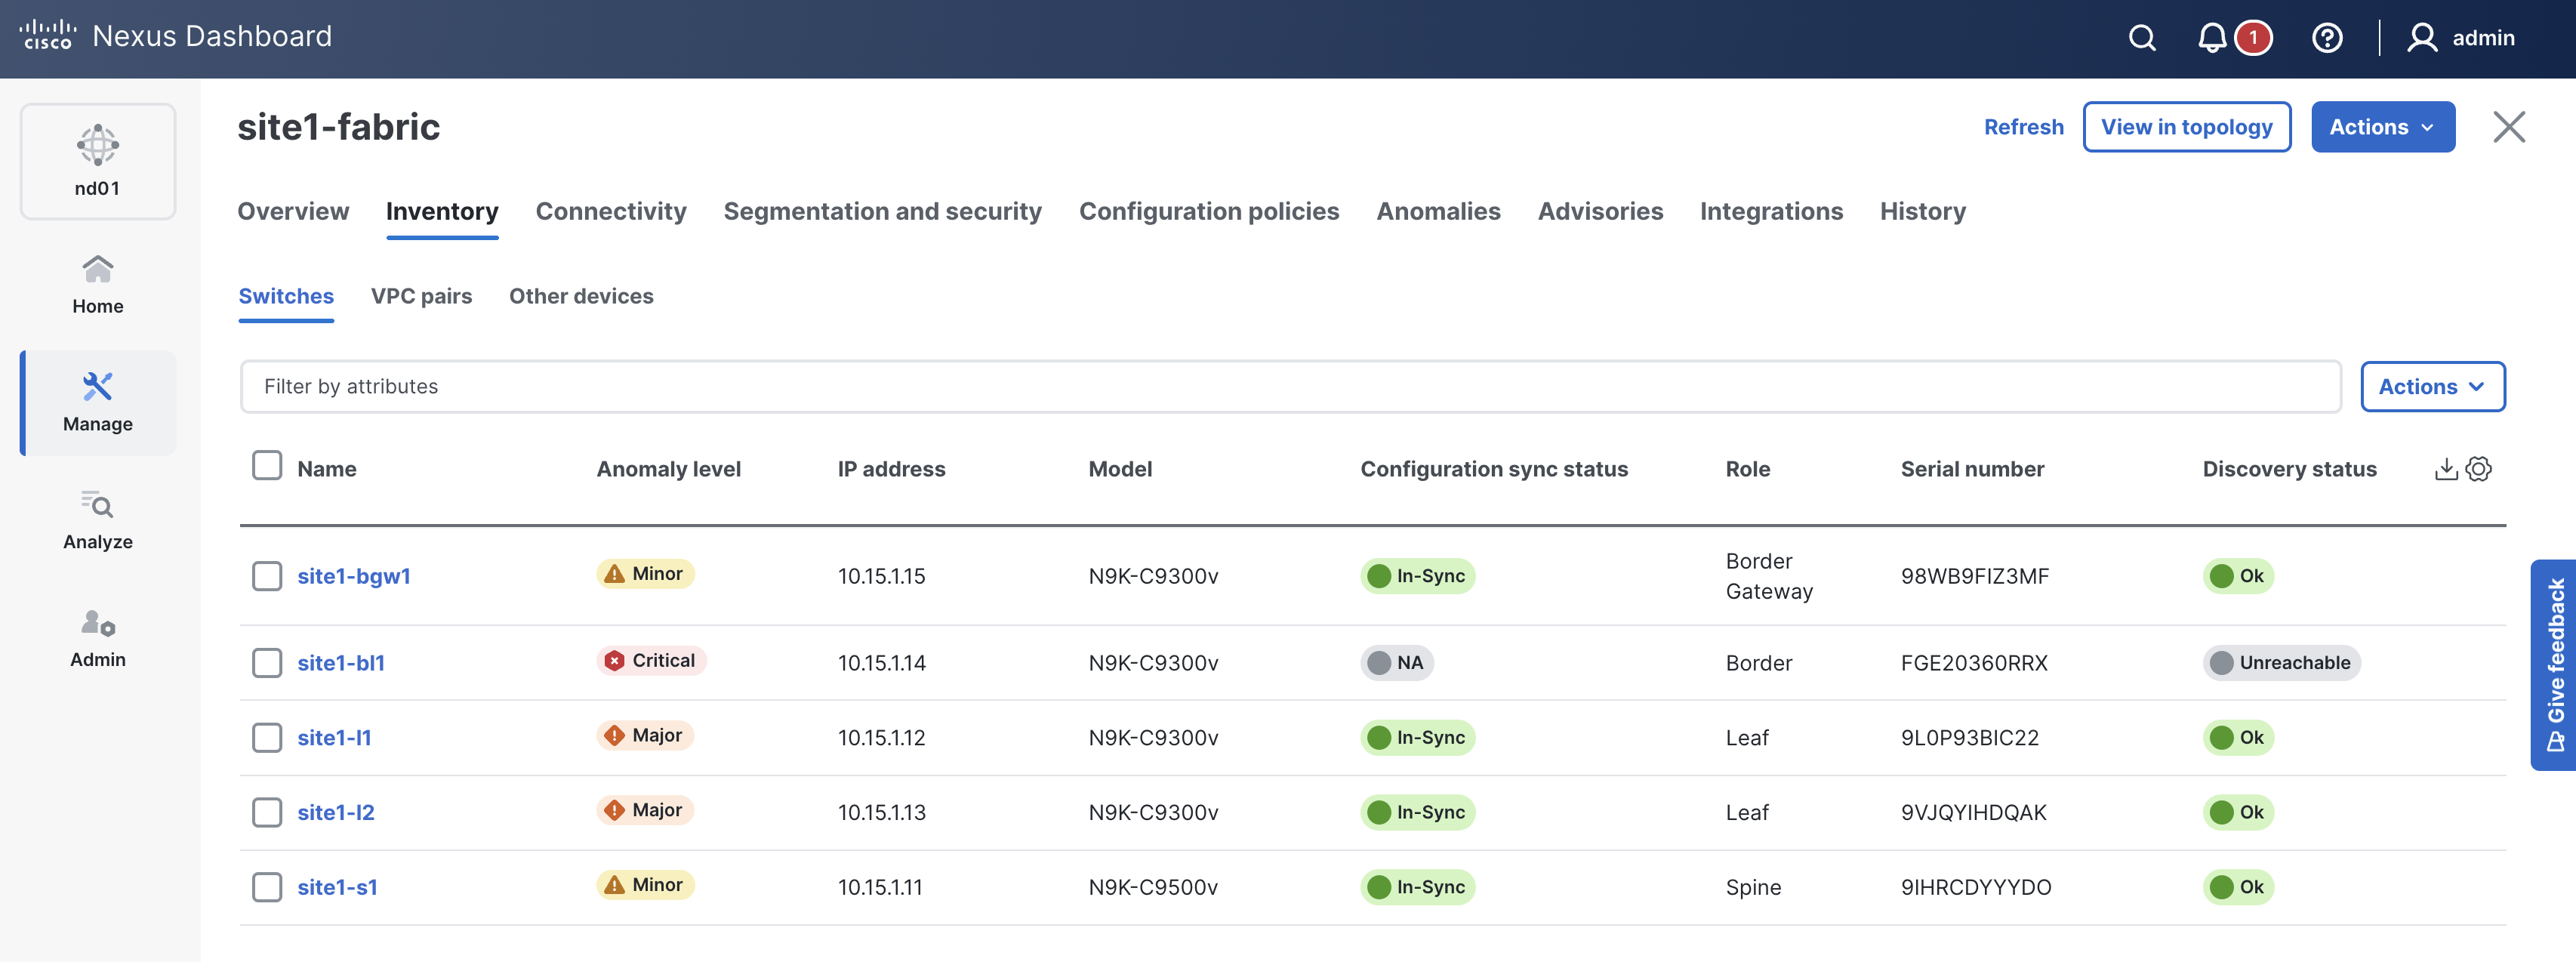
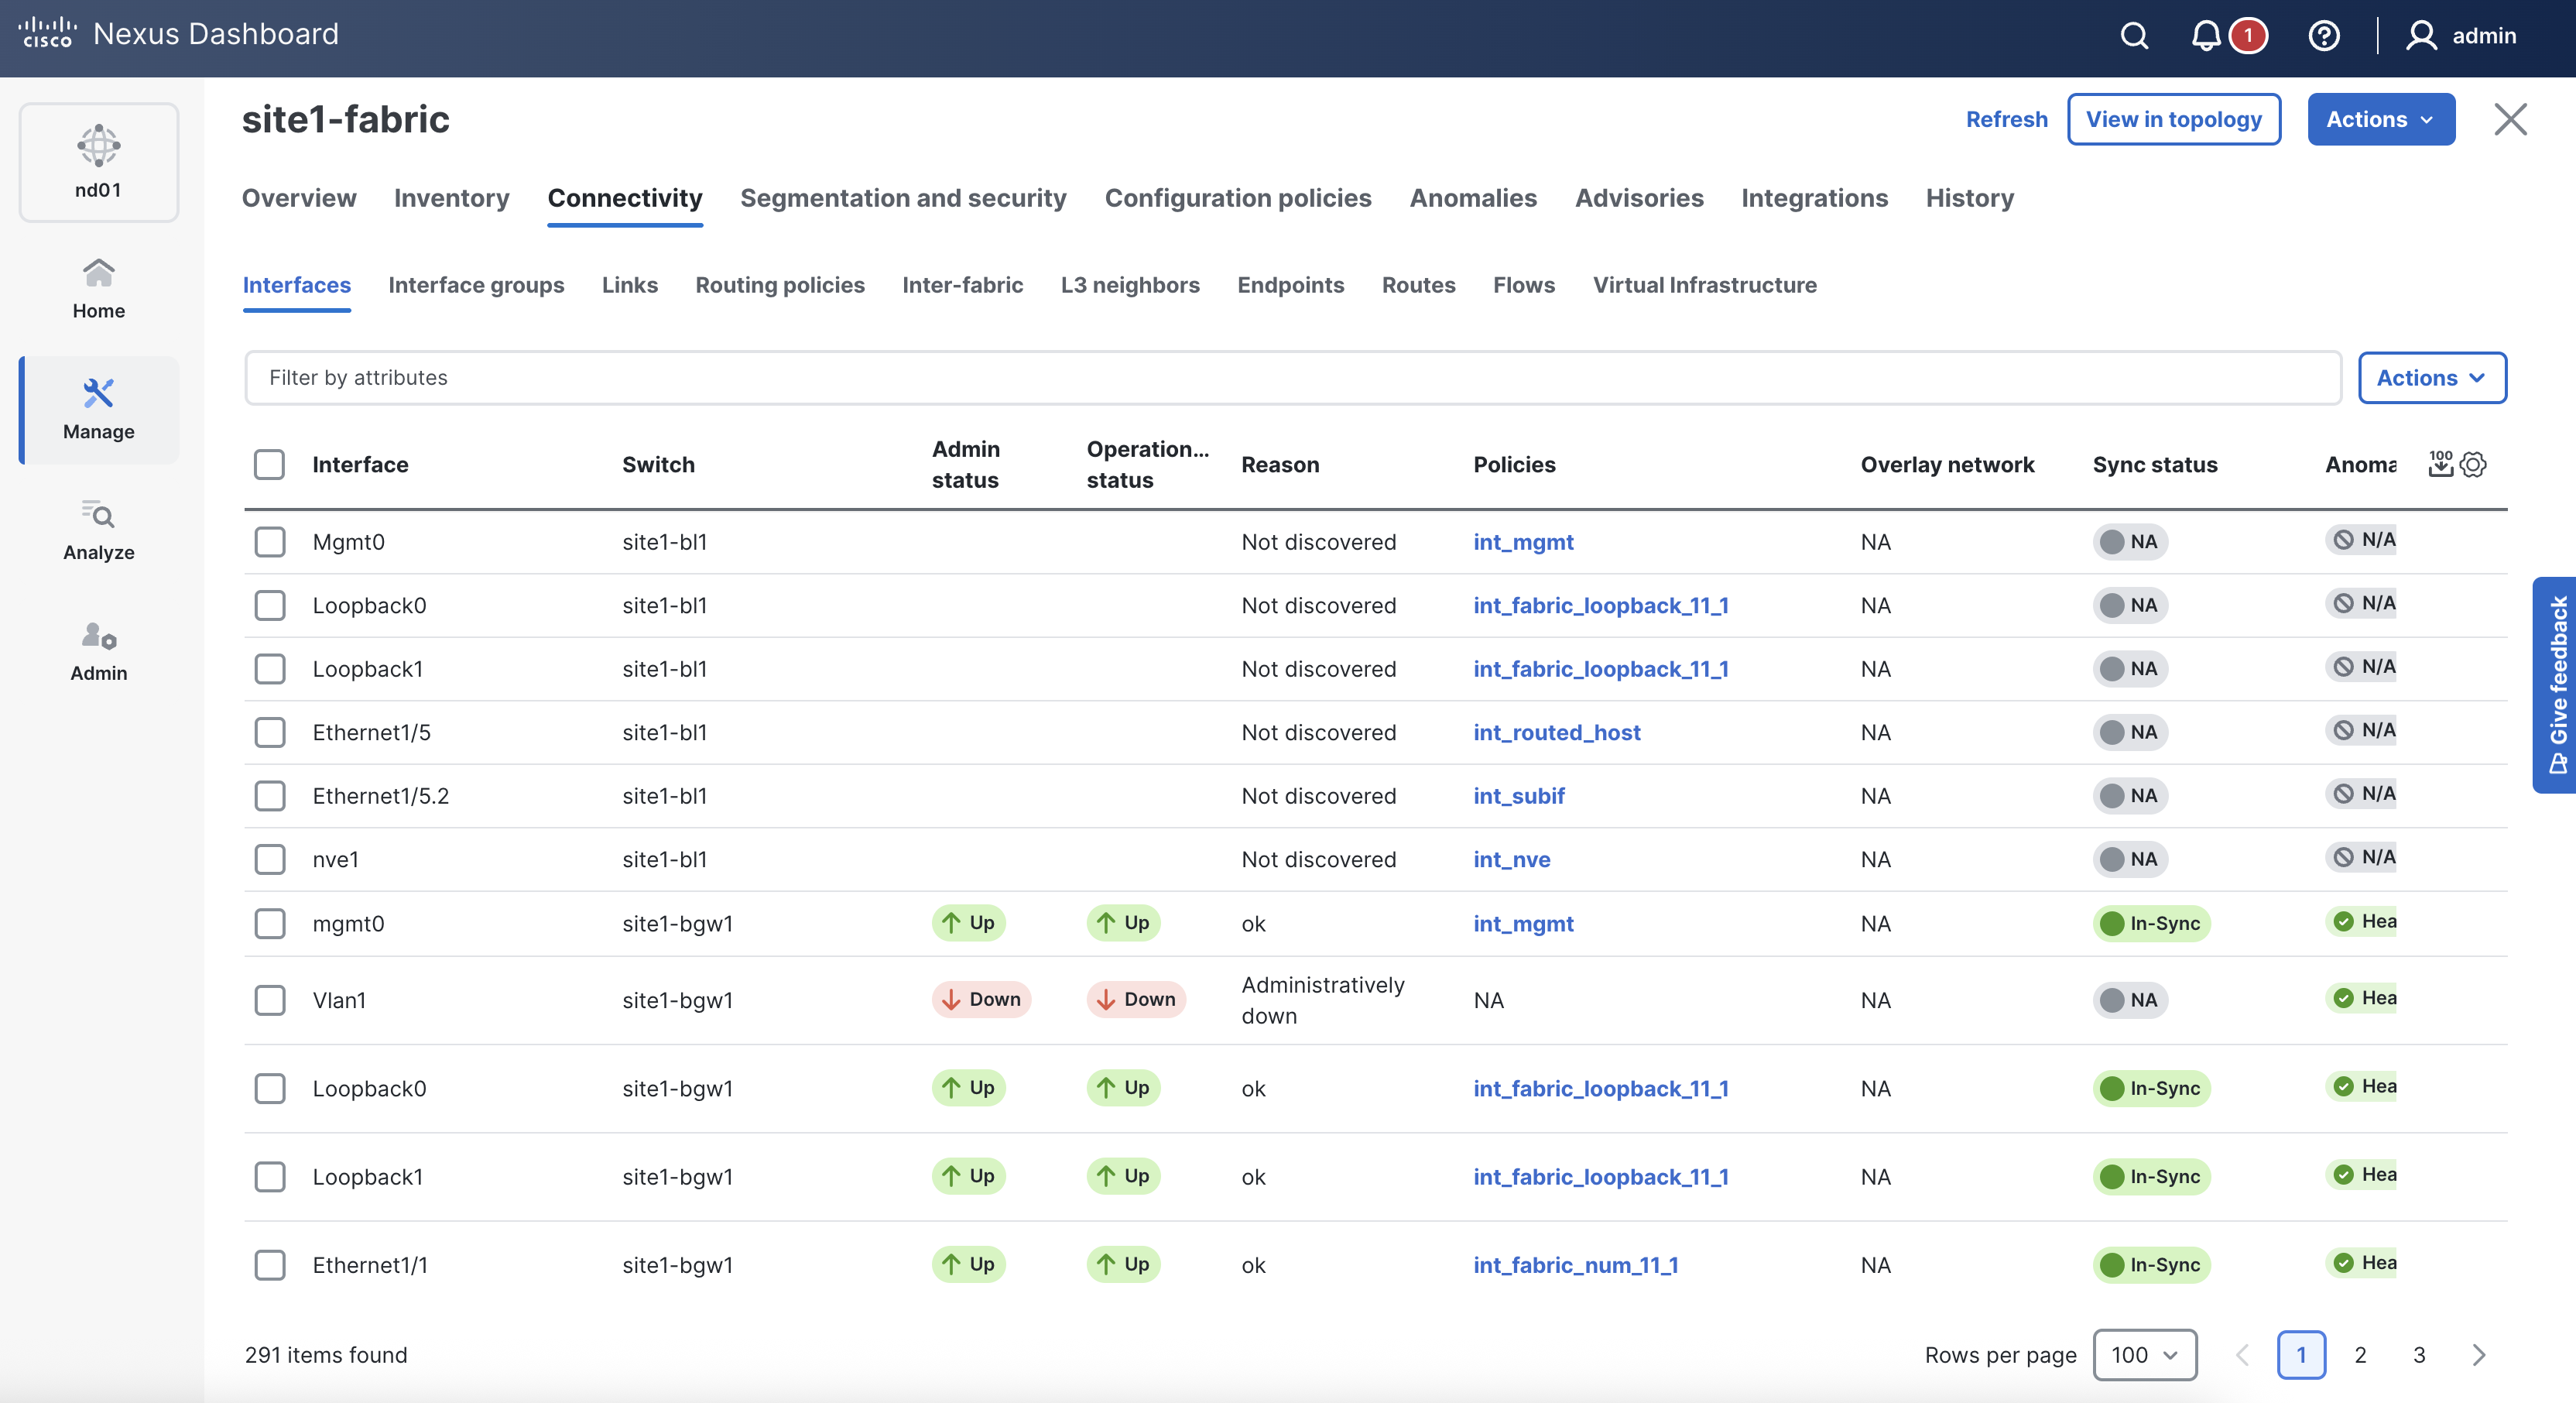
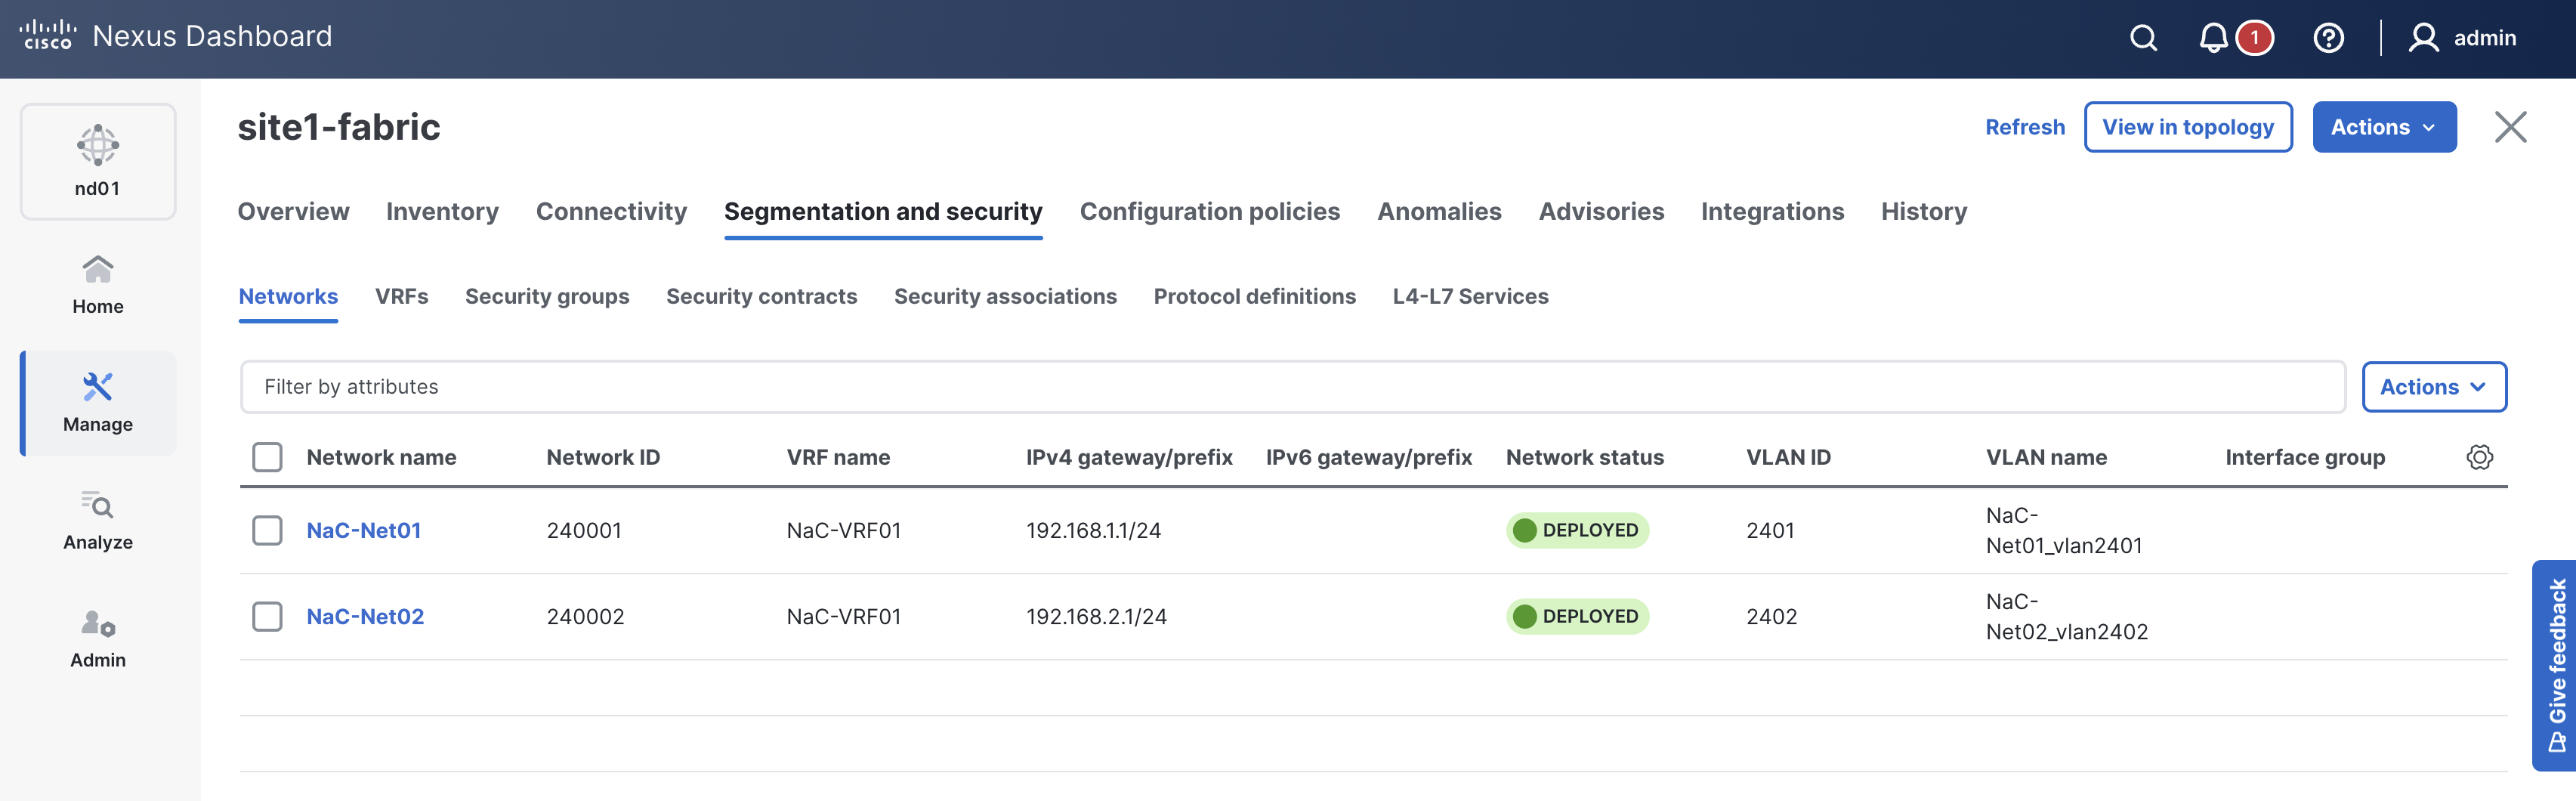
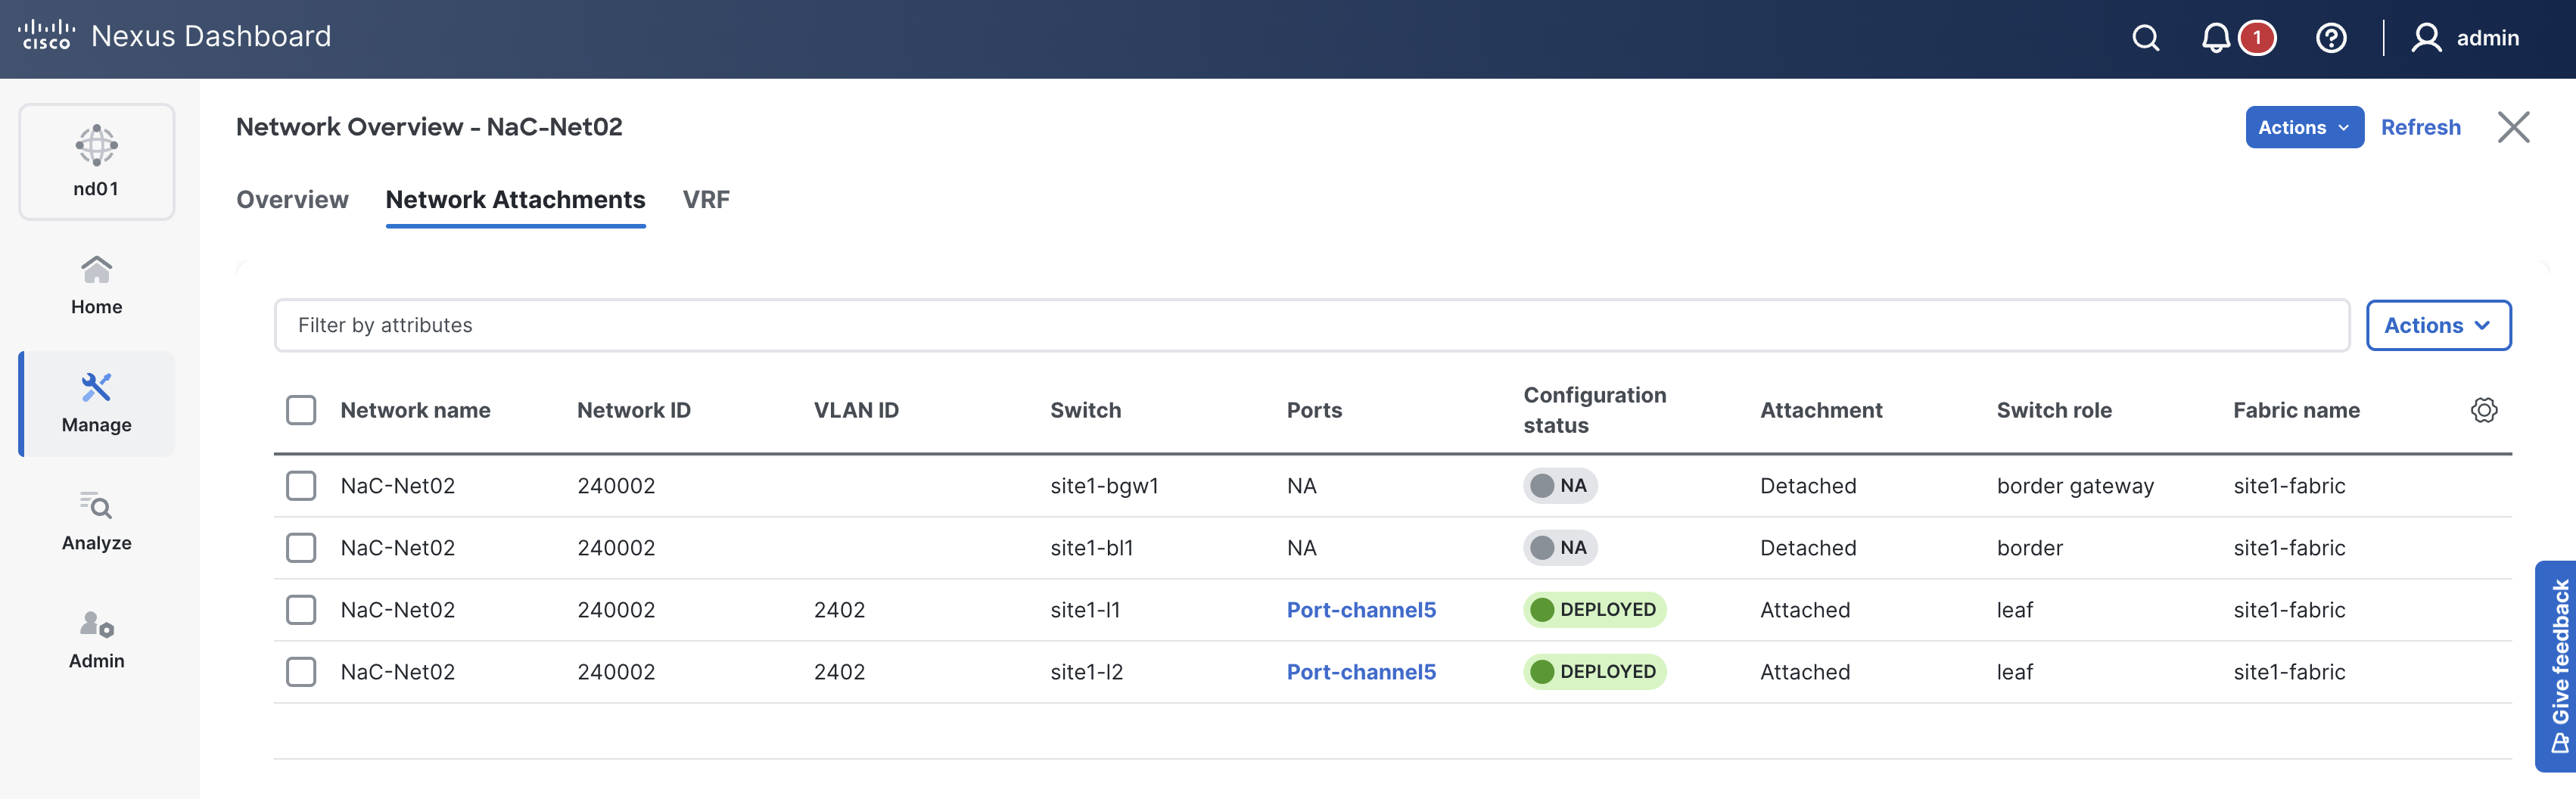
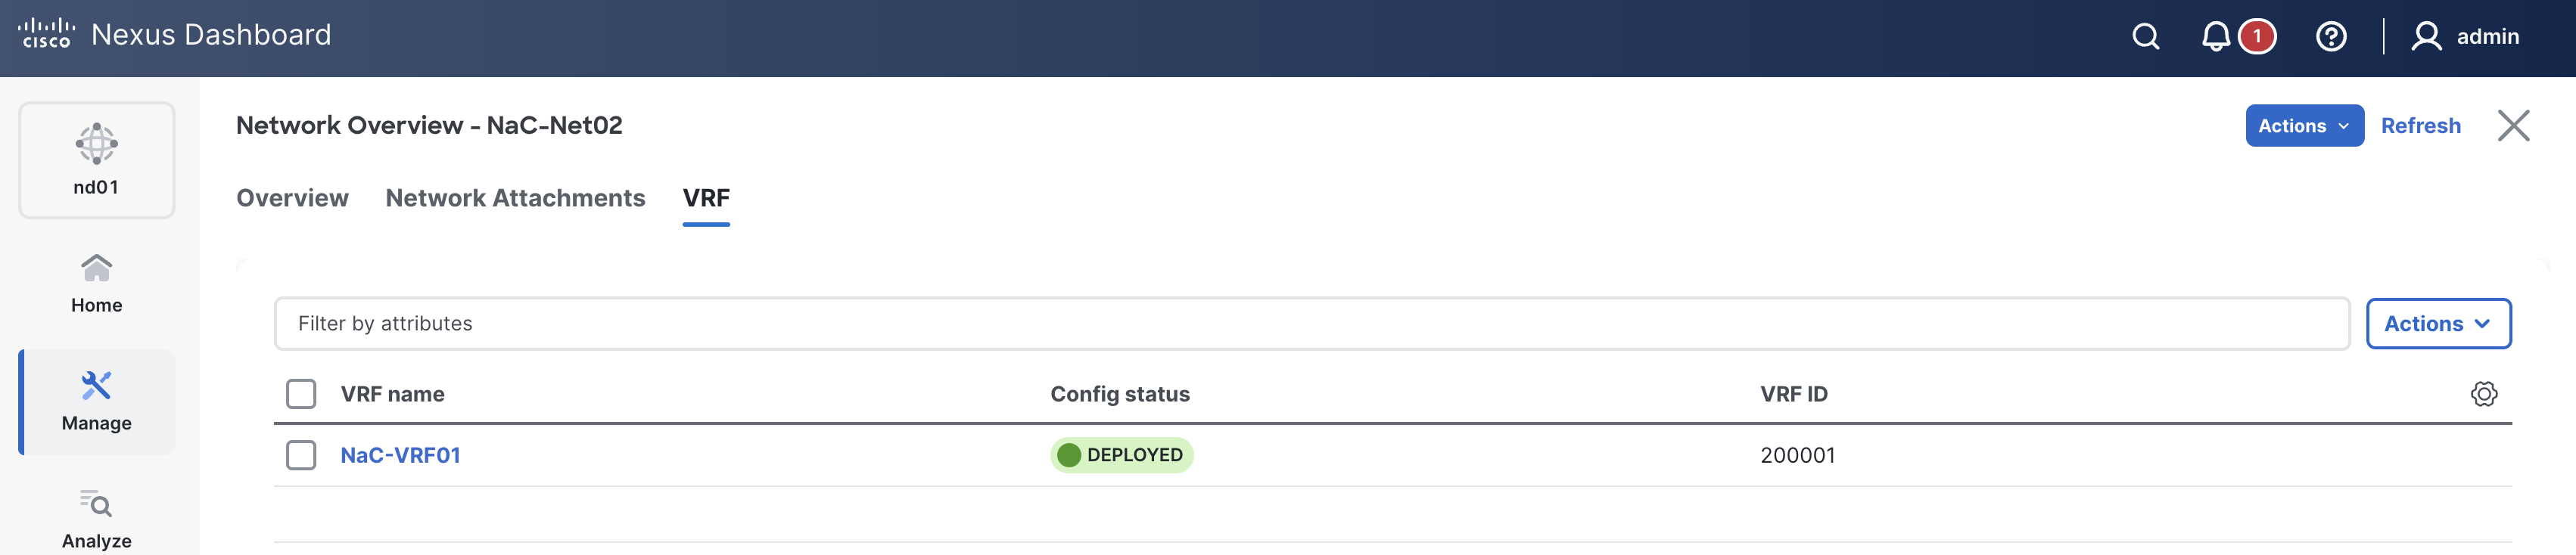
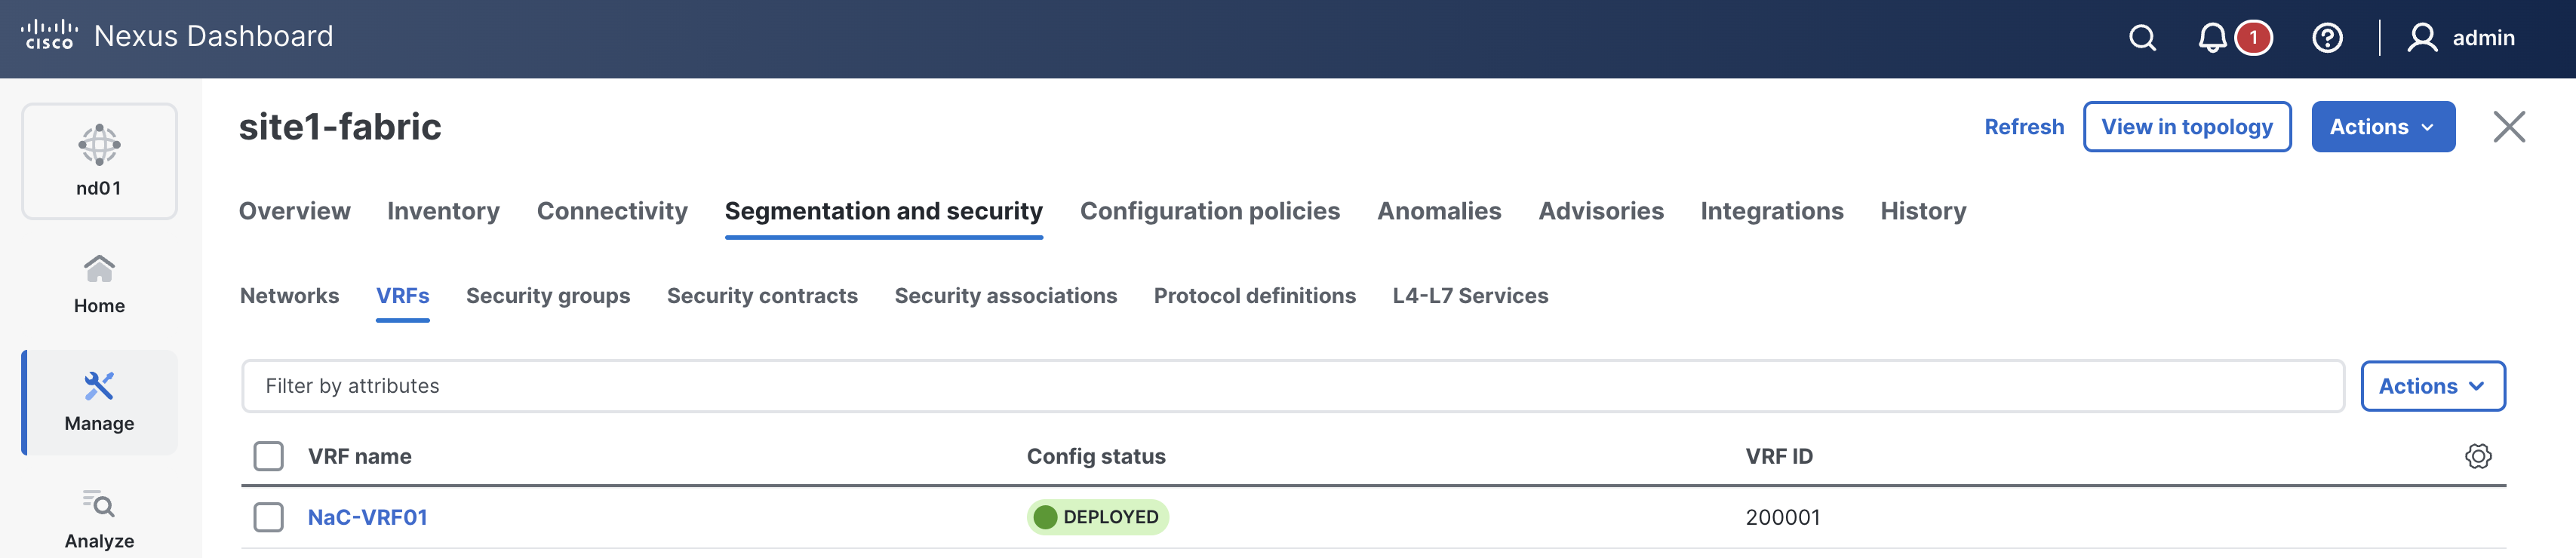
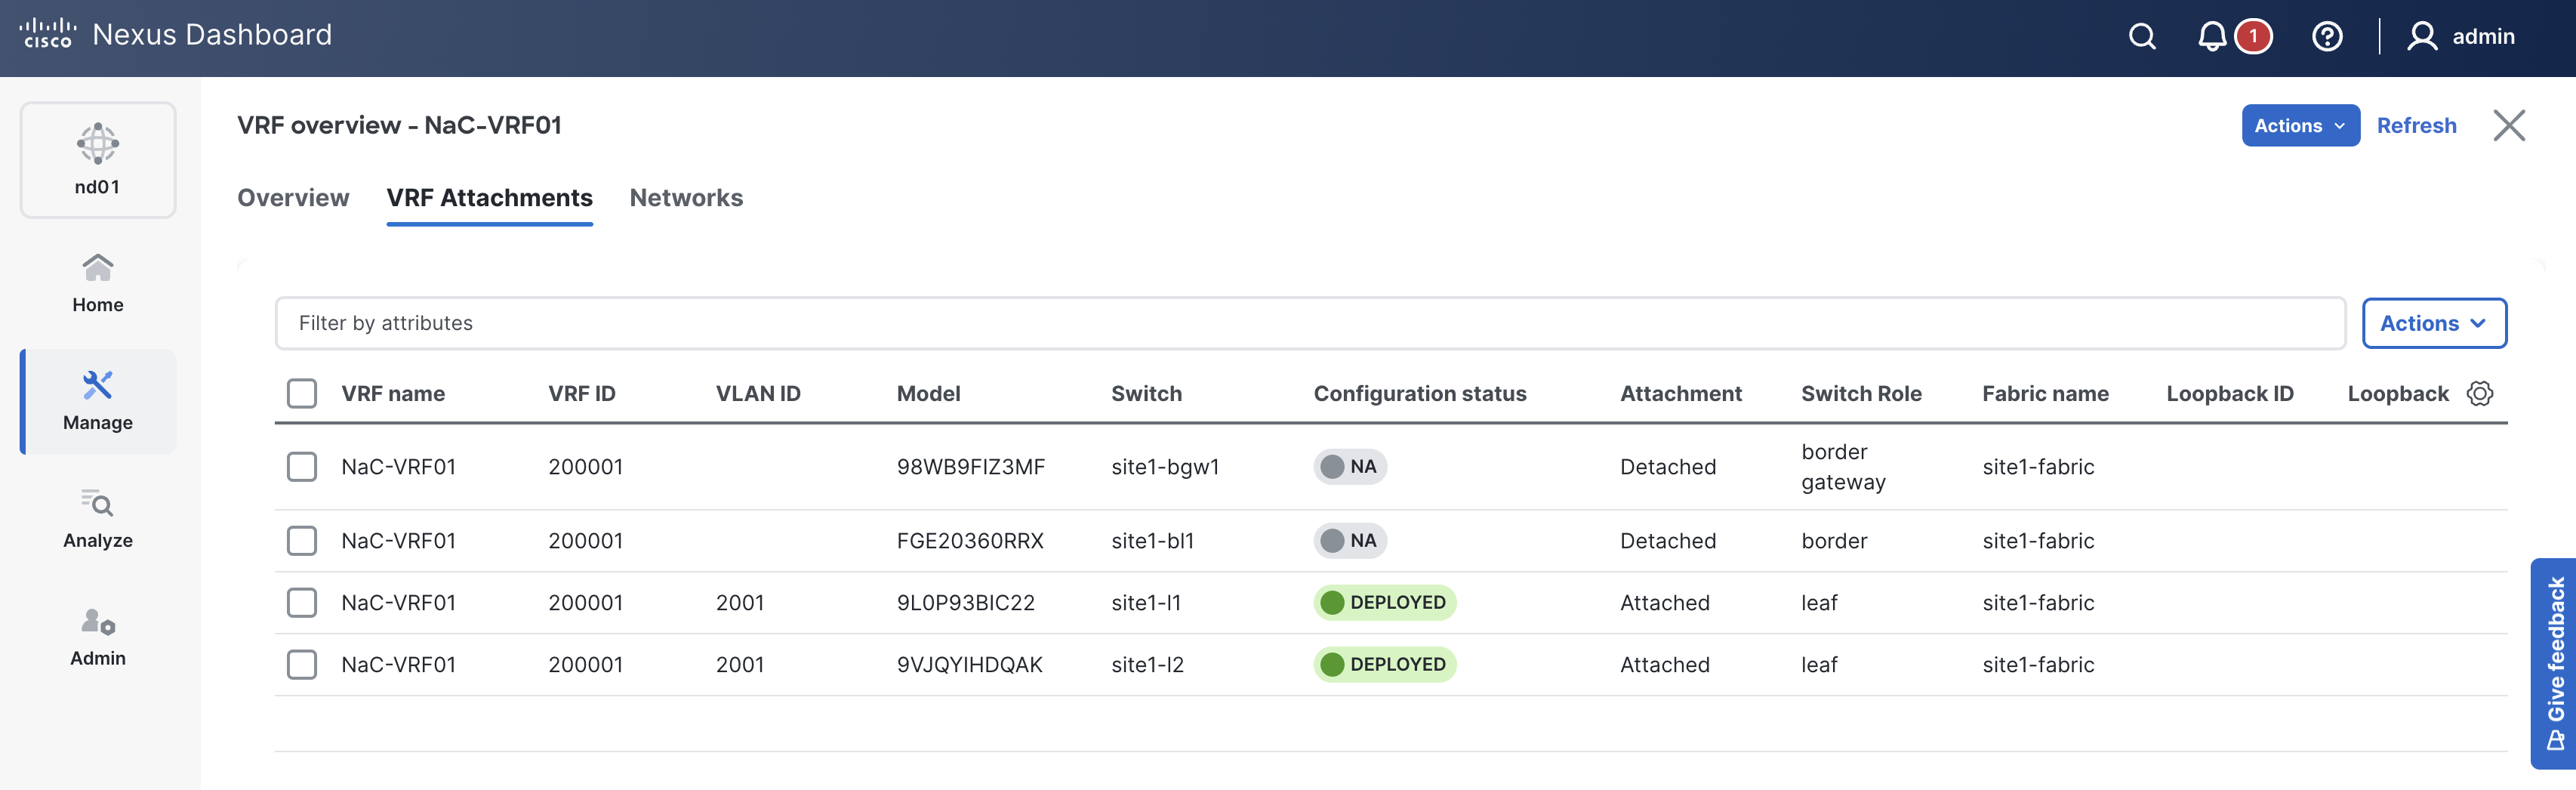
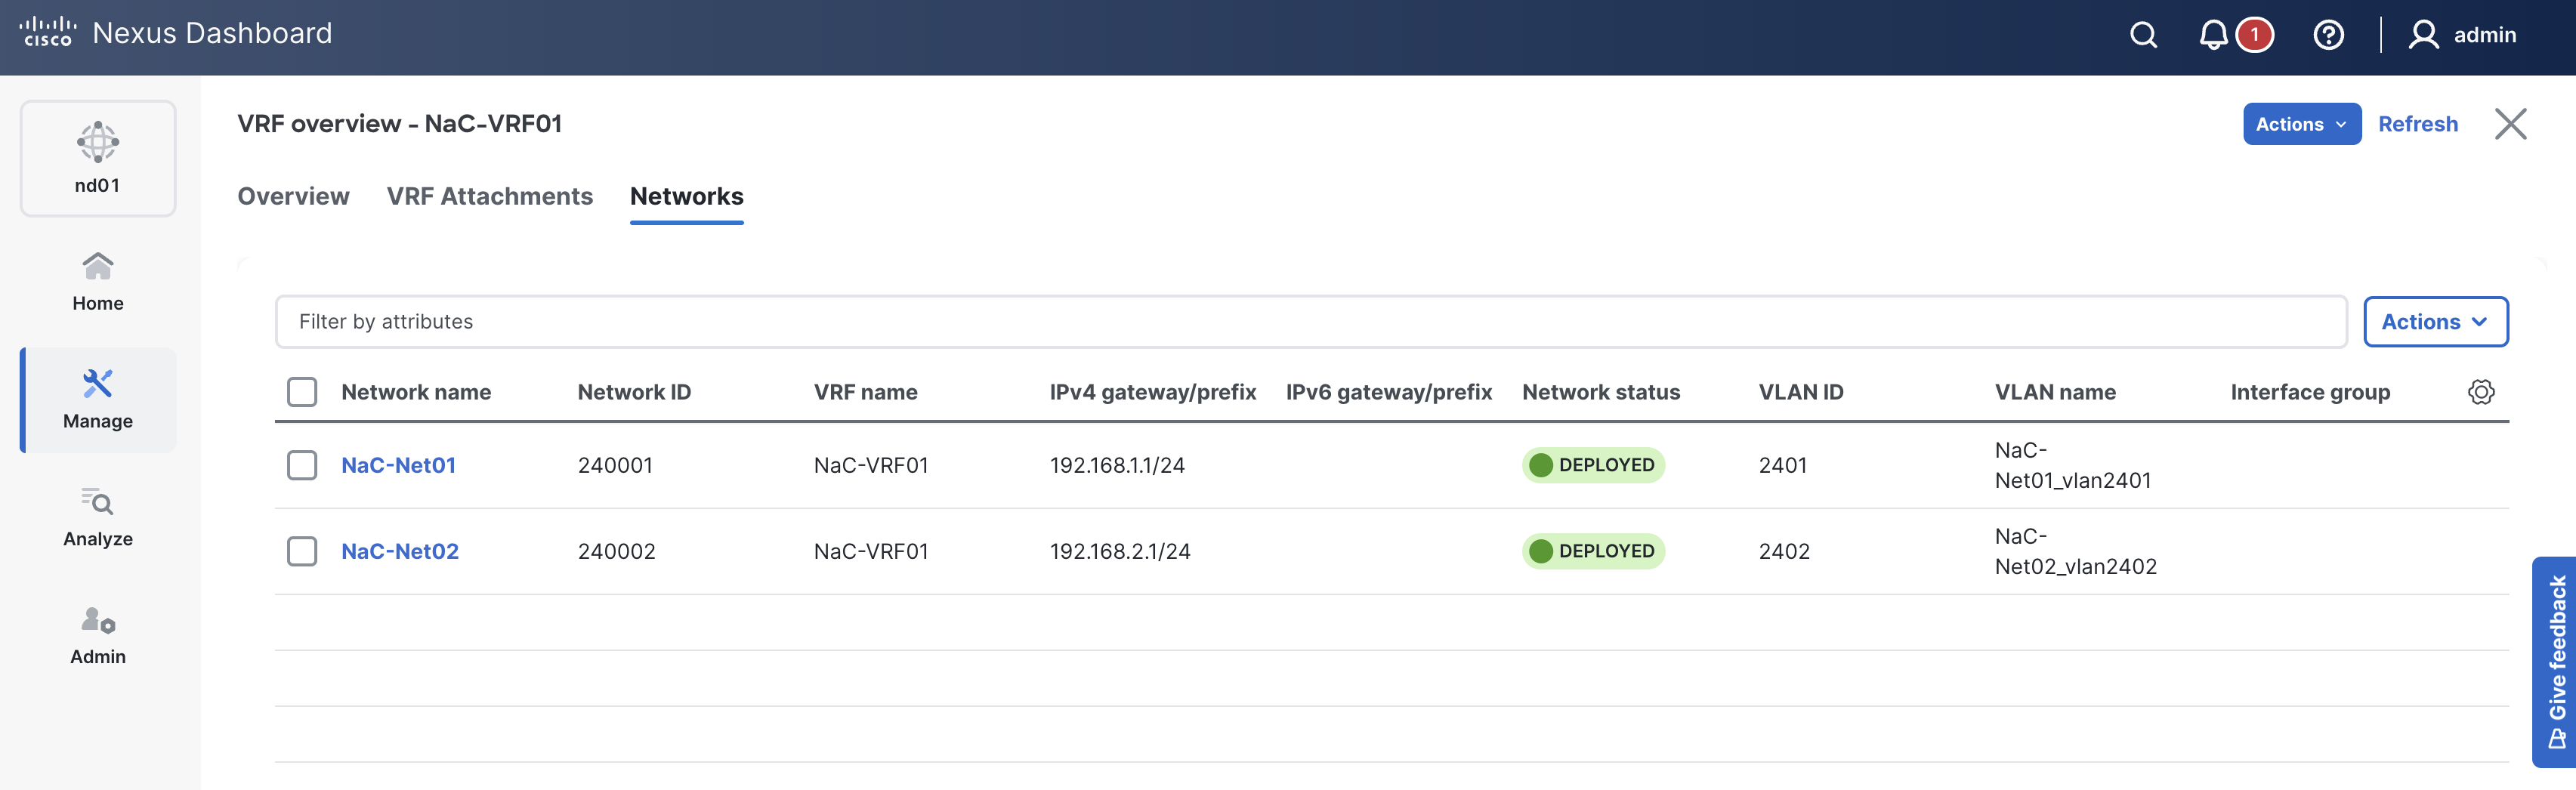
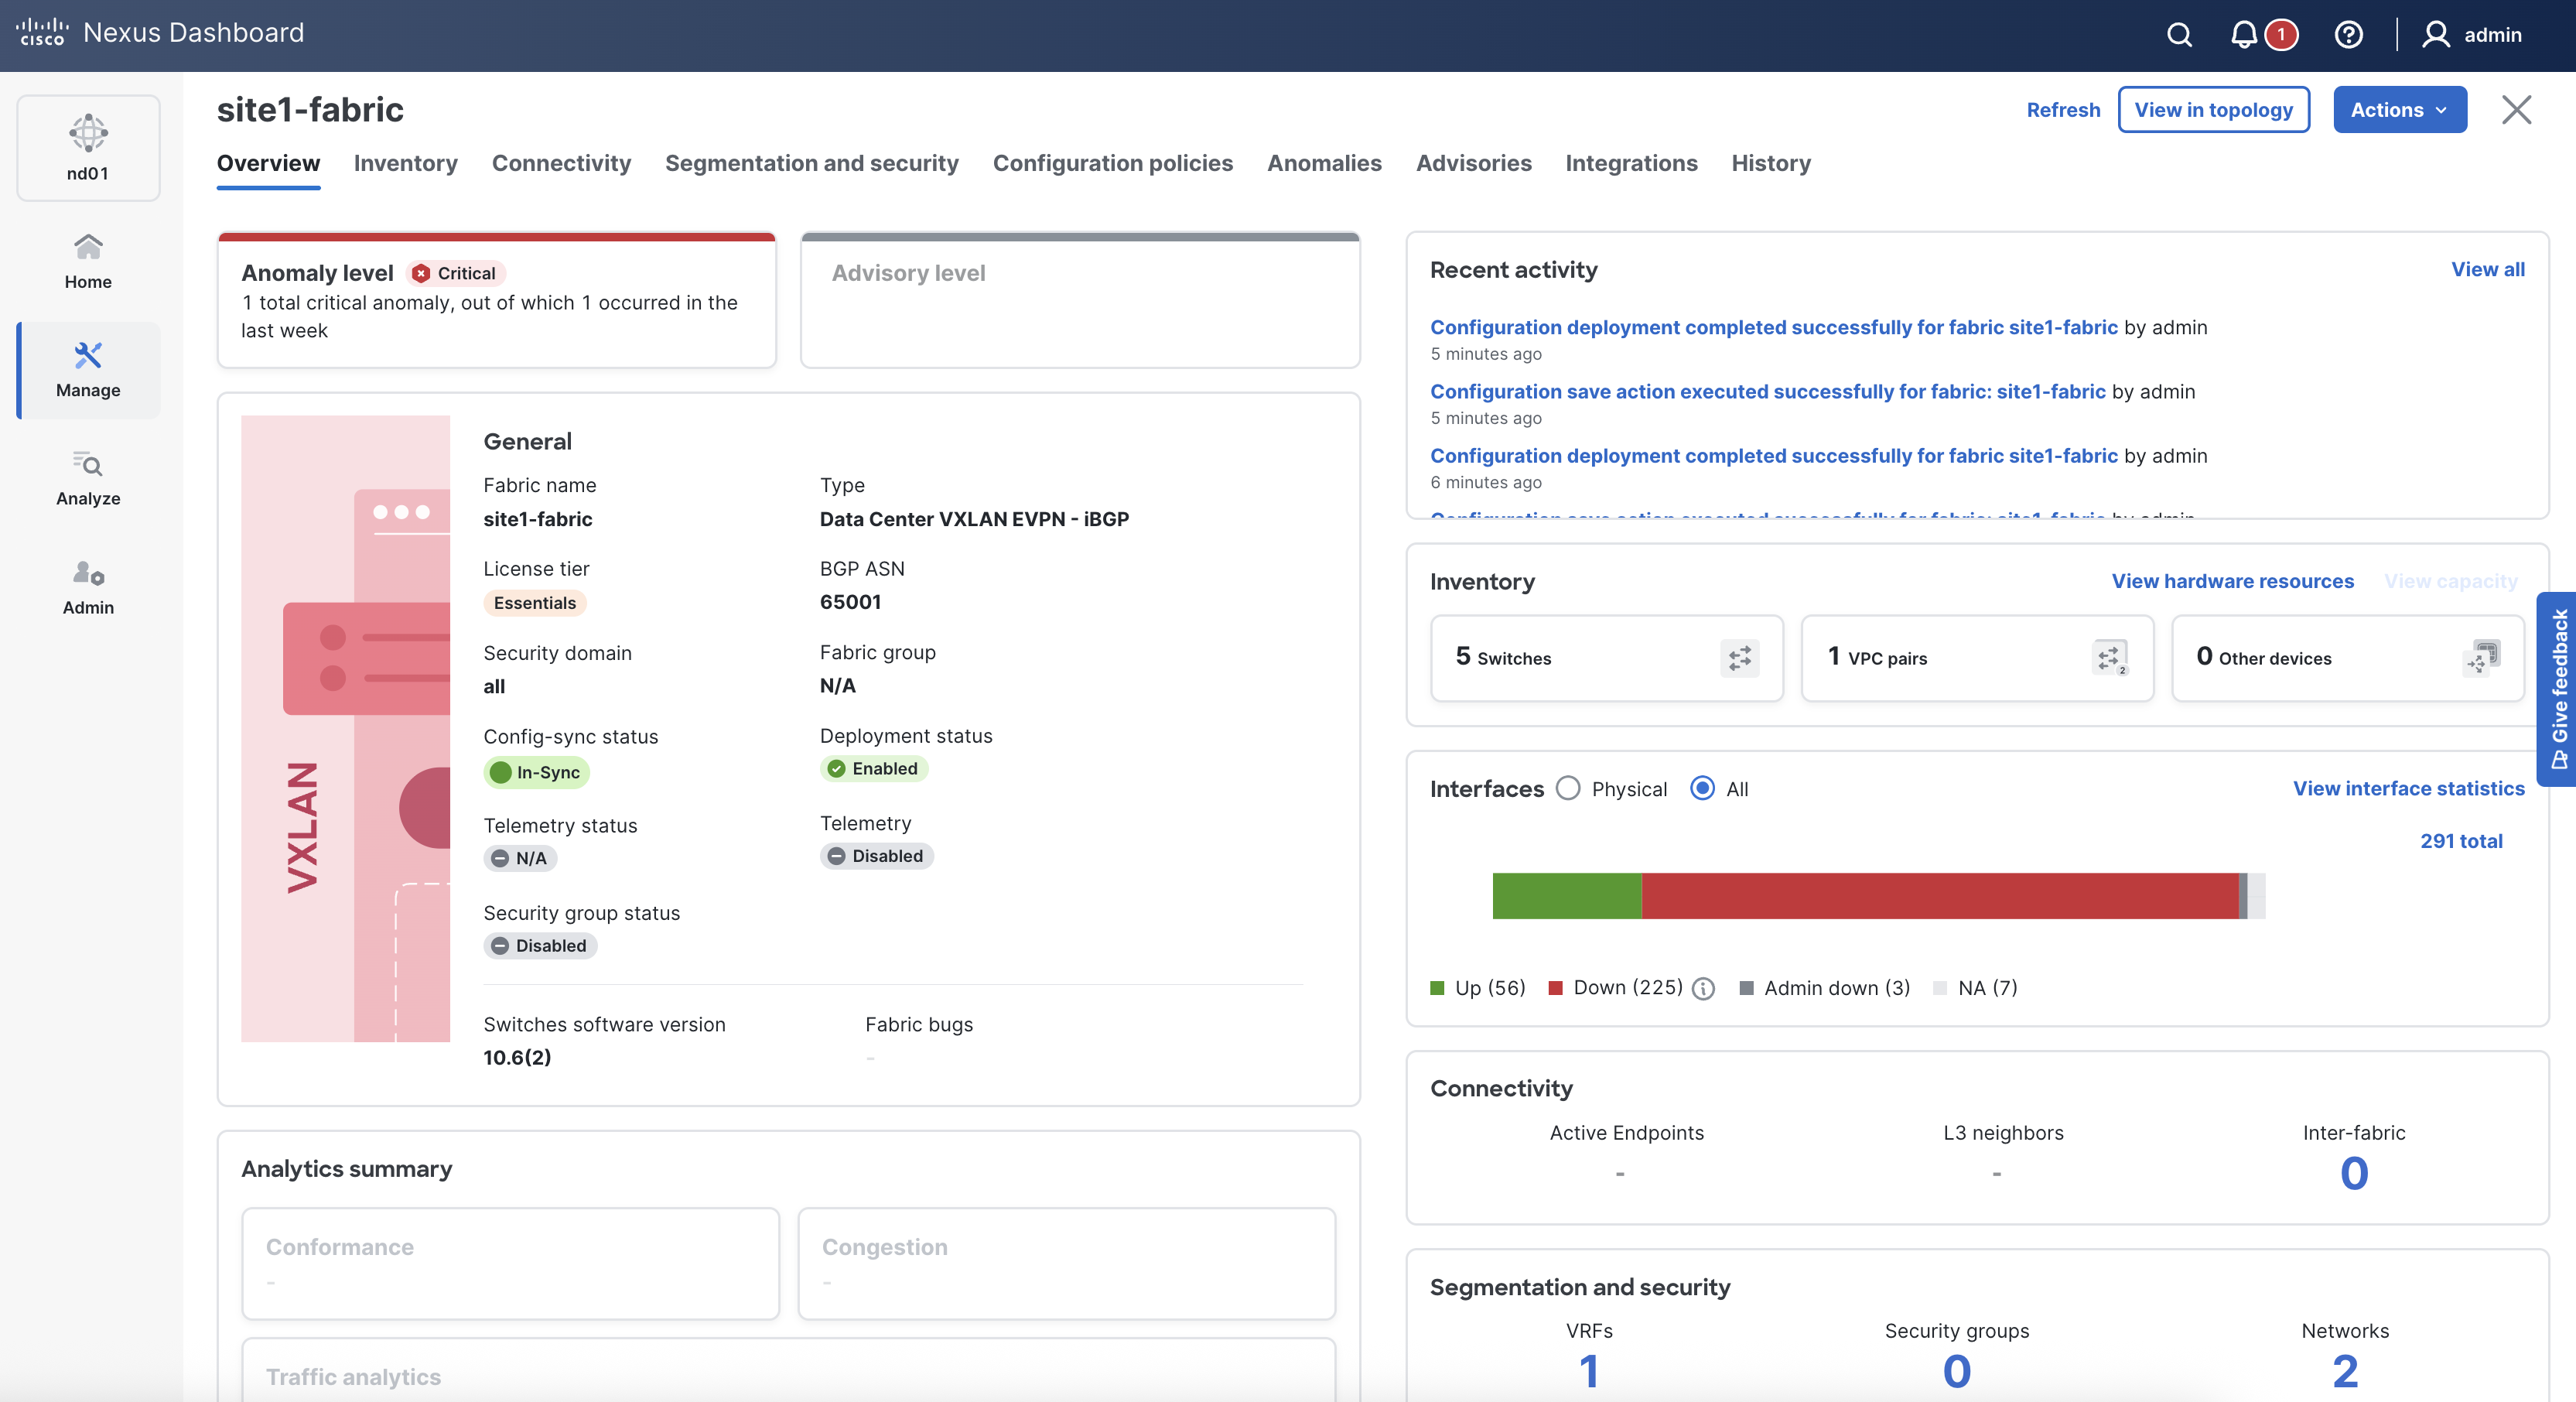
Return to your ND browser window and verify the deployment of the fabric configuration.
In-Sync. If not, please click the Refresh button near the Actions button.
In-Sync yet.

In the next section, you will POAP your pre-provisioned border leaf and complete the fabric deployment by adding VRF-Lite for connecting in and out of Site1.
Continue to the next section to trigger POAP on your pre-provisioned border leaf.