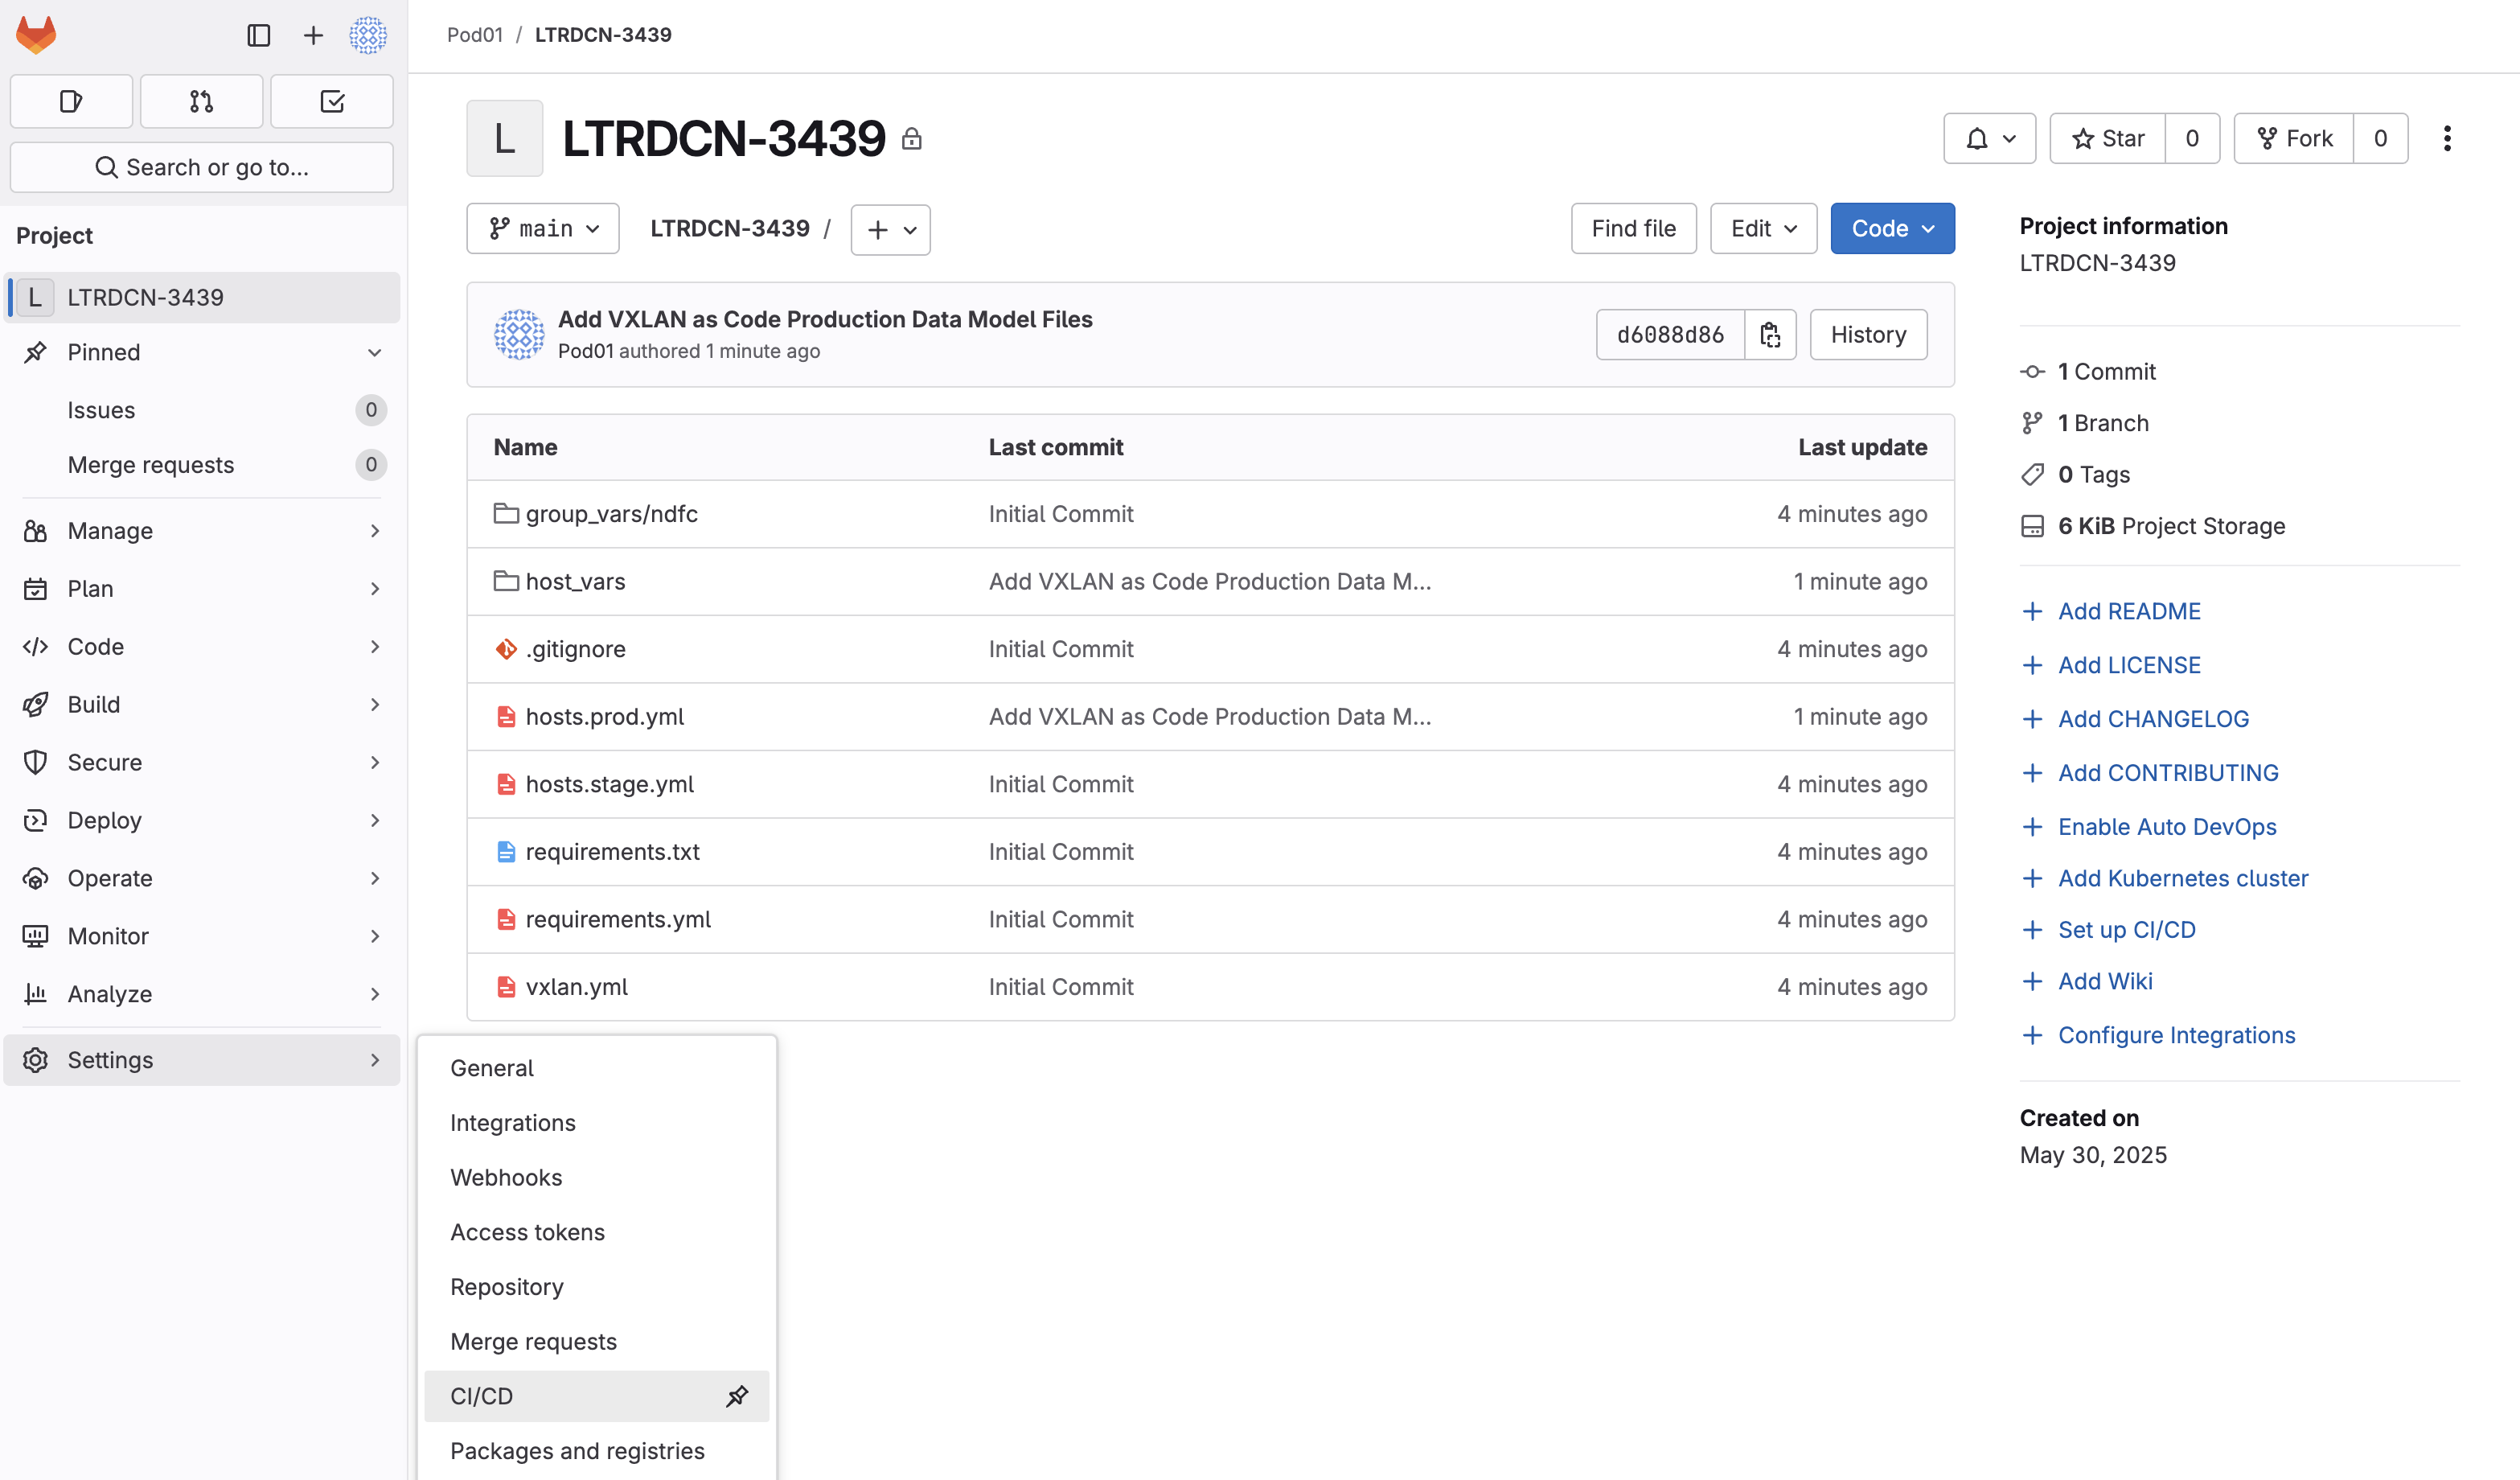
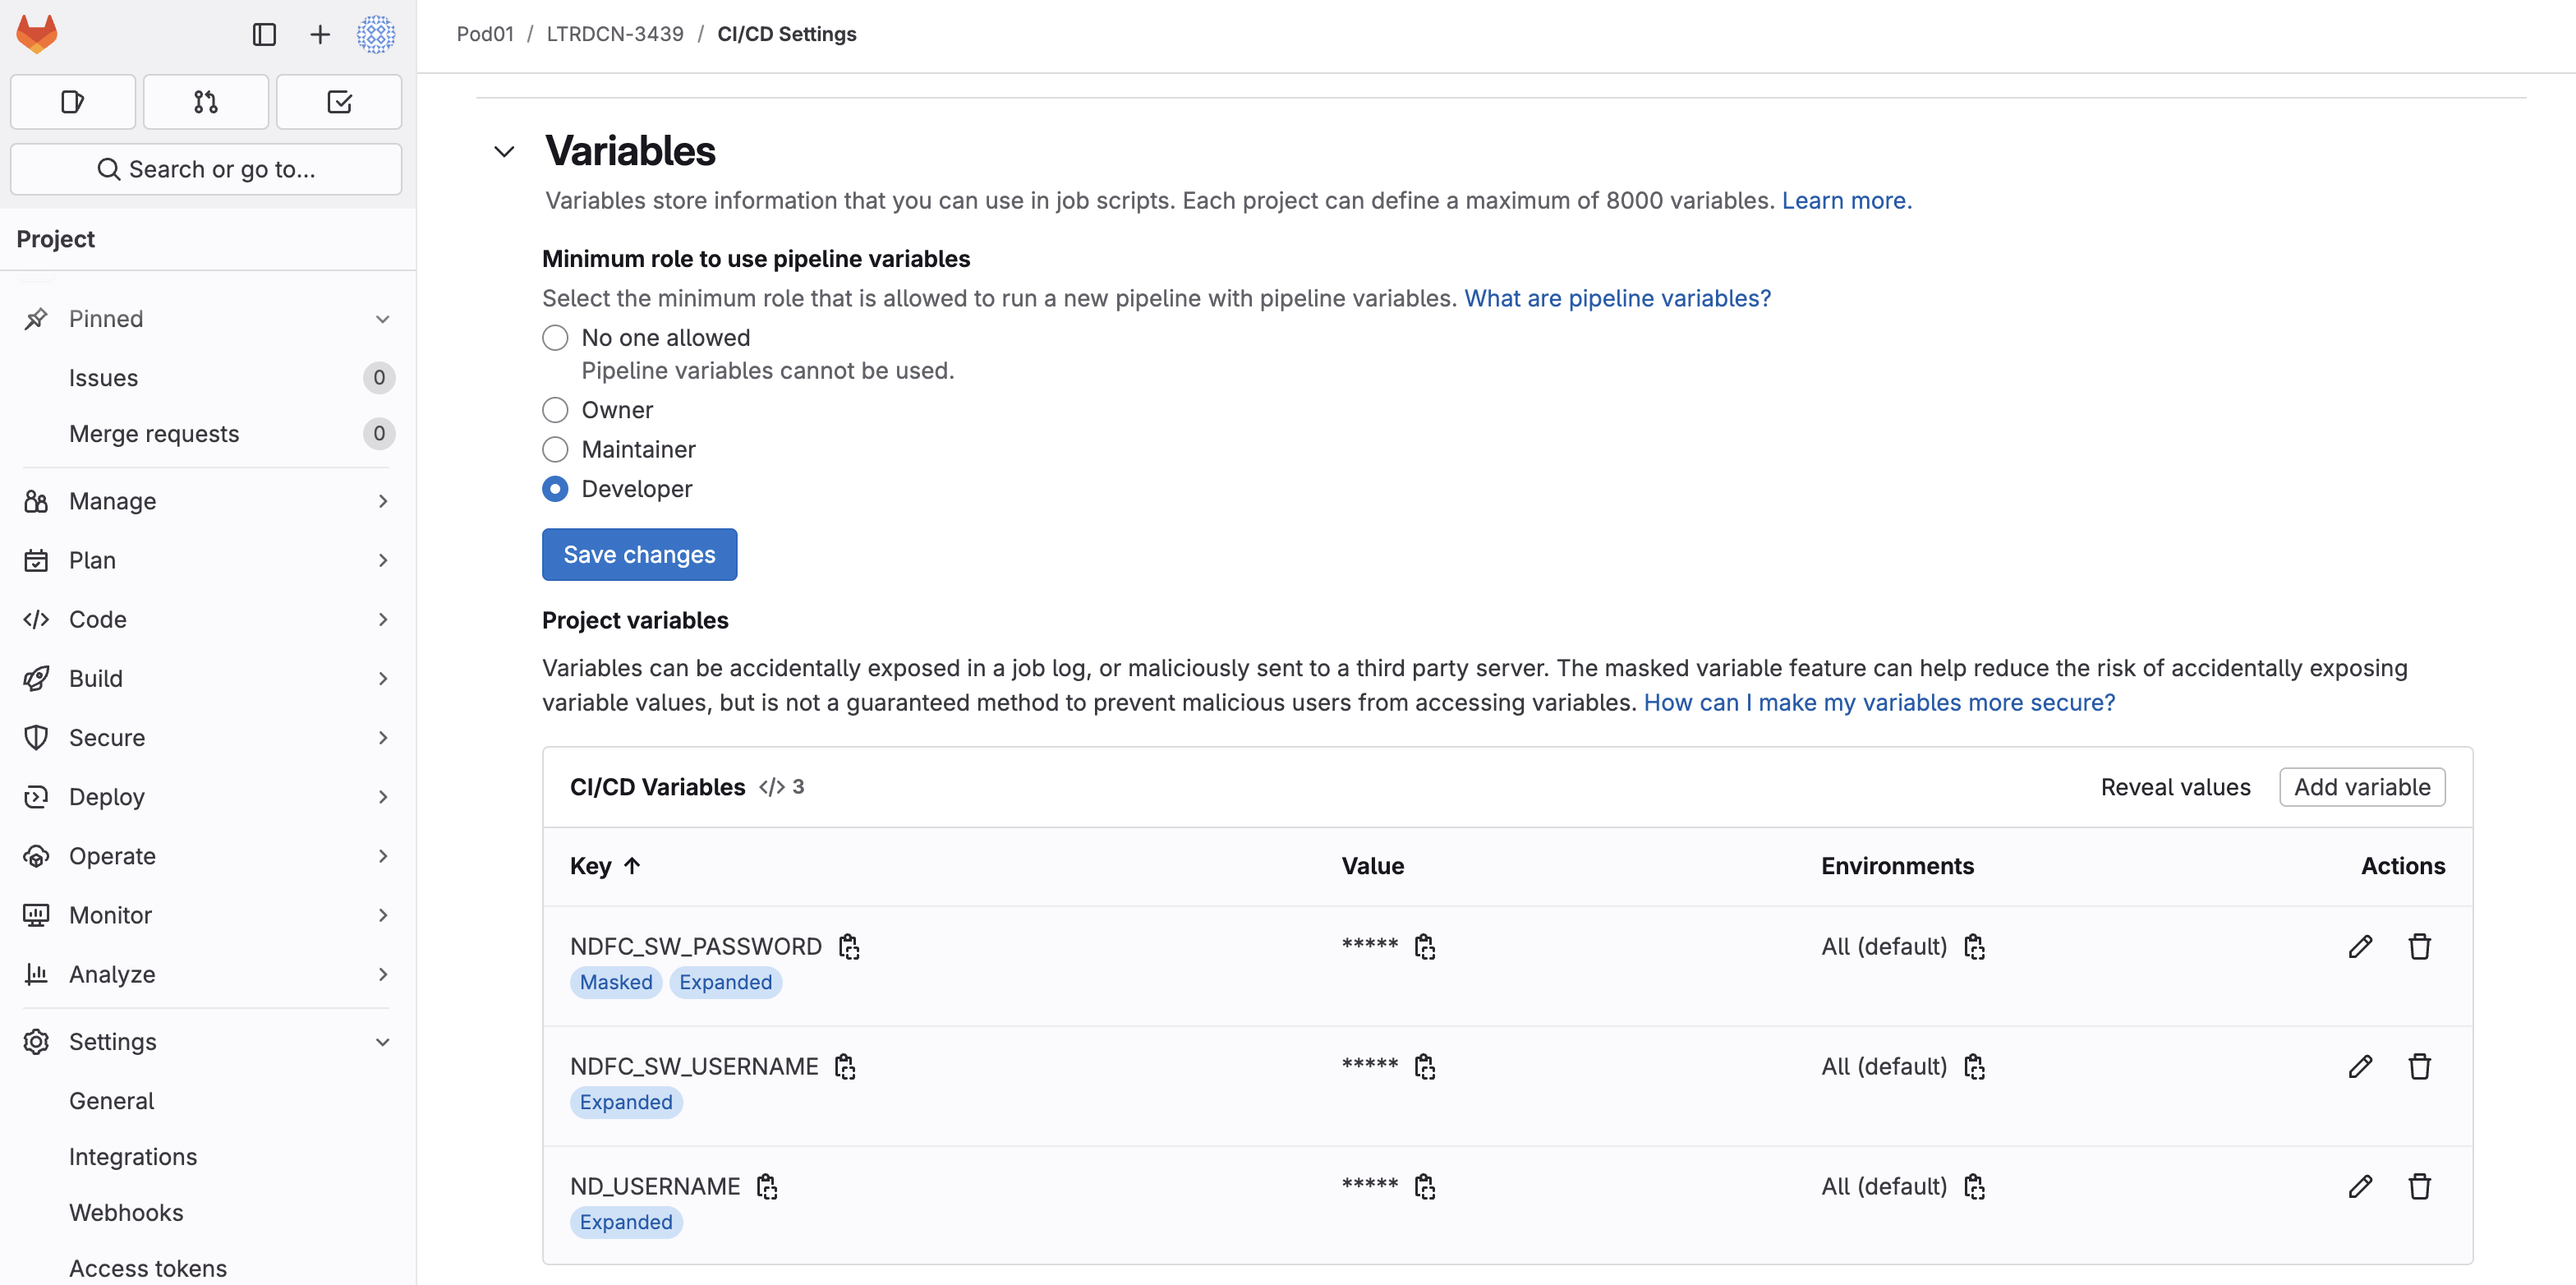
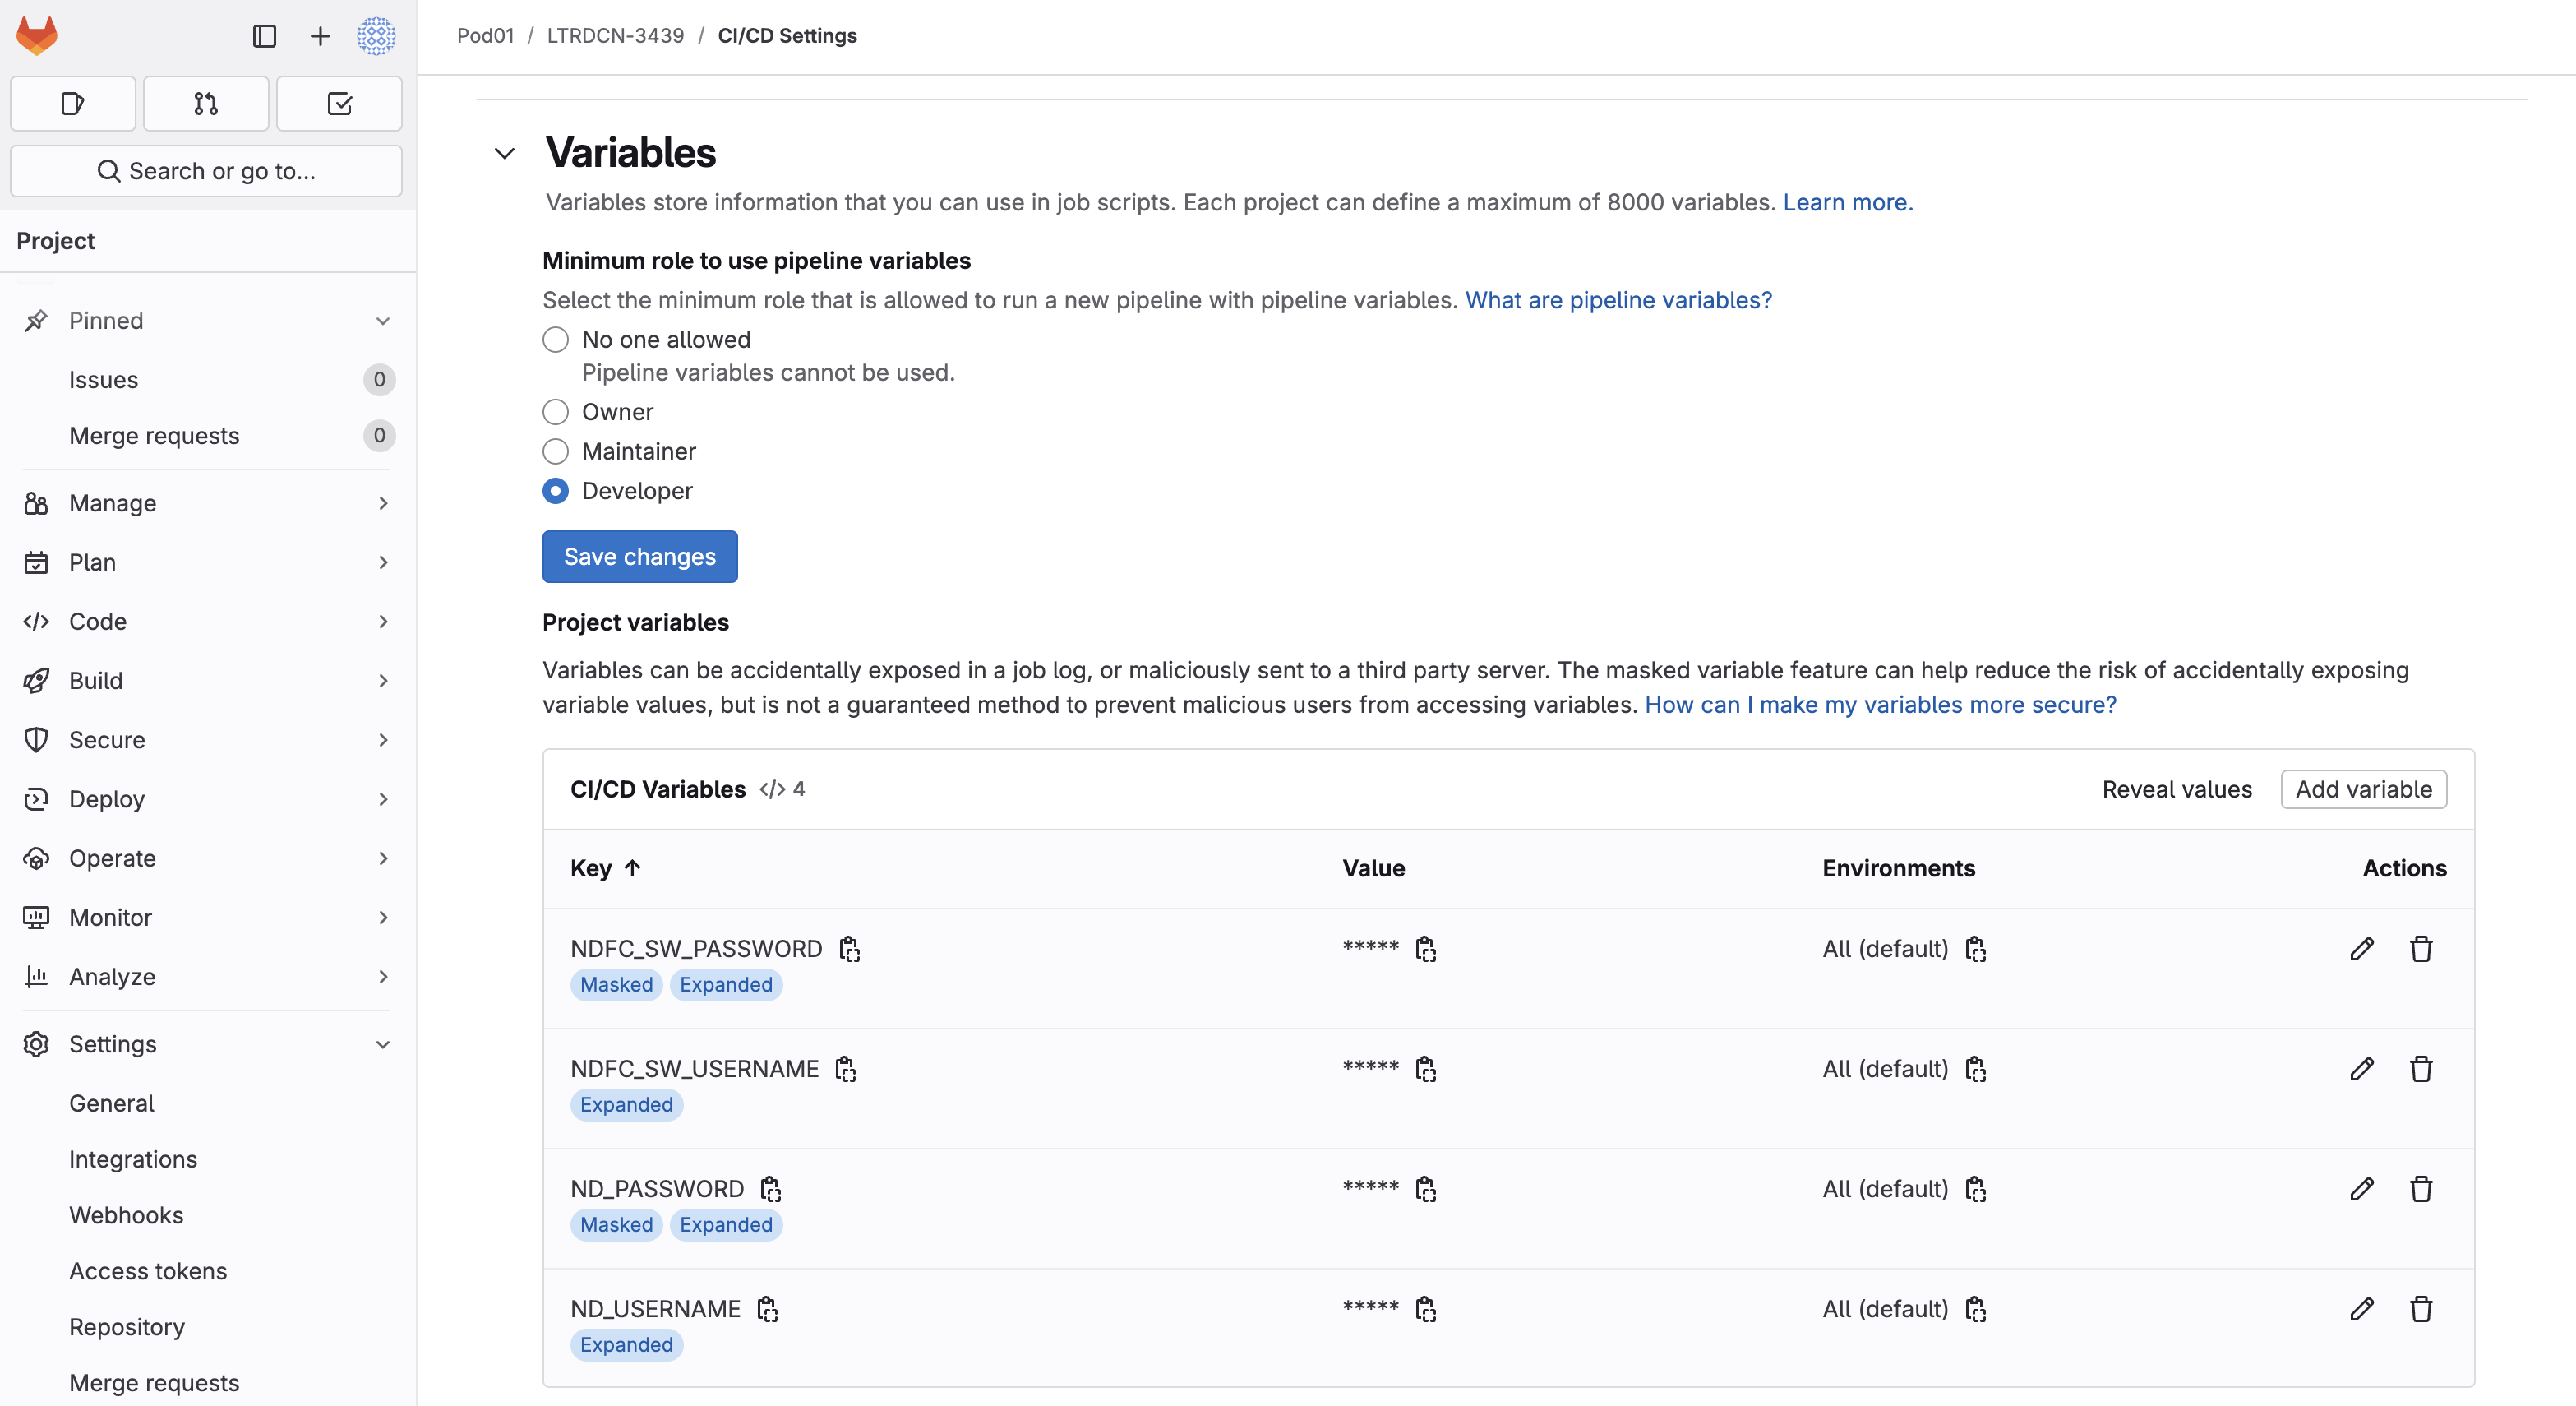
In GitLab, you need to review and define the variables that will be used in the CI/CD pipeline as environment variables.
These variables are used to store sensitive information such as usernames and passwords, which should not be hardcoded
in the pipeline file. They are similar in usage to the secrets.sh file you created in the previous part of the lab but did not store in Git.
As there is a finite amount of time for this lab, several variables have been predefined. Your task is to add the remaining variable needed that will be used in the pipeline.
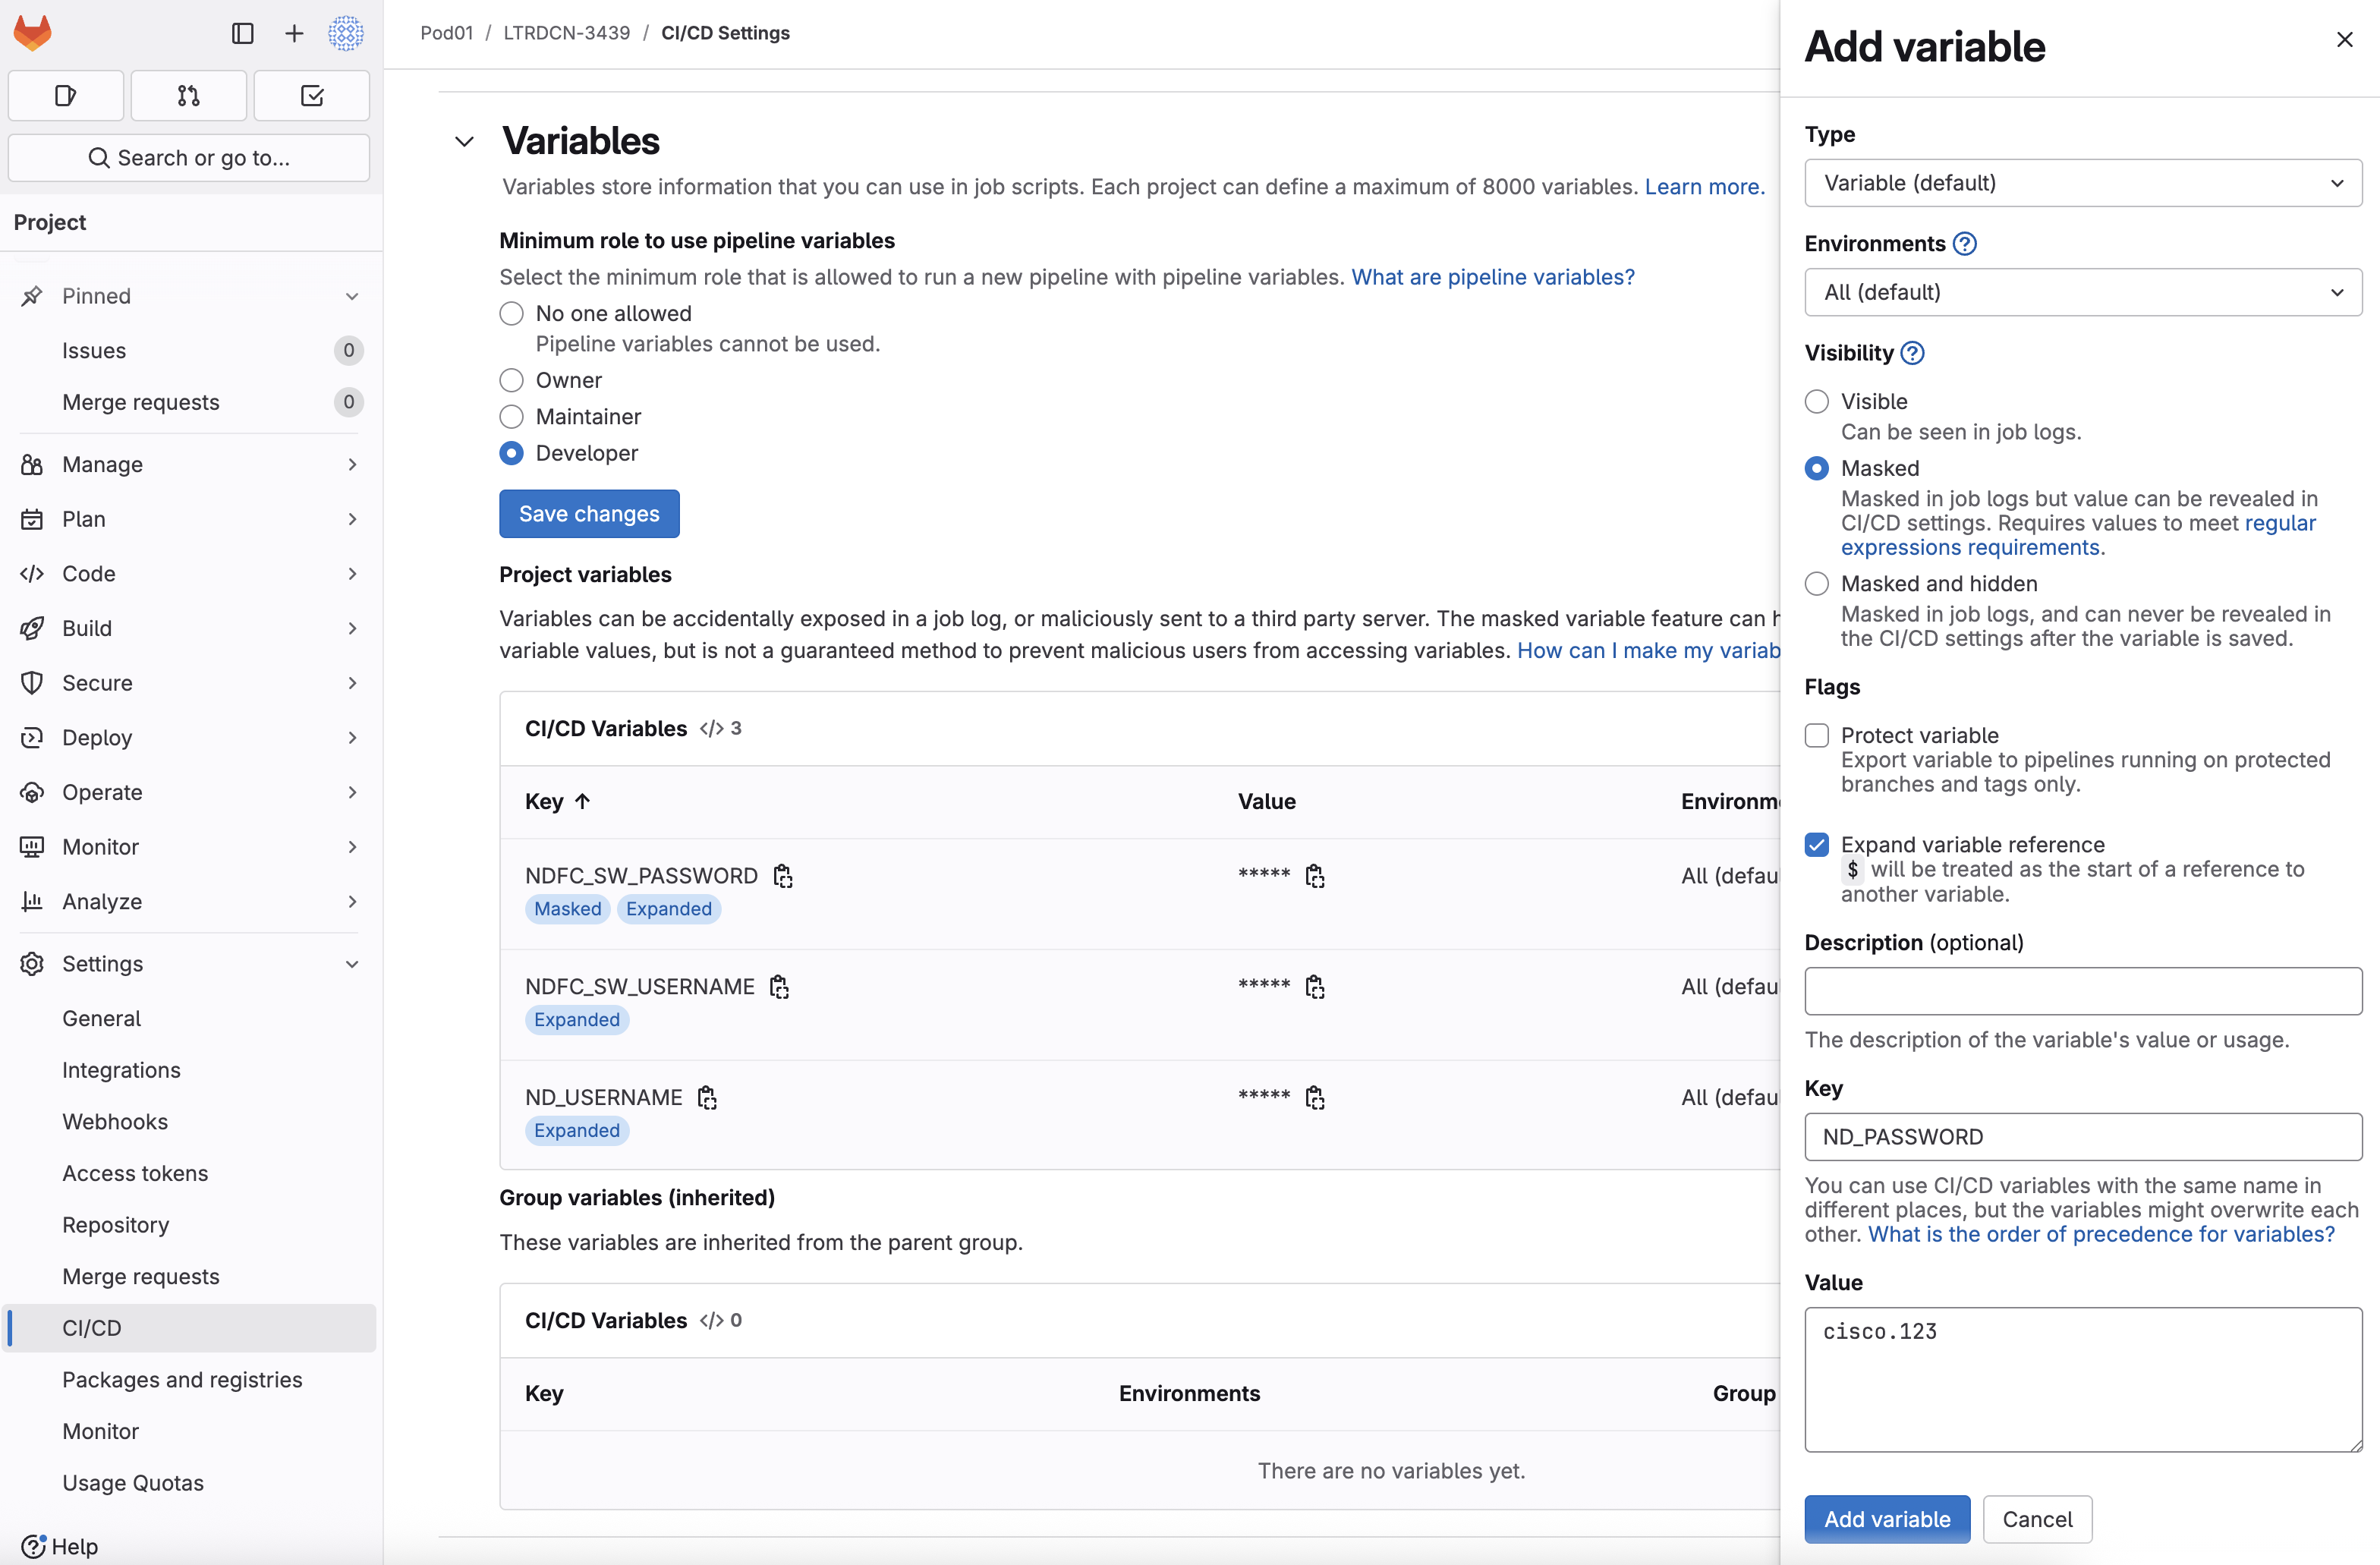
Variable (default)All (default)MaskedUnchecked*Checked
ND_PASSWORD
cisco.123
The pipeline defines the stages of the CI/CD workflow. Some stages should be triggered when a PR is created, and some
should be triggered when the code is merged. Different VCSs have different methods to define the pipeline.
Since we are using GitLab, the pipeline stages are defined in the file .gitlab-ci.yml
in the project root folder.
touch ~/workspace/ndlab/nac/.gitlab-ci.yml
code-server -r ~/workspace/ndlab/nac/.gitlab-ci.yml
---
image:
name: mtarking/nac-vxlan:0.6.0
variables:
FF_SCRIPT_SECTIONS: true
ANSIBLE_FORCE_COLOR: true
ANSIBLE_PERSISTENT_COMMAND_TIMEOUT: 1000
ANSIBLE_PERSISTENT_CONNECT_TIMEOUT: 1000
ND_USERNAME:
description: "Cisco ND Username"
ND_PASSWORD:
description: "Cisco ND Password"
NDFC_SW_USERNAME:
description: "Cisco NDFC Switch Username"
NDFC_SW_PASSWORD:
description: "Cisco NDFC Switch Password"
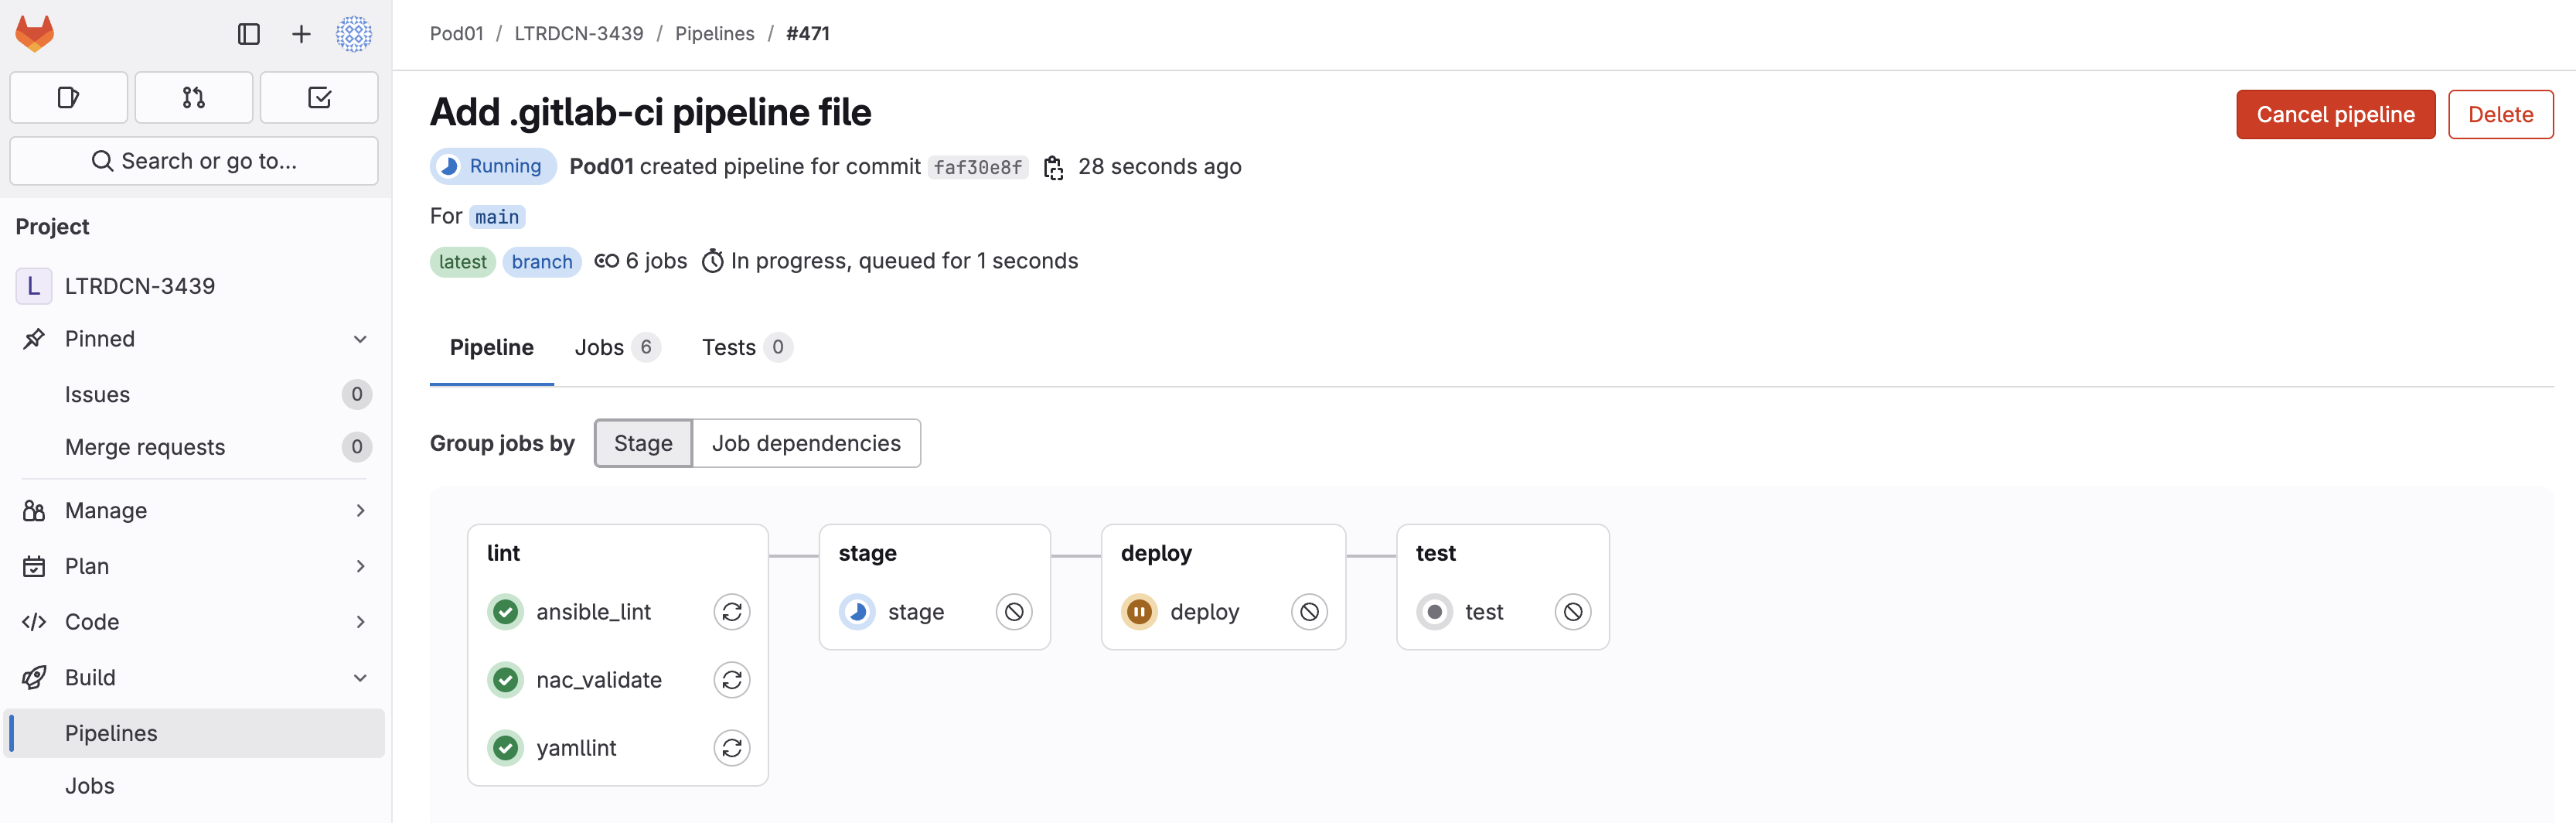
stages:
- lint
- stage
- deploy
- test
yamllint:
  stage: lint
  rules:
    - if: $CI_COMMIT_BRANCH && $CI_OPEN_MERGE_REQUESTS
      when: never
    - if: $CI_PIPELINE_SOURCE == "merge_request_event"
    - if: $CI_COMMIT_BRANCH
  script:
    - echo "Checking YAML files..."
    - set -o pipefail && yamllint -d relaxed ./host_vars/msd-fabric-group |& tee yamllint_msd.txt
    - set -o pipefail && yamllint -d relaxed ./vxlan.yml |& tee yamllint_vxlan.txt
  artifacts:
    when: on_failure
    paths:
      - ./yamllint_*.txt

ansible_lint:
  stage: lint
  rules:
    - if: $CI_COMMIT_BRANCH && $CI_OPEN_MERGE_REQUESTS
      when: never
    - if: $CI_PIPELINE_SOURCE == "merge_request_event"
    - if: $CI_COMMIT_BRANCH
  script:
    - set -o pipefail && ansible-lint -p vxlan.yml |& tee ansible_lint_vxlan.txt
  artifacts:
    when: always
    paths:
      - ./ansible_lint_*.txt

nac_validate:
  stage: lint
  rules:
    - if: $CI_COMMIT_BRANCH && $CI_OPEN_MERGE_REQUESTS
      when: never
    - if: $CI_PIPELINE_SOURCE == "merge_request_event"
    - if: $CI_COMMIT_BRANCH
  script:
    - set -o pipefail && ansible-playbook -i hosts.msd.yml validate.yml |& tee nac_validate.txt
  artifacts:
    when: always
    paths:
      - ./nac_validate_*.txt
stage:
stage: stage
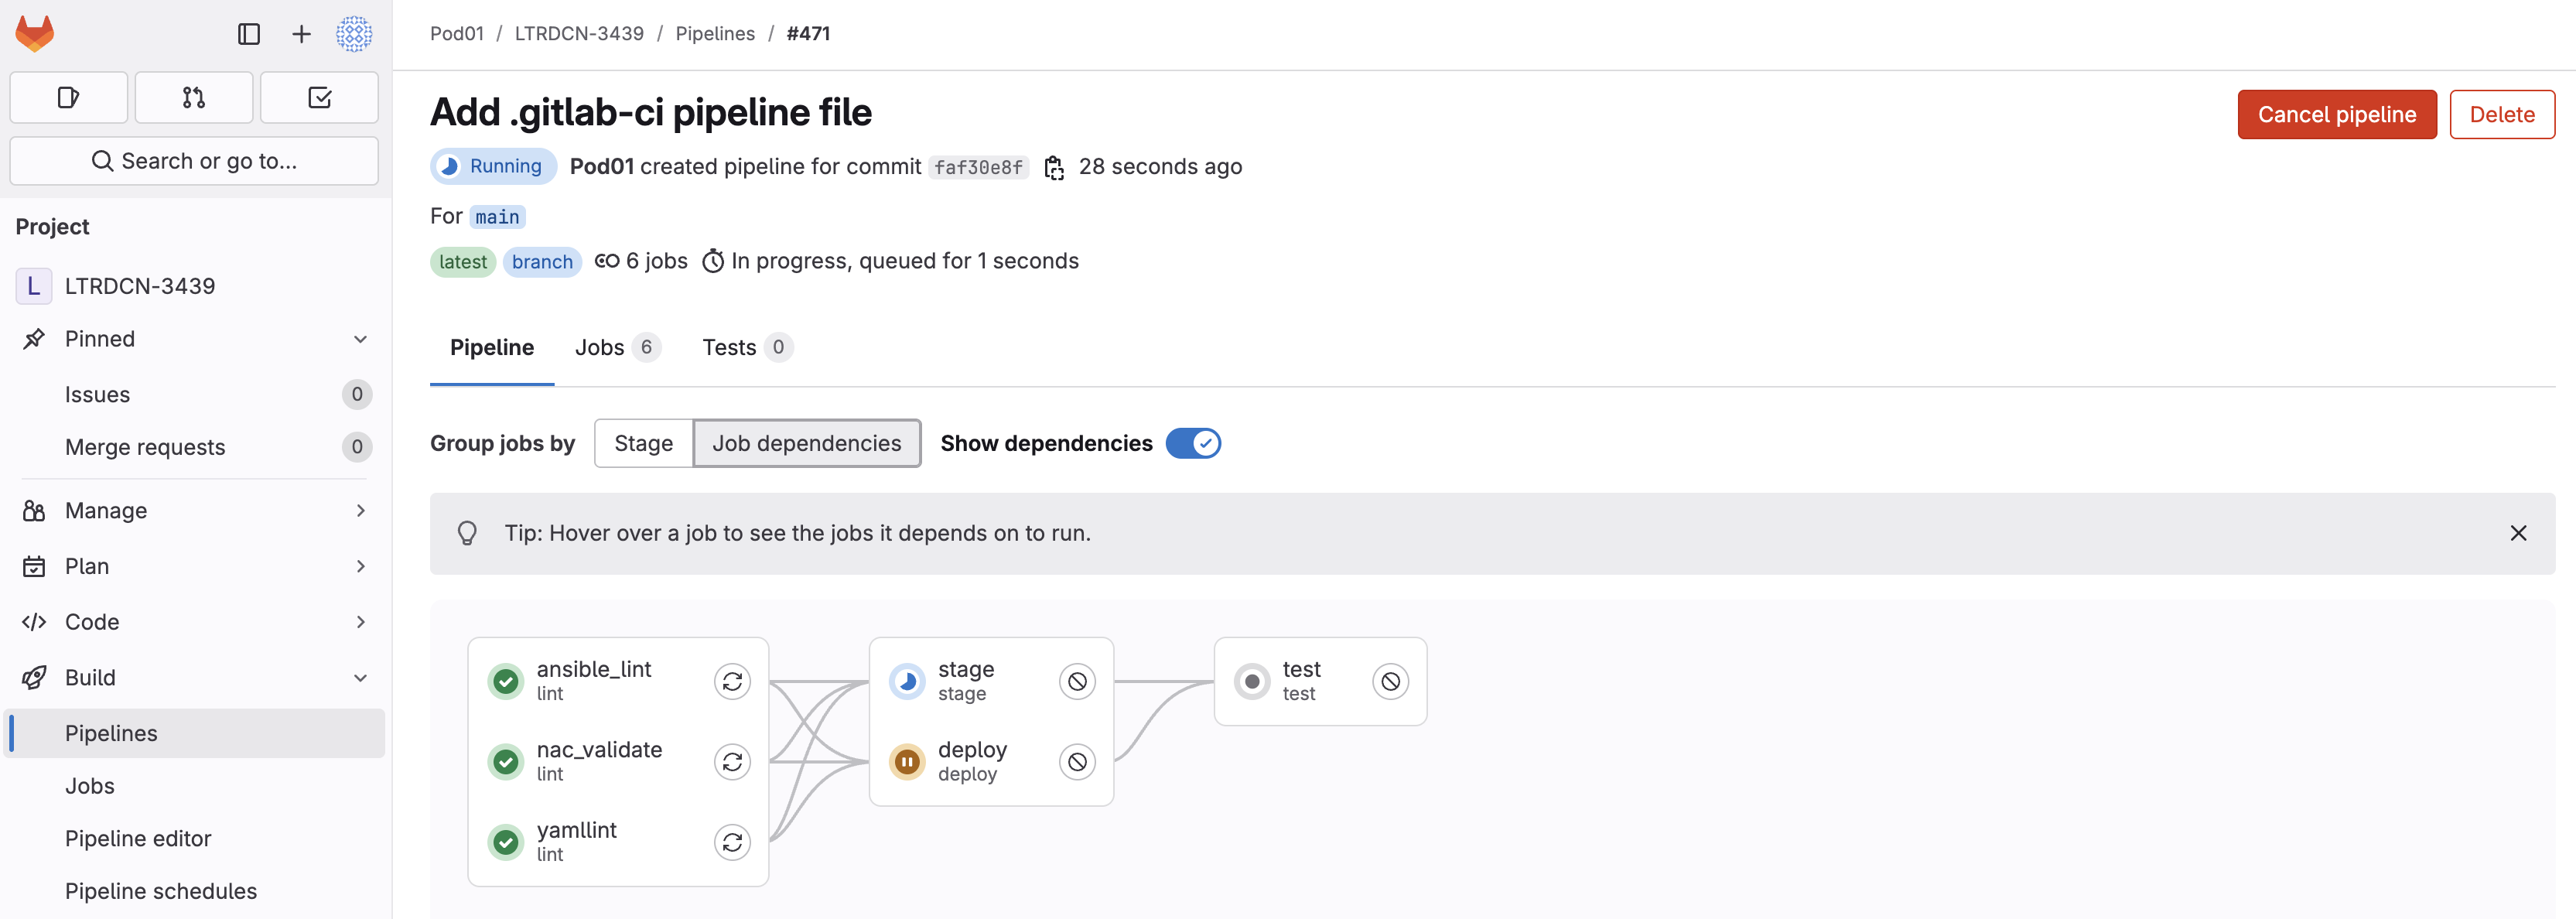
needs:
- yamllint
- ansible_lint
- nac_validate
rules:
- if: $CI_PIPELINE_SOURCE == "push" && $CI_COMMIT_BRANCH == "main"
script:
- set -o pipefail && ansible-playbook -i hosts.msd.yml vxlan.yml -t role_create |& tee stage_msd.txt
artifacts:
when: always
paths:
- ./stage_*.txt
deploy:
stage: deploy
needs:
- yamllint
- ansible_lint
- nac_validate
rules:
- if: $CI_PIPELINE_SOURCE == "push" && $CI_COMMIT_BRANCH == "main"
script:
- set -o pipefail && ansible-playbook -i hosts.msd.yml vxlan.yml -t role_deploy,role_remove |& tee deploy_msd.txt
artifacts:
when: always
paths:
- ./deploy_*.txt
test:
  stage: test
  needs:
    - stage
    - deploy
  rules:
    - if: $CI_PIPELINE_SOURCE == "push" && $CI_COMMIT_BRANCH == "main"
  script:
    - set -o pipefail && pyats run job ${PWD}/tests/pyats_easypy.py --testbed-file ${PWD}/tests/testbed.yml --data_model_dir ${PWD}/host_vars/msd-fabric-group/ --archive-dir=${PWD}/tests/results --xunit=${PWD}/tests/results --no-archive-subdir --no-mail |& tee test_msd.txt
  artifacts:
    when: always
    paths:
      - tests/results/*.zip
      - tests/results/report.html
    reports:
      junit: tests/results/xunit.xml
role_create tag to stage the configuration
on NDFC without deploying it to the switches. This ensures the configuration is validated
and prepared before the deploy stage pushes it to the network devices.
All of these stages run in a Docker container that is built with the ansible-lint, ansible-playbook and ansible-galaxy binaries.
touch ~/workspace/ndlab/nac/validate.yml
cat << EOF > ~/workspace/ndlab/nac/validate.yml
---

- name: Validate Playbook
  hosts: nd
  any_errors_fatal: true
  gather_facts: false

  roles:
    - role: cisco.nac_dc_vxlan.validate
EOF
Add your current files to your staging area for committing to your GitLab repo.
git add .
Check the git status of your working directory and staging area.
git status .
The following files are staged for commit. Make sure your list matches the output below!
    On branch main
    Your branch is up to date with 'origin/main'.

    Changes to be committed:
      (use "git restore --staged <file>..." to unstage)
            new file:   .gitlab-ci.yml
            new file:   validate.yml
Issue a git commit which is like a save point of your current local repo.
git commit -m "Add .gitlab-ci pipeline file"
  [main 80d530b] Add .gitlab-ci pipeline file
  2 files changed, 120 insertions(+)
  create mode 100644 .gitlab-ci.yml
  create mode 100644 validate.yml
With your local repo added and committed to staging, push your content to your remote GitLab repo.
git push -u origin main
    Enumerating objects: 5, done.
    Counting objects: 100% (5/5), done.
    Delta compression using up to 8 threads
    Compressing objects: 100% (4/4), done.
    Writing objects: 100% (4/4), 1.19 KiB | 1.19 MiB/s, done.
    Total 4 (delta 1), reused 0 (delta 0), pack-reused 0
    To 10.15.0.159:Pod01_2025_01/LTRDCN-3439.git
      1e88683..80d530b  main -> main
    Branch 'main' set up to track remote branch 'main' from 'origin'.
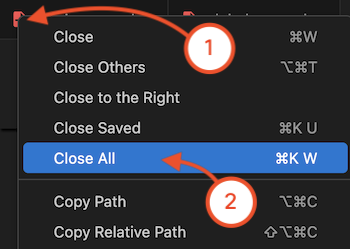
In your VSCode application.
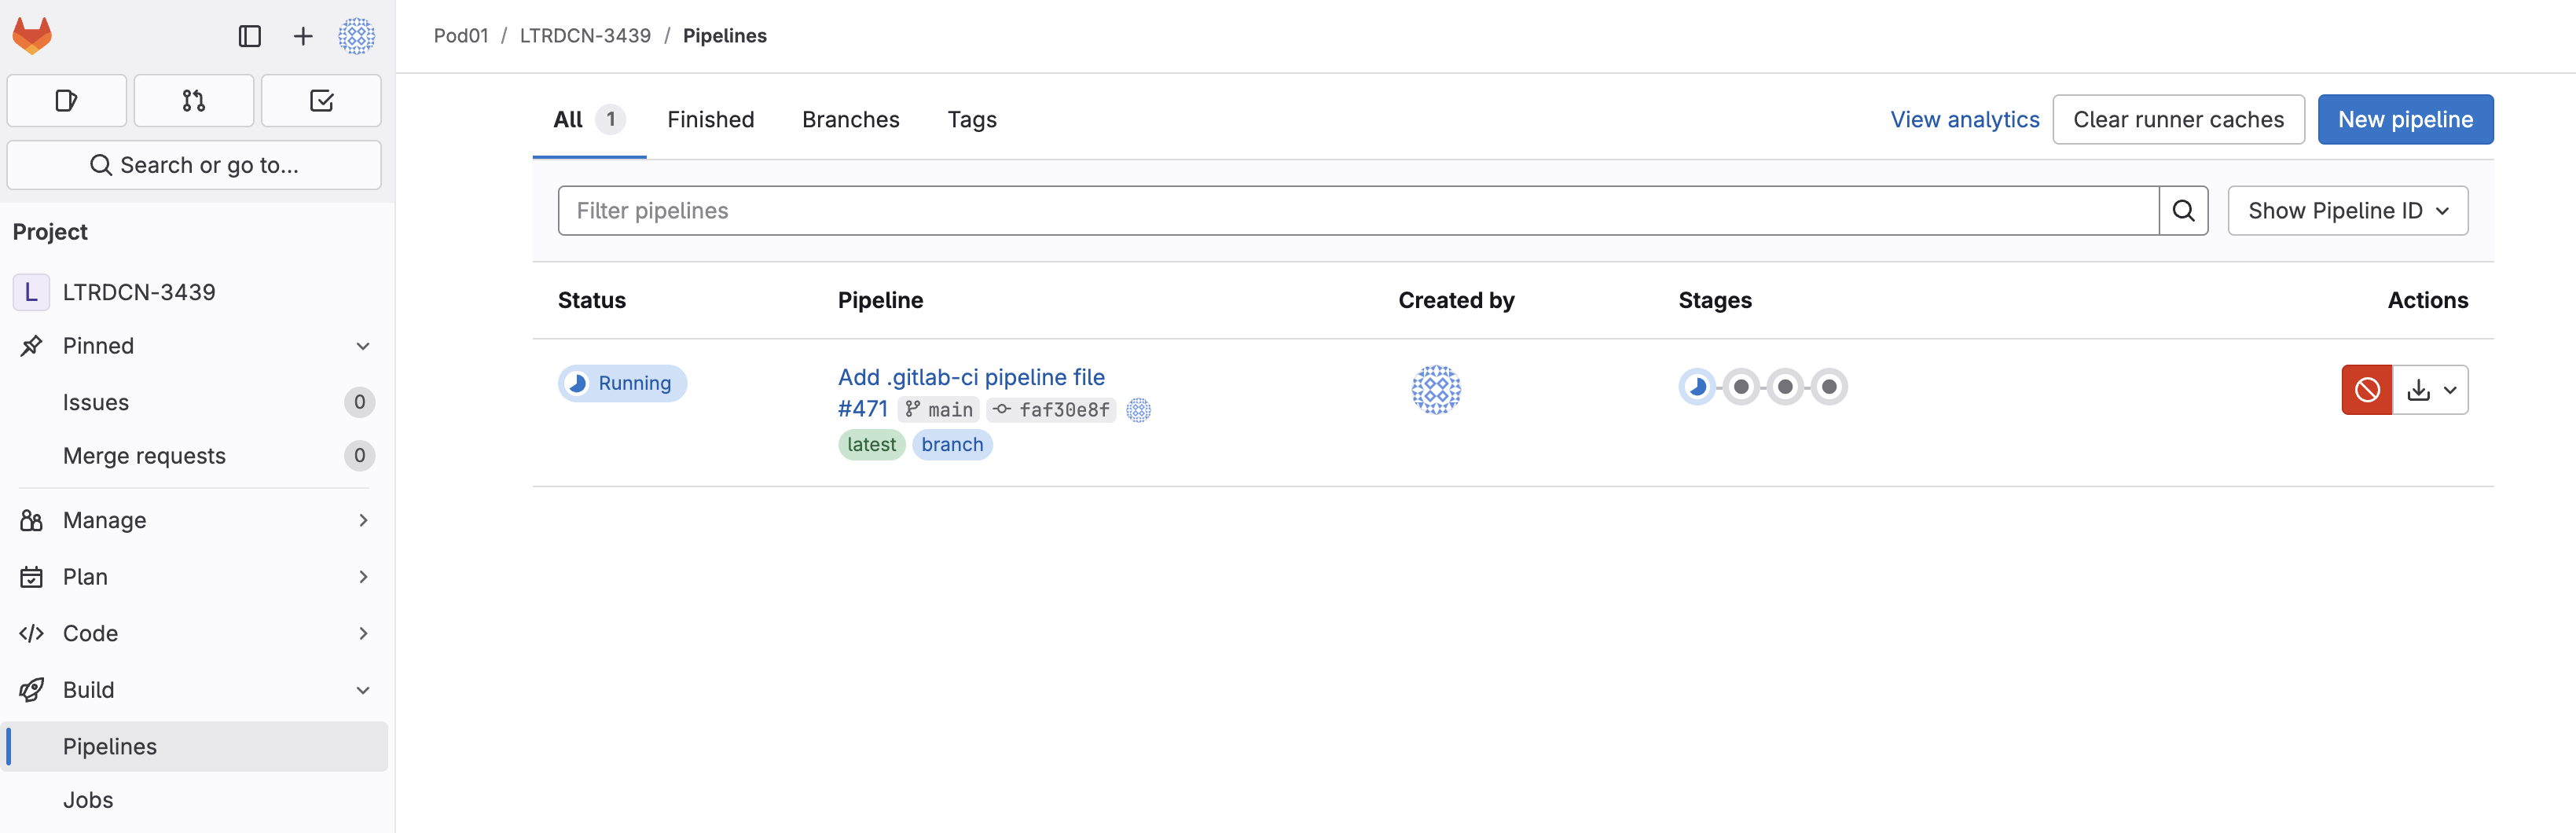
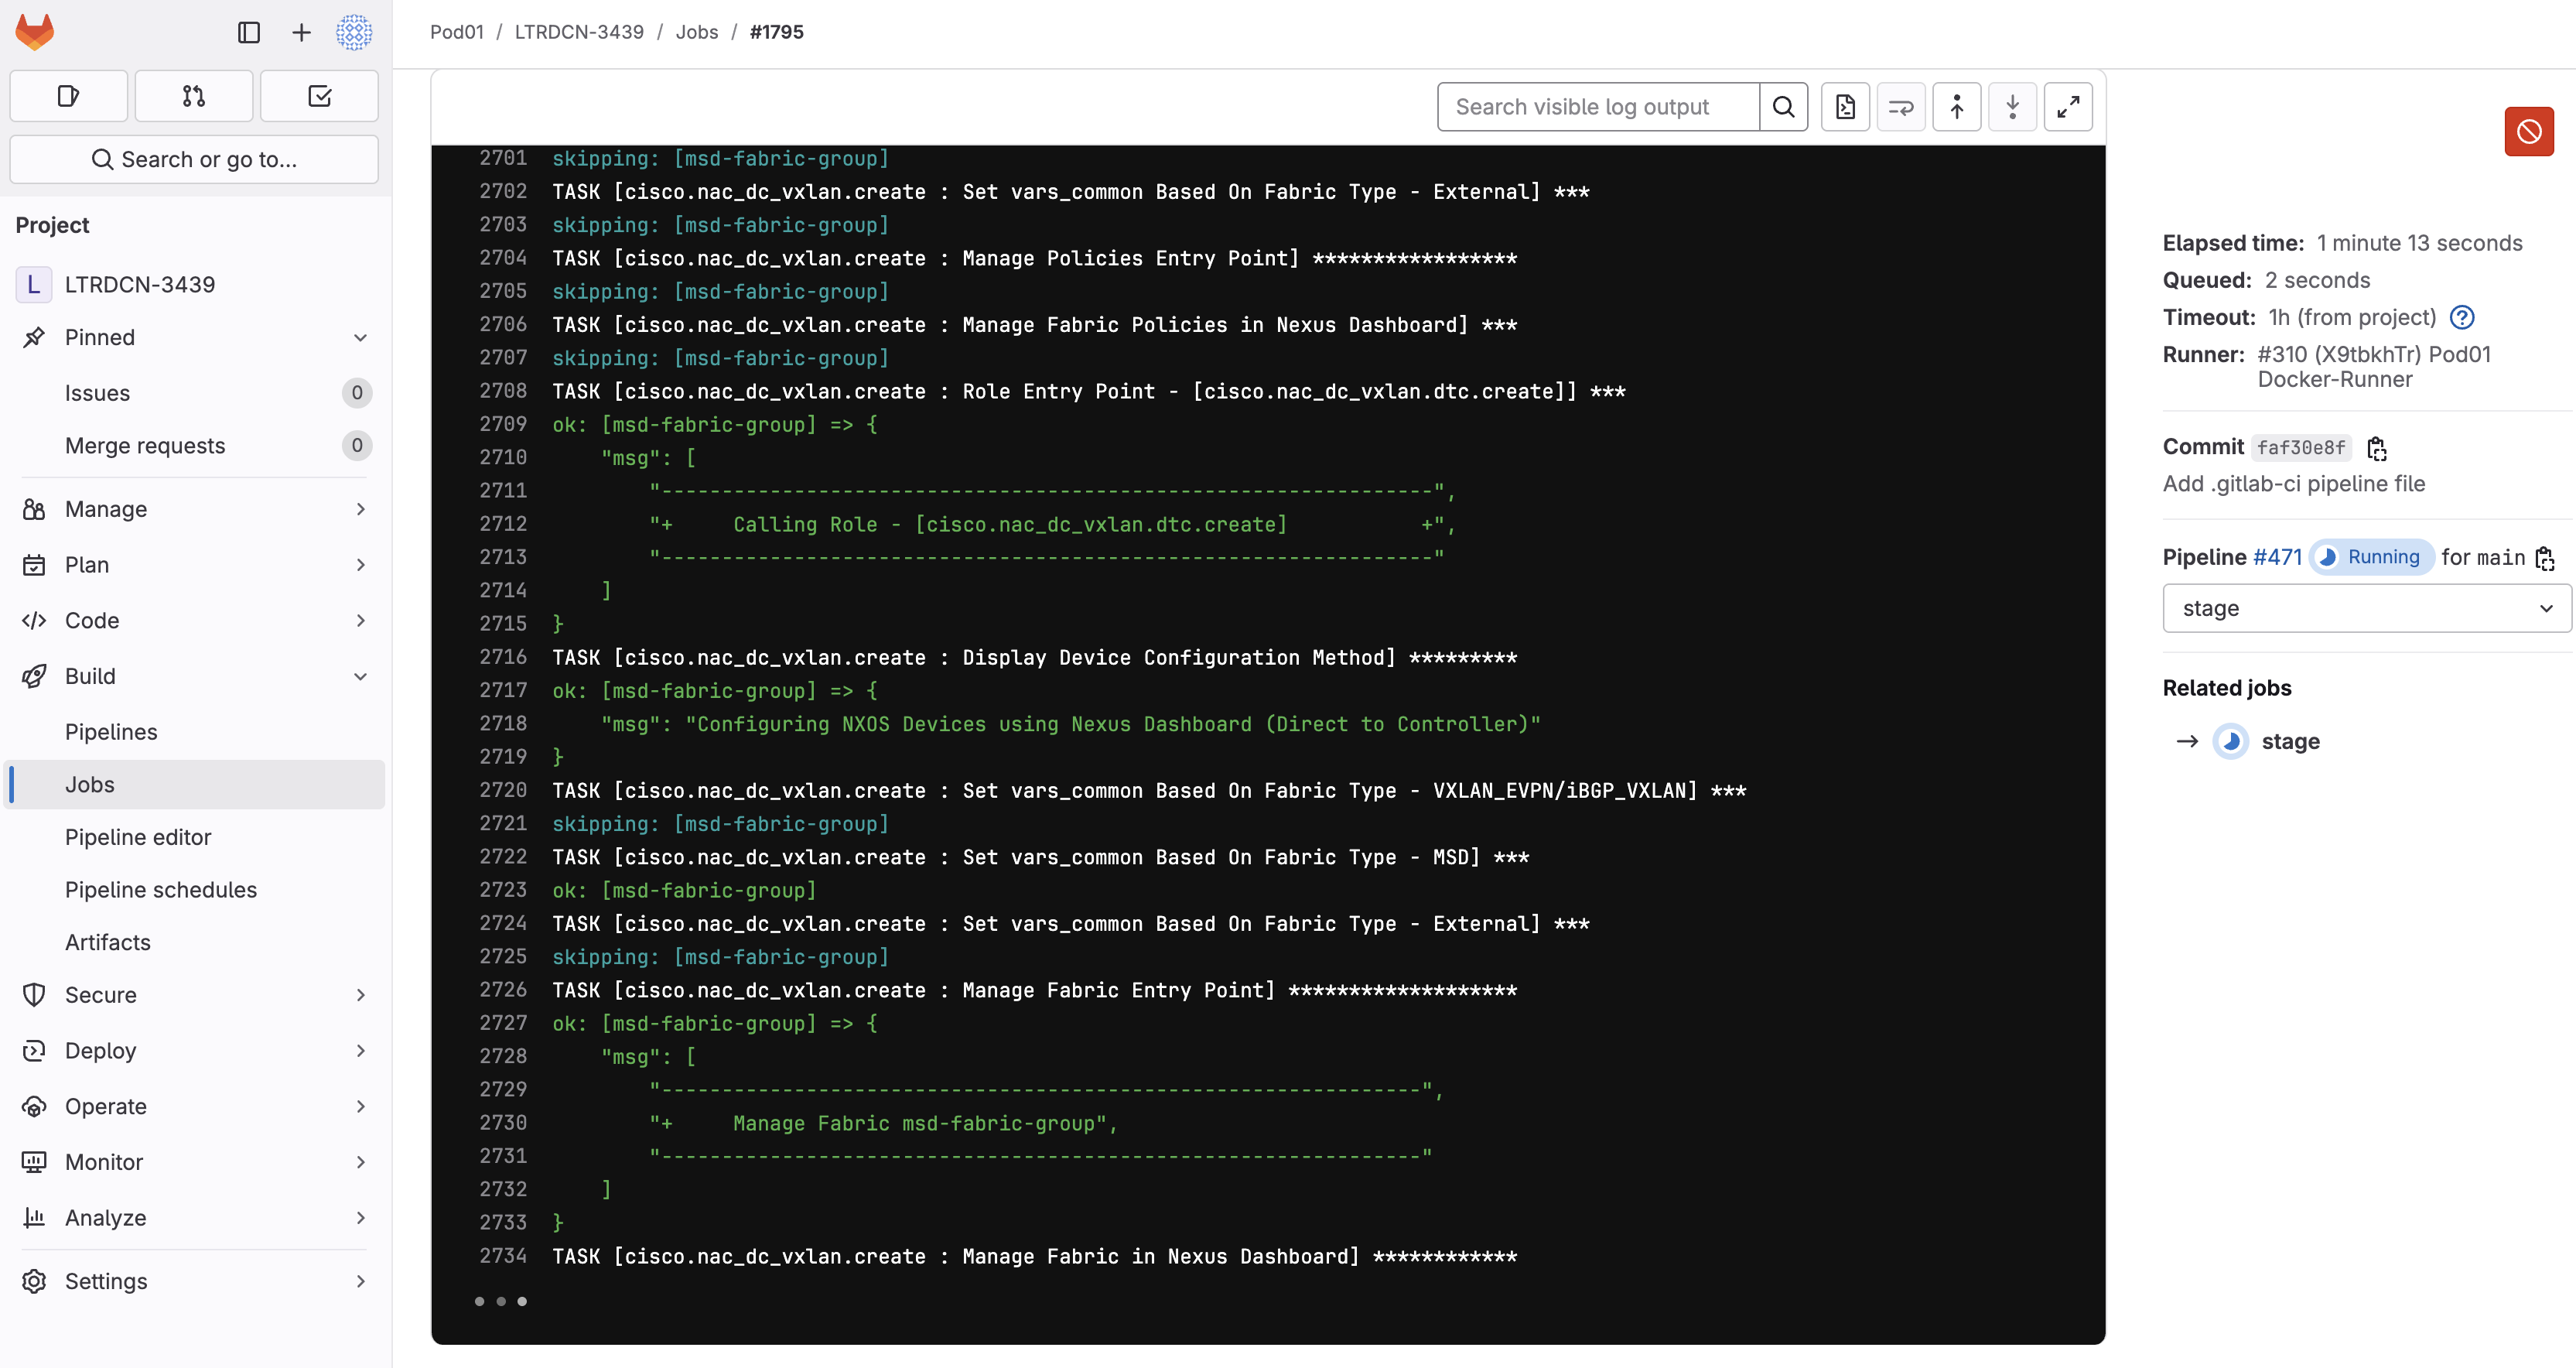
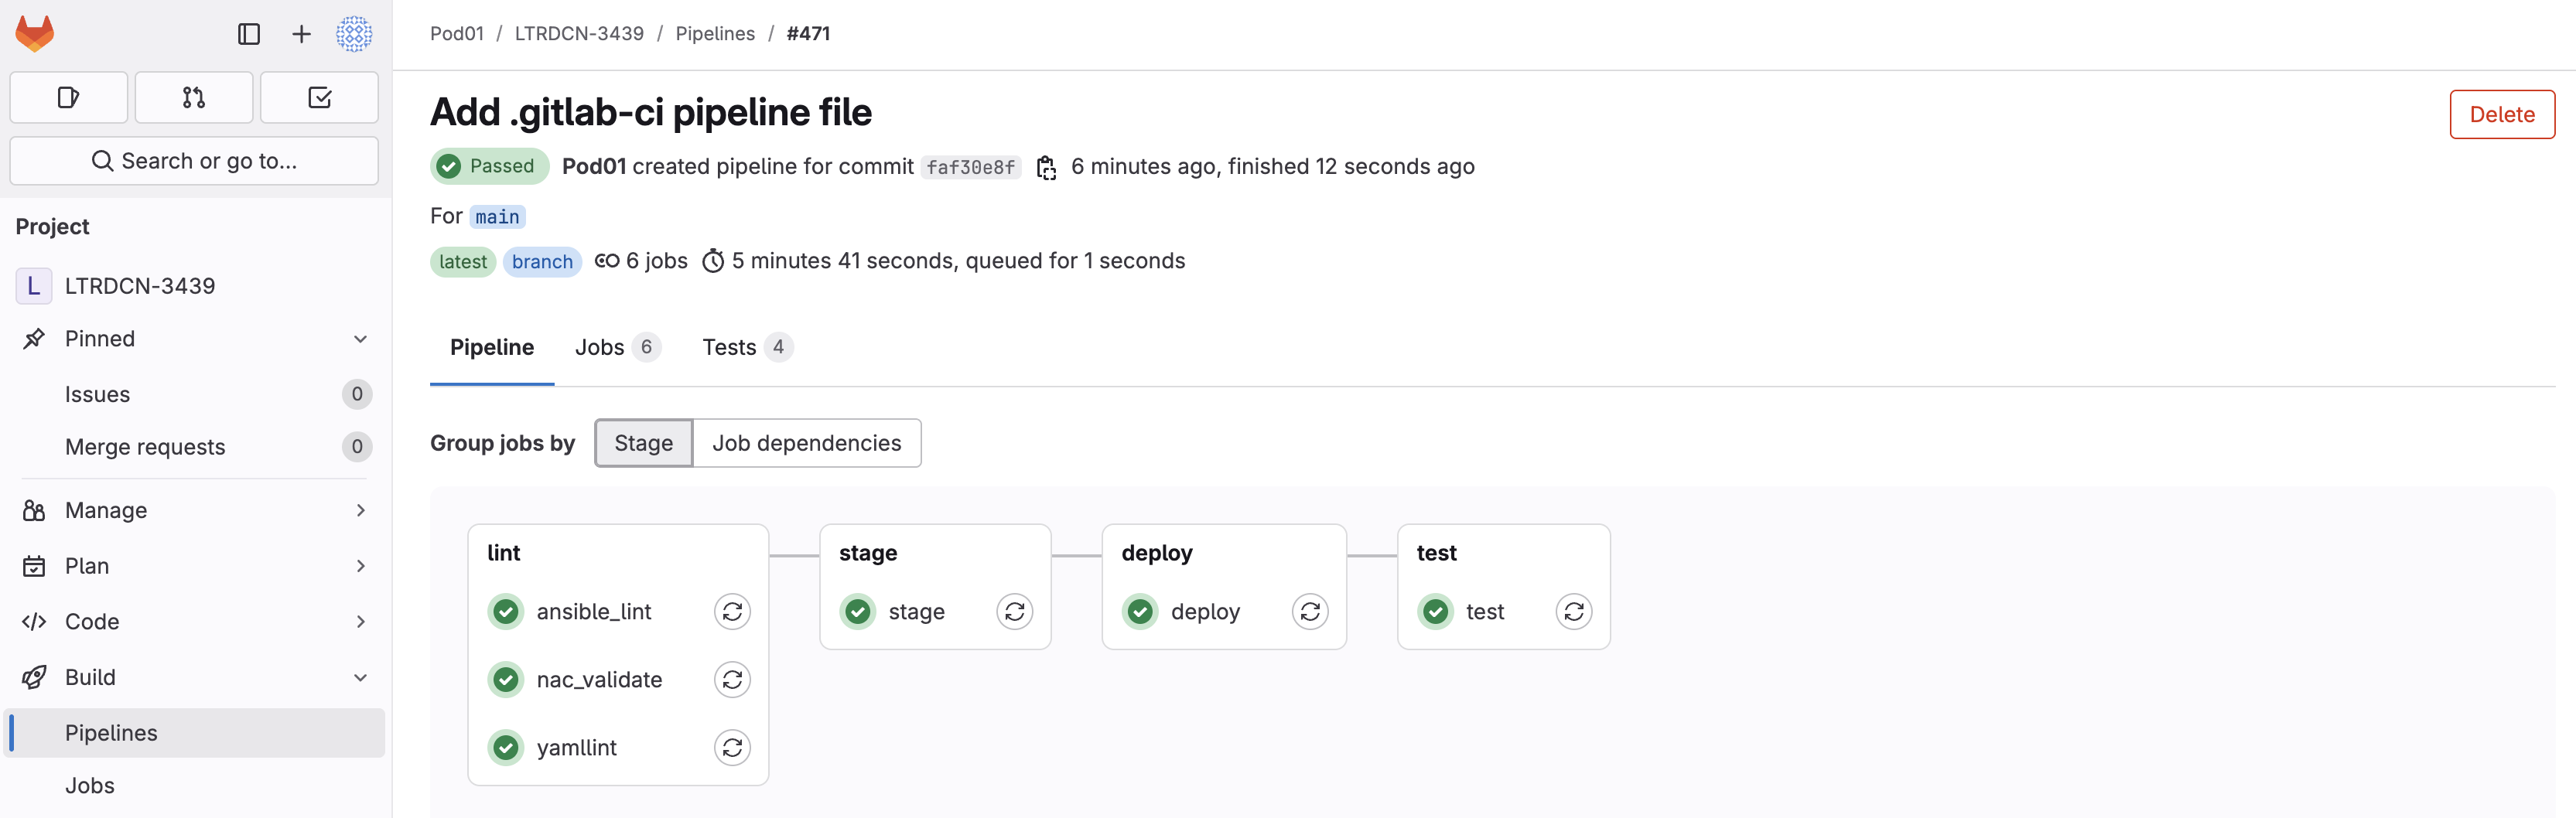
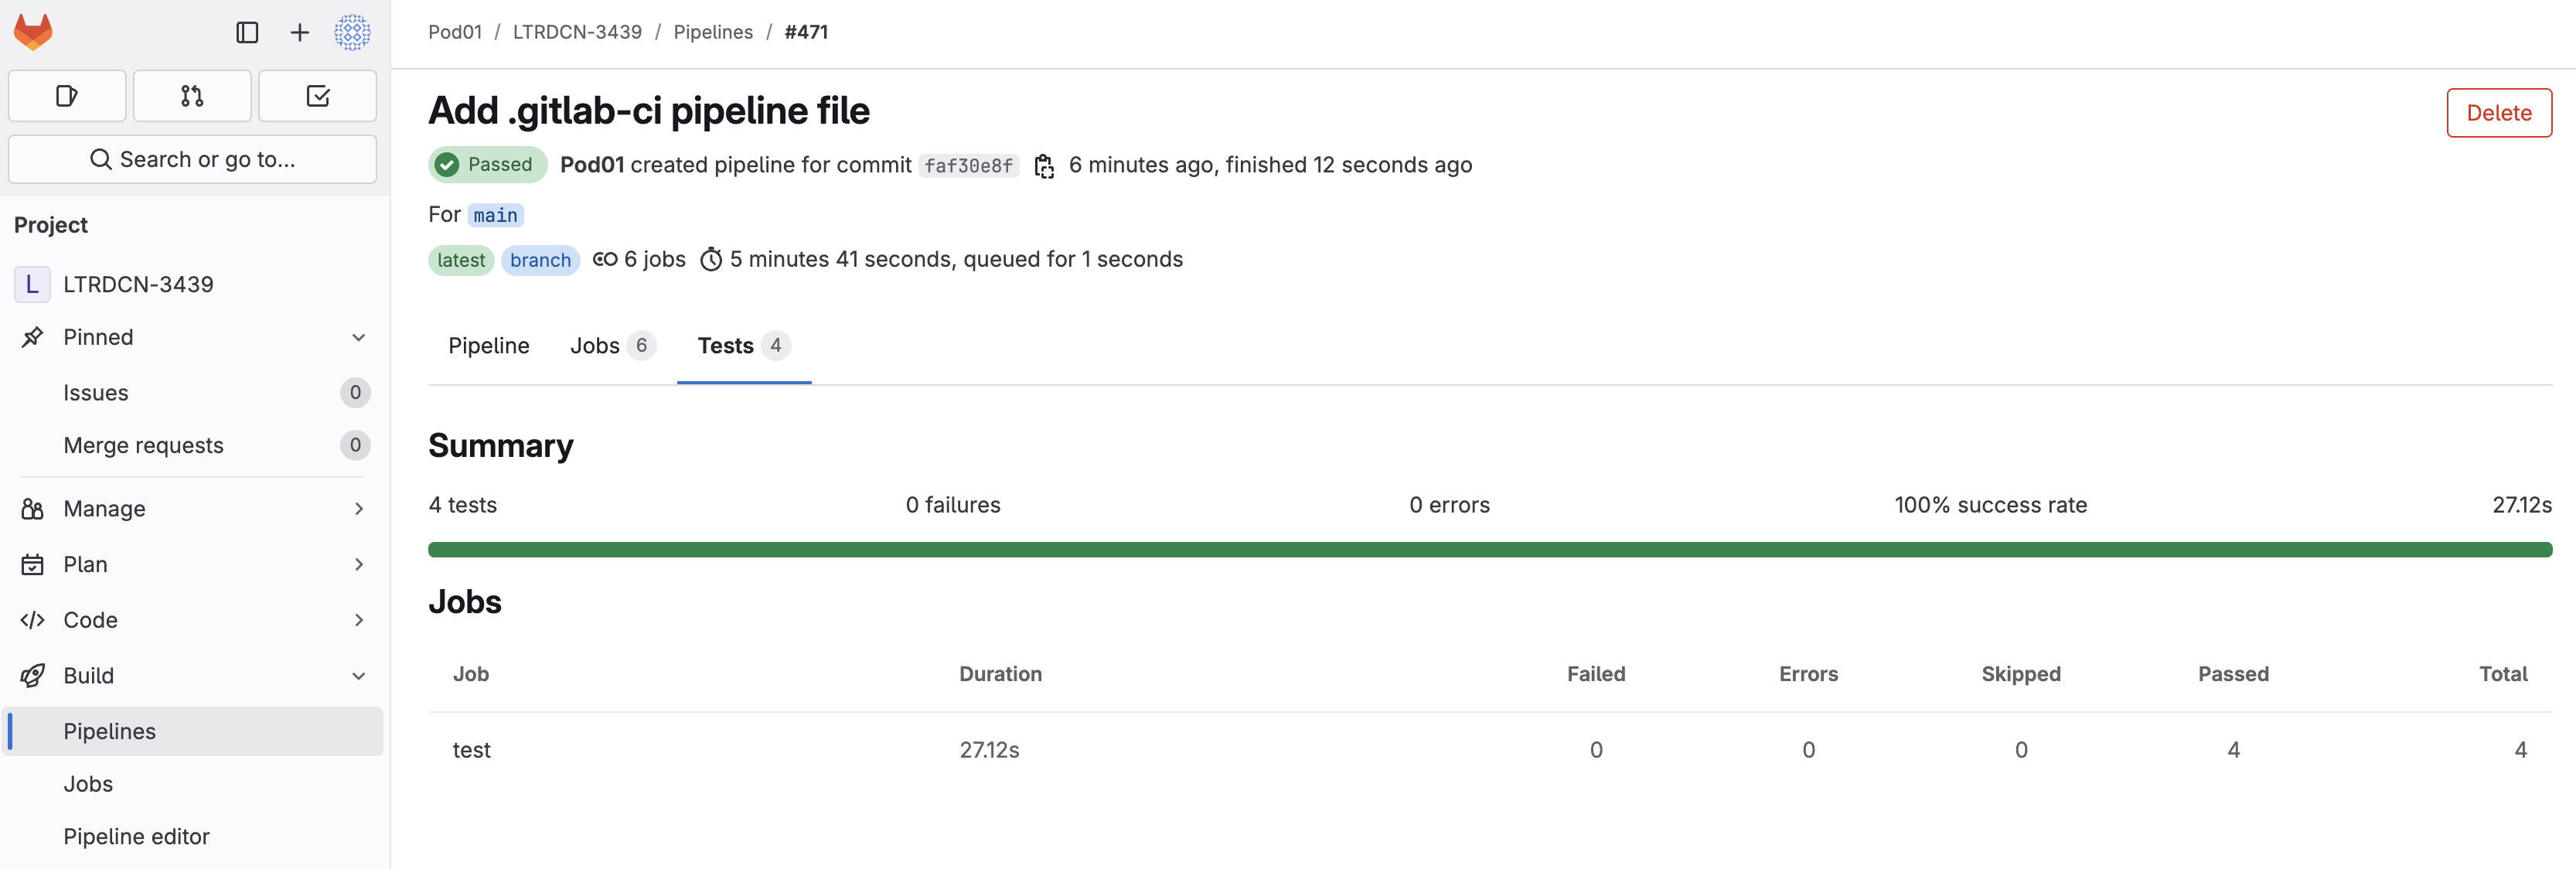
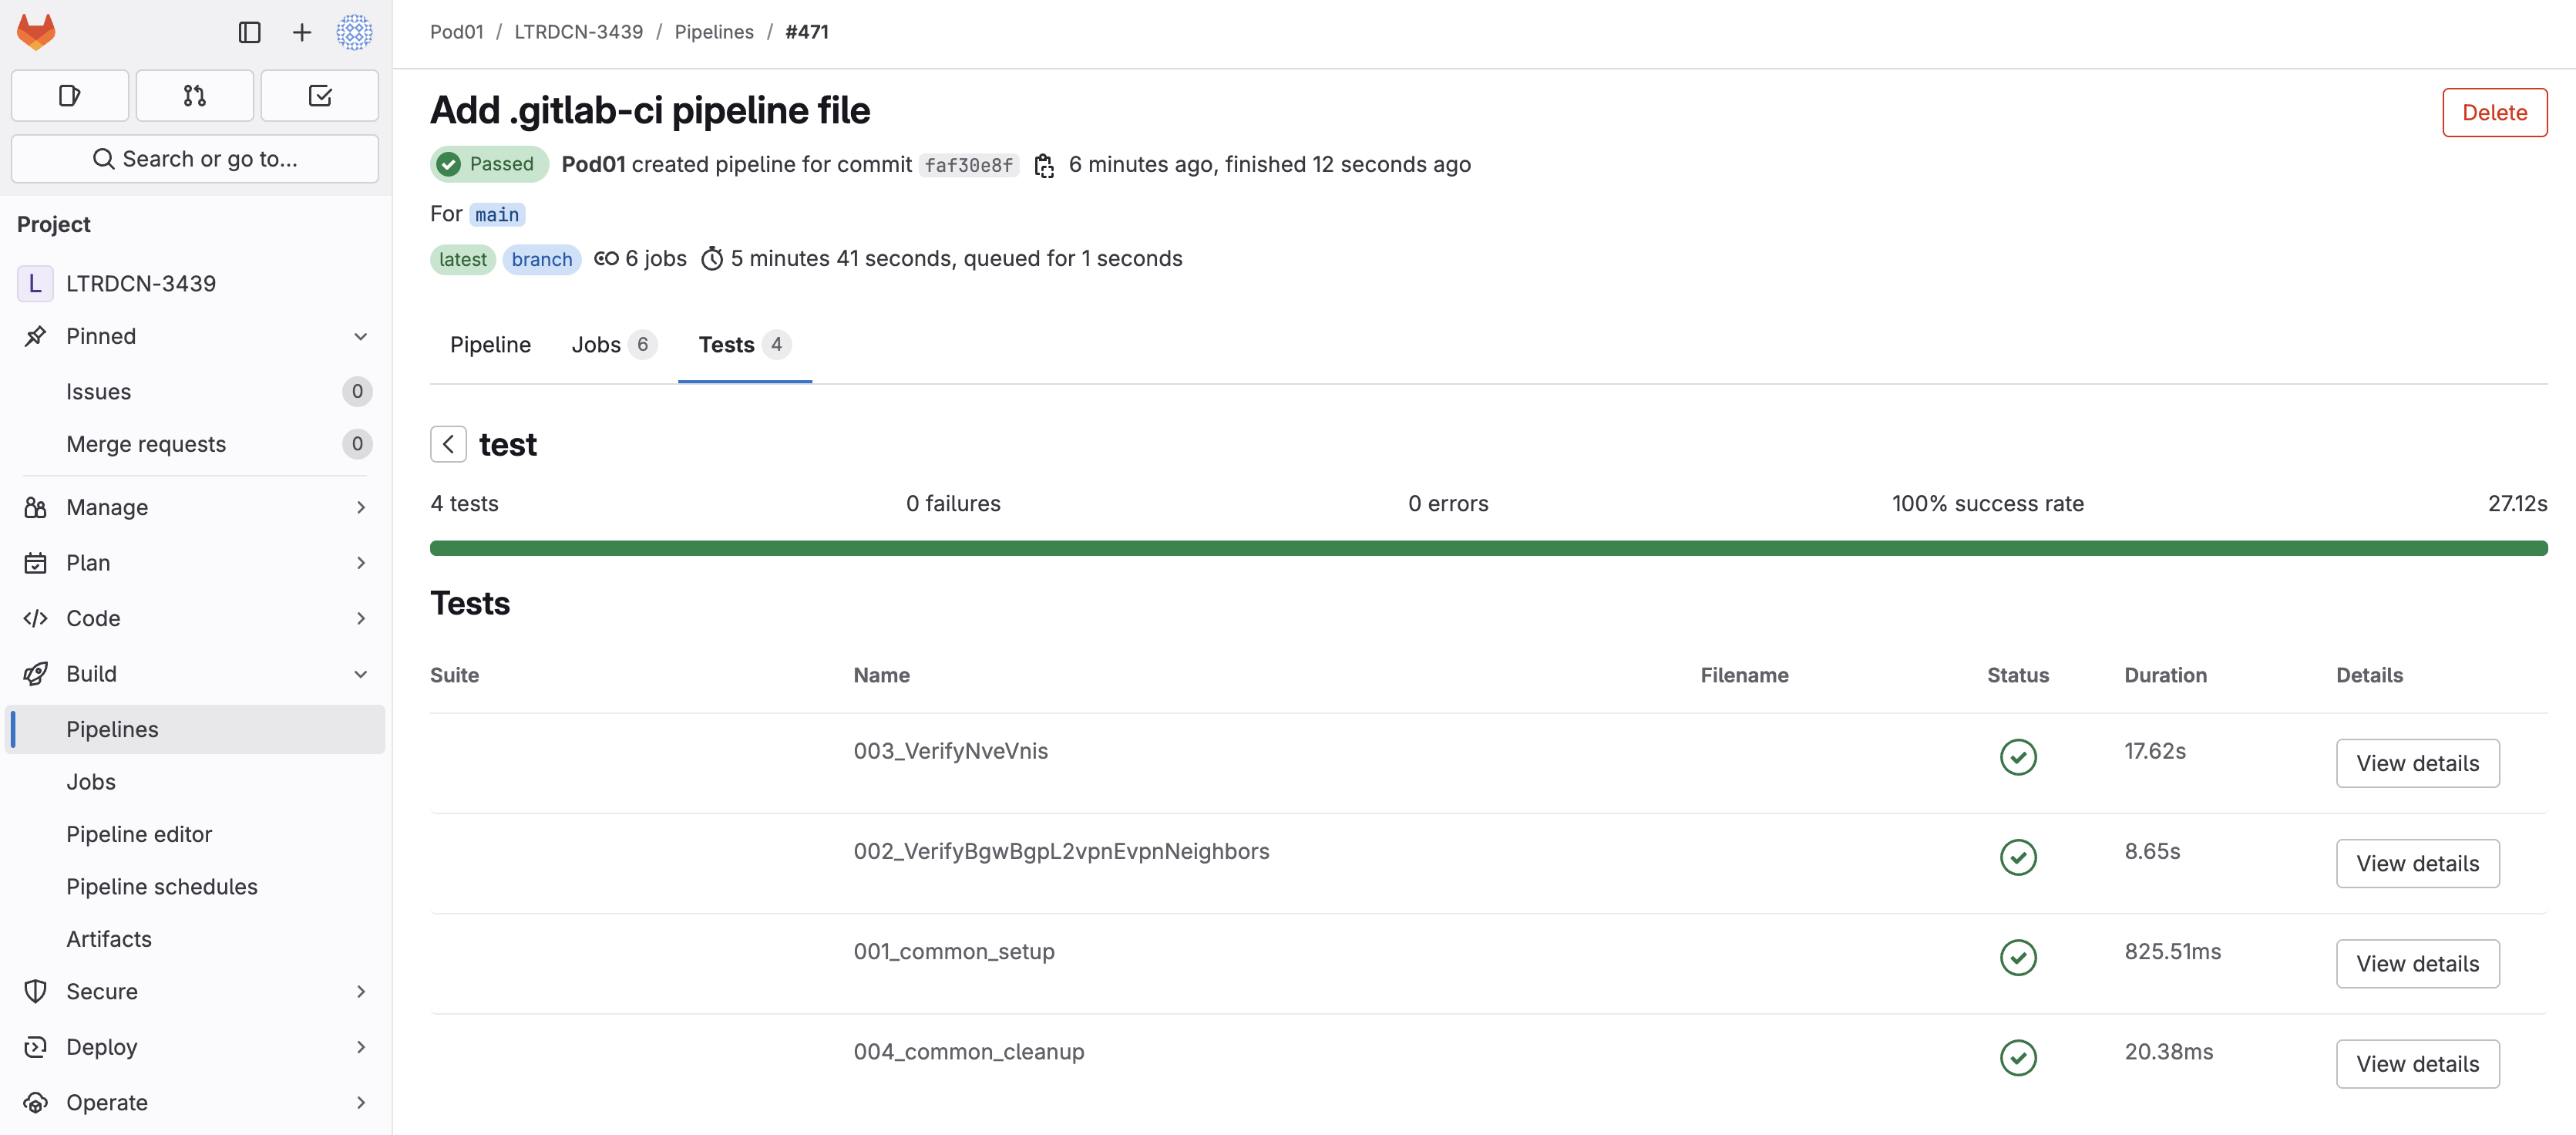
Return to GitLab and navigate to your pipelines page for your project. You should see a pipeline running for the main branch.
Continue to the next section to onboard a new overlay as a Day 2 operation using NaC and NetDevOps.